Page | 166
lower-third, ‘frame’ a picture-in-picture (Figure 141), or set up many other elaborate effects in
this manner.
12.3.4
POSITION (AND SIZE)
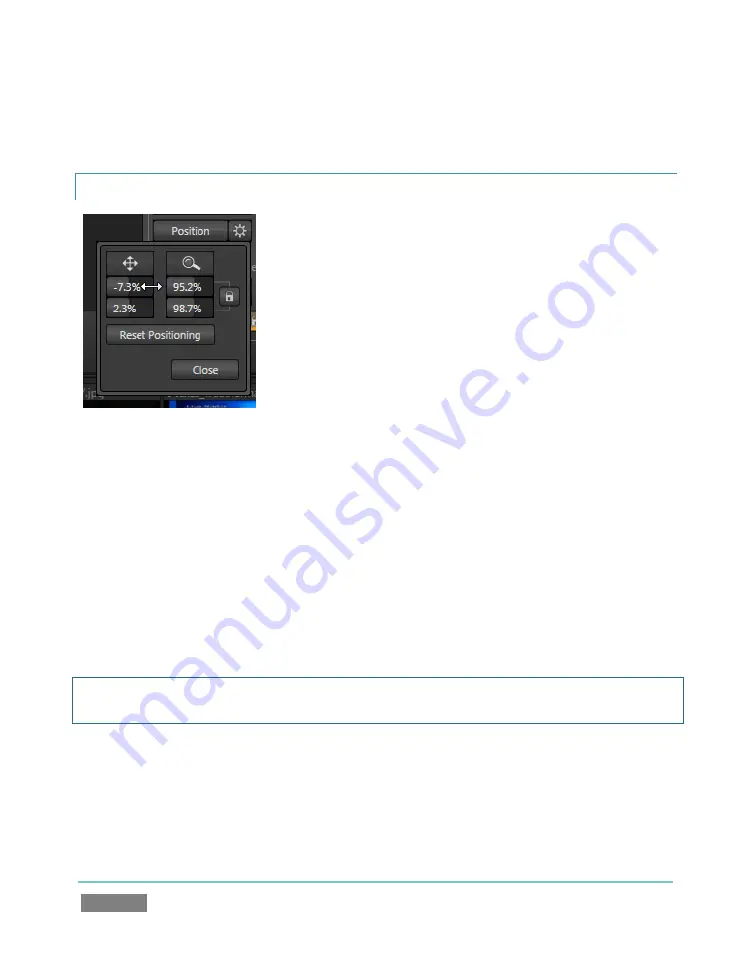
Figure 142
Each Overlay channel has its own
Position
button and settings. Click the neighboring
Configure
button
(gear) to open the
Overlay Position
panel (Figure 142) for a specific channel.
At the top of this panel are two buttons –
Position
and
Size
, respectively. Click and drag on
Position to relocate the source vertically or horizontally within the output frame. You can view
the result of your modifications on
Program Output
, but if you do this during a live production
you will likely set up the overlay on
Preview
instead, to hide your tinkering from the viewing
audience. Notice that by dragging left or right on either of the two numeric gadgets below, you
can adjust the position on a single axis. You can also constrain the action to one axis by holding
down the Ctrl key before dragging.
Hint: Hint: If you click a numeric field (or right-click it), you can type a value into the gadget using
the keyboard – press Enter to complete the editing action, or Esc to cancel it).
In similar fashion, dragging the cursor on the
Size
button (magnifying glass) affects the
scale
of
the overlay. When the nearby
lock
button is enabled, dragging in any direction affects size
equally on both axes. Otherwise, dragging vertically changes the height of the overlay, and
dragging horizontally affects its width.
Summary of Contents for TriCaster TCXD300
Page 1: ......
Page 3: ...TRICASTER TCXD300...
Page 4: ......
Page 15: ...xi D 7 Titles 267 D 8 General 268 D 8 1 Misc 268 D 8 2 Selection 268 Index 269 Credits 273...
Page 16: ......
Page 18: ......
Page 20: ......
Page 96: ......
Page 98: ......
Page 116: ......
Page 128: ......
Page 144: ......
Page 150: ......
Page 170: ......
Page 198: ......
Page 216: ......
Page 234: ......
Page 236: ......
Page 266: ......
Page 280: ......
Page 290: ...Page 274 s...


