5-2
•
Memory
—Select this option to check the capacity, CPU number, channel, slot number, and
maximum frequency of the memory chips on the server.
•
PCIe
—Select this option to check name, slot number, component ID, transmission rate, and
bandwidth of the PCIe devices installed on PCIe slots.
Viewing the diagnostic status
Restrictions and guidelines
Do not power off the server while the diagnostic process is in progress. Doing so might cause the
server components to malfunction.
Procedure
The system automatically opens the
Diagnostic status
tab page upon start of the fast diagnostic
process.
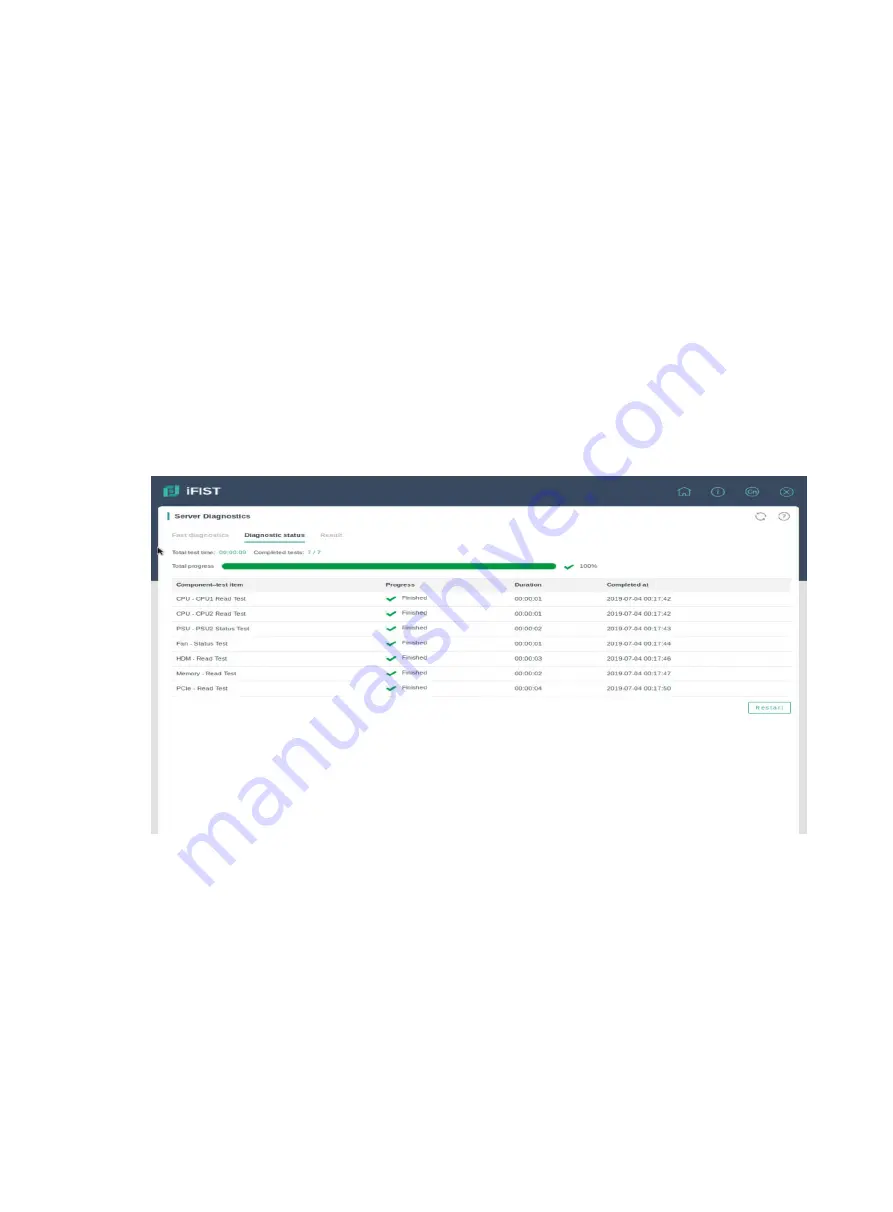
As shown in
, the page provides information about the ongoing diagnostic tests, including
the test progress, summarized test statistics, and component-specific test results.
To run the diagnostic tests again after the current diagnostic process is completed, click
Restart
.
Figure 5-2 Diagnostic status tab page
Viewing and exporting the diagnostic log data
Restrictions and guidelines
You can export the diagnostic log data to a USB flash drive. Before the export, insert the USB flash
drive to the server and format it by using the FAT32 or NTFS file system.
Procedure
1.
After the fast diagnostic process is completed, click the
Result
tab.
2.
From the
Log type
list, select the type of logs you want to display on the list. Options are:
{
Status logs
—Diagnostic logs of all diagnosed components.
{
Error logs
—Diagnostic logs of the components with a result of
Error
.


