


15
Program Information
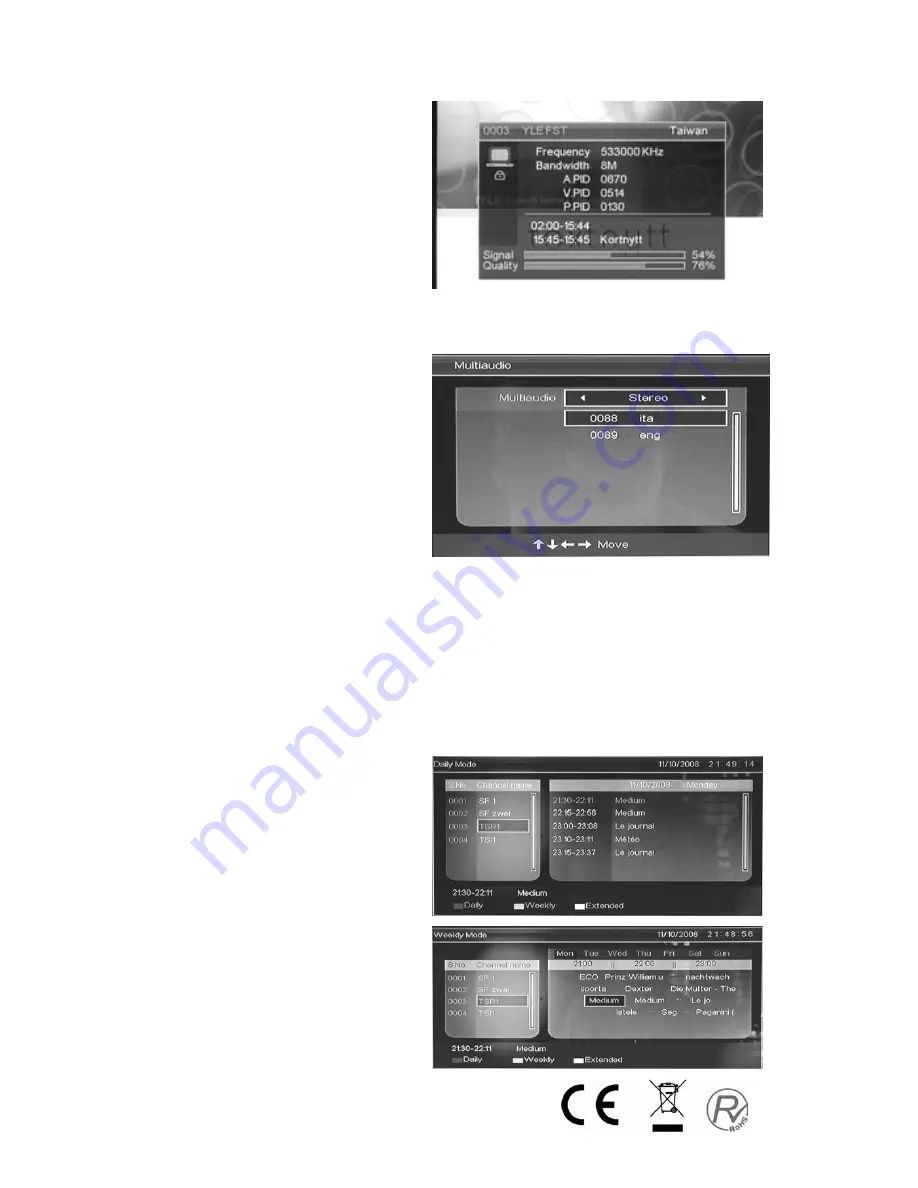
When the source is selected as
DTV, users can enter PROGRAM
INFORMATION by pressing
“INFO” button. The PROGRAM
INFORMATION window is
illustrated as follow:
Audio /Country/ Language
When the source is selected as DTV,
users can enter Multi-audio by pressing
“AUDIO” button. The Multi-audio
window is illustrated as follow:
The Multi-audio can be selected by
pressing the “
e
/
f
” button and the
selection is in the loop of “STEREO”
Æ
“LEFT”
Æ
“RIGHT”. The next selection
is country or language. Users can select the country or language by pressing the “
c
/
d
” button.
“EXIT” is used for closing the Multi-audio window.
Electronic Program Guide
(
EPG
)
Electronic Program Guide provides program information which will be broadcasted now or in the
future. The system will display EPG window by pressing “EPG” button. DATE and TIME
information is displayed on the top-right of the window. The left side contains all channels. The
right side contains the programs in the channel. The selected program is also displayed on the
bottom-left of the window.
There are 4 kinds of EPG:
Daily Mode:
The “RED” button enables
the DAILY MODE, the
program guide is listed
and sorted by daily time.
Weekly Mode:
The “GREEN” button enables the
WEEKLY MODE, the program guide is
listed and sorted by weekly time


