
December 2009
This symbol was placed in accordance with the European Union Directive 2002/96 on the Waste
Electrical and Electronic Equipment (the WEEE Directive). If disposed of within the European Union,
this product should be treated and recycled in accordance with the laws of your jurisdiction
implementing the WEEE Directive.
© 2009 by NETGEAR, Inc. All rights reserved. NETGEAR and the NETGEAR logo are registered trademarks
of NETGEAR, Inc. in the United States and/or other countries. Other brand and product names are trademarks or
registered trademarks of their respective holders. Information is subject to change without notice.
c.
Click
Apply
to save your changes.
The STM150 will reboot. Your computer will loose its connection to the unit if
its IP address is now on a different subnet than the STM150. If so, re-configure
the computer to match the settings of your network.
Activate the Service Licenses
Note
: Activating the service licenses initiates their term of use. Activate the licenses only
when you are ready to start using this unit.
1.
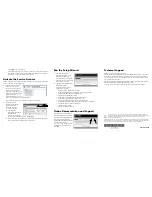
If your STM150 included a
license key card, refer to it
Be sure to store the license key
card in a secure location. Not
only will you need these keys to
activate your product during the
initial setup, but also to
reactivate the licenses if you ever
have to reset the unit back to its factory defaults.
If you did not get a license key card, have your license keys available.
2.
Register the licenses.
Note
: Be sure the unit has
Internet access before
registering the licenses.
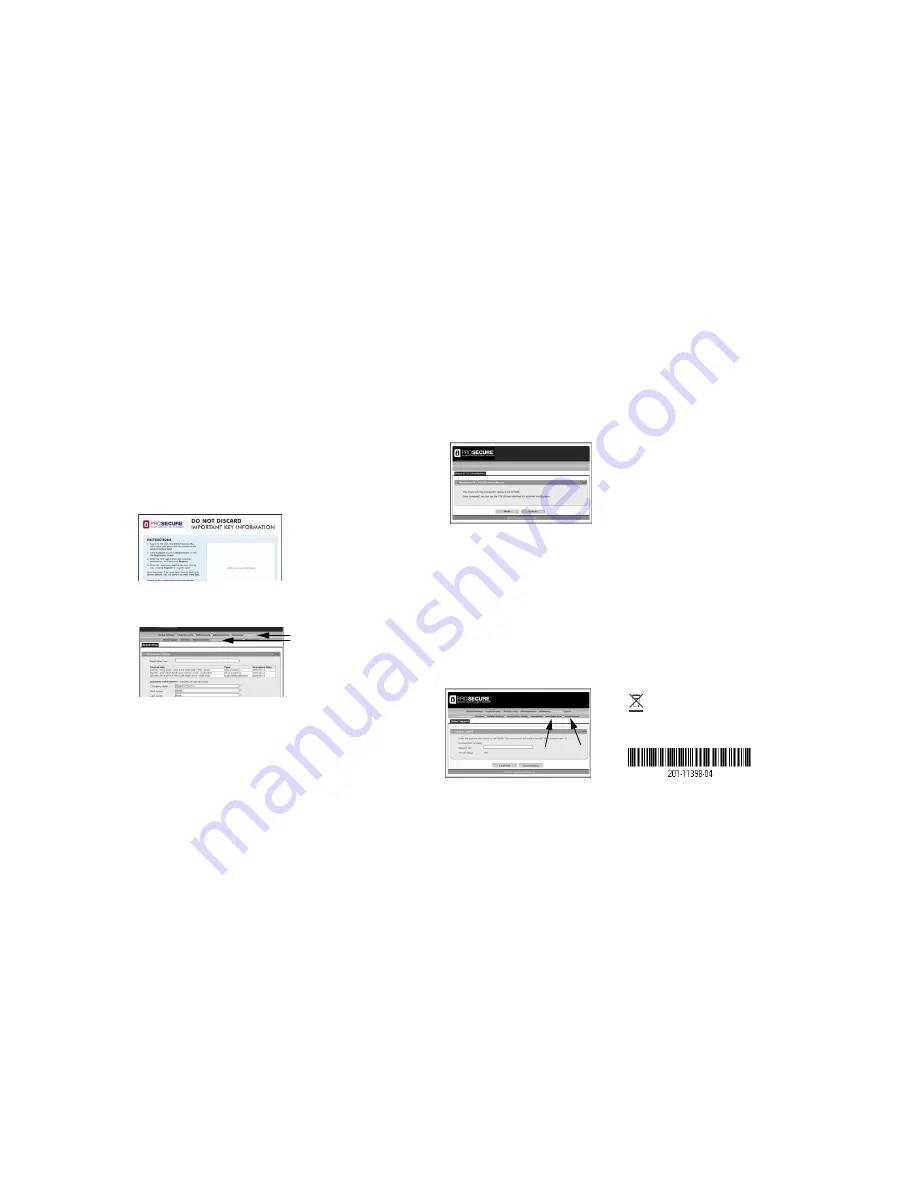
a.
Log in to the unit.
b.
Select Support >
Registration to display the
Registration tab.
c.
Enter the first registration
key and customer information. Then, click
Register
.
d.
Repeat this step for the remaining keys. The STM150 will activate the licenses
and register the unit with the ProSecure support server.
Run the Setup Wizard
1.
Start the Setup Wizard.
Select Global Settings > Setup
Wizard to start the wizard.
For guidance on how to fill in the
wizard screens, refer to the online
help or
Reference Manual
.
2.
Configure the Web/Email Threat
Management settings.
Follow the wizard prompts to
configure these settings:
•
Network settings - update these as needed.
•
Define internal domains for scan policies on various types of traffic.
•
Set the system time (NTP server) and time zone.
•
Enable scanning of network protocols.
•
Define default scan actions when the unit detects threats.
•
Define scan exceptions like the maximum file size.
•
Specify the notification server and notices for email notices.
•
Configure web interface security (inactivity time-out and ACL members).
•
Specify how firmware updates will be made.
•
Enter HTTP proxy settings.
•
Select web categories to block.
Online Documentation and Support
Select Support > Documentation to
view the STM150 reference manual.
Select Support > Knowledge Base to
view the STM150 support page,
which includes this document and the
reference manual. Going to
http://www.netgear.com/support
and
selecting STM150 takes you to the
same page.
Technical Support
Thank you for selecting ProSecure products.
After configuring your Web/Email Security Threat Management Appliance , locate the
serial number on the bottom label of your product and use it to register your product at
http://www.netgear.com/register
. Registration on the web site is required before you can
use our telephone support service.
The phone numbers for worldwide regional customer support centers are on the Warranty
and Support Information card that came with your product.
Go to
http://prosecure.netgear.com/support
for product updates and web support.