


Getting Started
9
XAVN2001 Powerline AV 200 Wireless-N Extender
4.
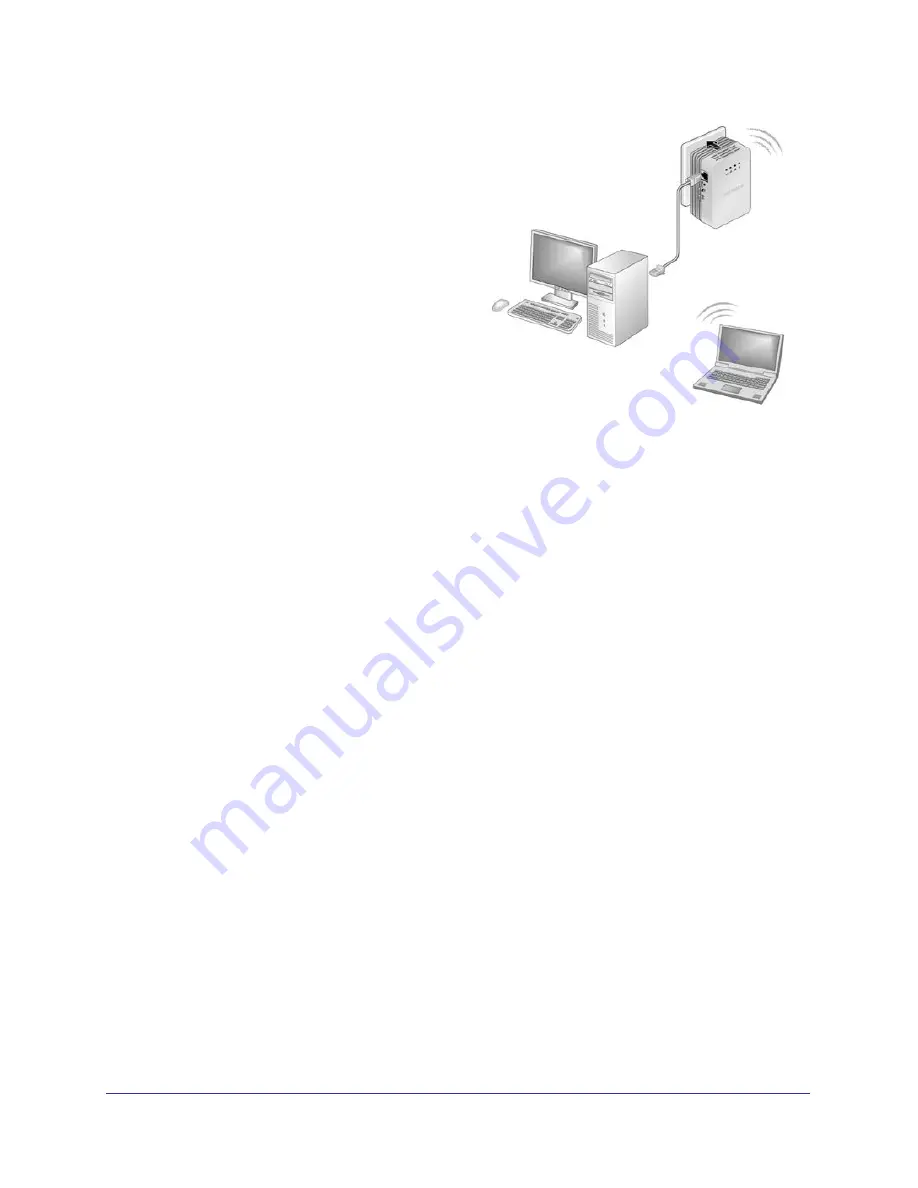
Connect a computer to the Powerline
Extender for initial setup.
Use the supplied Ethernet cable to connect
the Powerline Extender to an Ethernet port
on a computer.
The Powerline devices attempt to detect
each other and form a Powerline network.
This could take a few minutes.
5.
Plug any additional Powerline devices you
are using into power outlets near the other
computers and devices to be included in
your Powerline network.
6.
Wait for each Powerline adapter or extender
to be recognized by the Powerline network.
The Power, Ethernet, and Powerline LEDs should turn on. This could take as little as 5
seconds, or up to 80 seconds. If the Powerline LEDs are green or amber, the devices are
successfully connected. A red LED indicates a weak link rate. In this case, move the
adapter or the extender to another electrical outlet with a better connection.
7.
Set up the Powerline Extender wireless network as explained in
Set Up the Extender
Wireless Network
on page
10.
Add the Powerline Extender to an Existing Powerline Network
Your existing Powerline network needs to have two or more compatible Powerline devices
that communicate with each other. (models XAV101, XAV1004, XAV2001, XAV2501, and
XAVN2001). One of these Powerline devices has to be cabled with Ethernet to your router so
that the Powerline network is linked to your local area network (LAN).
To add the Powerline Extender to an existing Powerline network:
1.
If you used the Security buttons or the Powerline Utility to secure your Powerline
network, press the
Reset
button on each Powerline device to return it to its factory
settings.
This is the quickest way to allow your new Powerline AV 200 Wireless-N Extender to
communicate with the other Powerline devices.


