Chapter 1: Getting Started
|
5
ProSafe Unmanaged Plus Switch Configuration Utility User Guide
2.
Click
Install ProSafe® Plus Utility
to install the utility program on your PC.
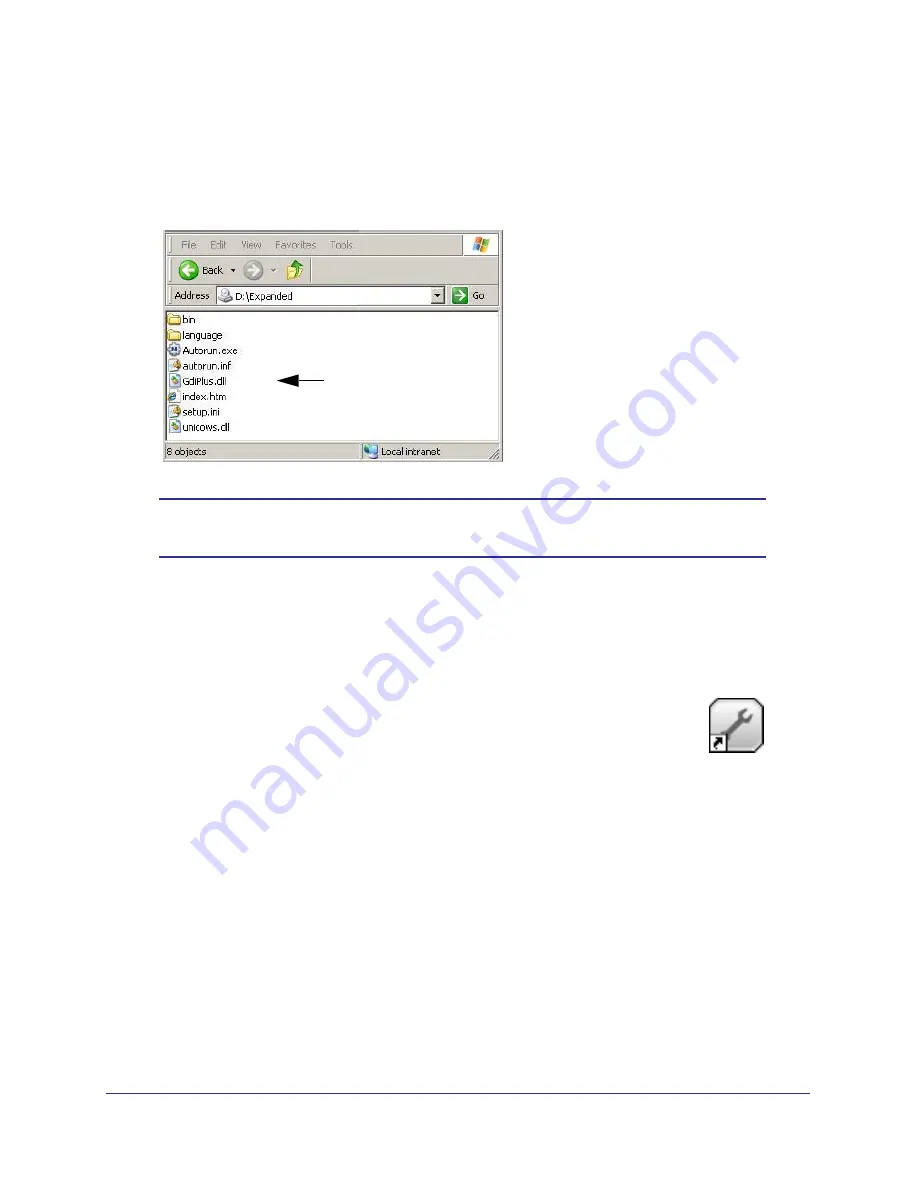
If the Resource CD home page does not display, your PC may have the Autorun feature
disabled. You can enable your PC’s Autorun feature or use the PC’s file manager to
navigate to the CD and double click on Autorun.exe.
Autorun
Note:
The utility name may vary slightly between different ProSafe® Plus
switch models.
The utility uses two network programs, WinPcap and Adobe AIR, to process network
commands. If not already installed on your PC, these two programs will also be installed, and
will be placed in your program directory.
3.
Click
Install Utility
.
This creates a NETGEAR subdirectory under the \Program Files
directory on your PC. Installation then copies the utility program into
the \Program Files\Netgear\ProSafe Plus Utility directory, and places
a utility icon on the PC desktop.
The WinPcap and Adobe AIR programs may be used by other network applications and
may already be installed on your PC. If so, a message displays asking if you want to
reinstall WinPcap.
a.
Click
OK
if you think the currently installed WinPcap is an older version or might be
corrupted.
b.
Click
Cancel
if you do not want to overwrite the program already installed. Clicking
Cancel will end the WinPcap portion of installation and will continue installing the
remaining components
a.
If the Adobe AIR program is already installed, an “already installed” message
displays. Click
Close
to end the Adobe AIR portion of installation.
4.
Installation is complete. When the
InstallShield Wizard Complete
screen displays, check
the box to launch the utility or just click
Finish
if you do not want to launch the utility at this
time. Use the utility icon on your desktop to launch the utility in the future.


