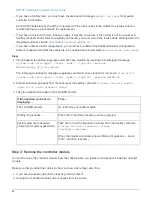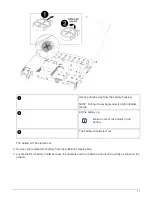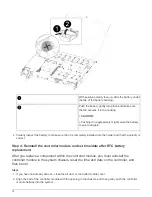
Do not completely insert the controller module in the chassis until instructed to do so.
3. Recable the system, as needed.
If you removed the media converters (QSFPs or SFPs), remember to reinstall them if you are using fiber
optic cables.
4. If the power supplies were unplugged, plug them back in and reinstall the power cable retainers.
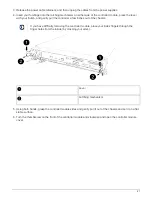
5. Insert the controller module into the chassis:
a. Ensure the latching mechanism arms are locked in the fully extended position.
b. Using both hands, align and gently slide the controller module into the latching mechanism arms until it
stops.
c. Place your index fingers through the finger holes from the inside of the latching mechanism.
d. Press your thumbs down on the orange tabs on top of the latching mechanism and gently push the
controller module over the stop.
e. Release your thumbs from the top of the latching mechanisms and continue pushing until the latching
mechanisms snap into place.
The controller module begins to boot as soon as it is fully seated in the chassis. Be prepared to
interrupt the boot process.
f. Halt the controller at the LOADER prompt.
The controller module should be fully inserted and flush with the edges of the chassis.
6. Reset the time and date on the controller:
a. Check the date and time on the healthy controller with the
show date
command.
b. At the LOADER prompt on the target controller, check the time and date.
c. If necessary, modify the date with the
set date mm/dd/yyyy
command.
d. If necessary, set the time, in GMT, using the
set time hh:mm:ss
command.
e. Confirm the date and time on the target controller.
7. At the LOADER prompt, enter
bye
to reinitialize the PCIe cards and other components and let the
controller reboot.
8. Return the controller to normal operation by giving back its storage:
storage failover giveback
-ofnode
impaired_node_name
9. If automatic giveback was disabled, reenable it:
storage failover modify -node local -auto
-giveback true
Step 5: Complete the replacement process
Return the failed part to NetApp, as described in the RMA instructions shipped with the kit. See the
79


