66
NetApp AltaVault Cloud Integrated Storage Installation and Service Guide for Physical Appliances
Beta Draft
System maintenance
Replacing a controller chassis
2.
Remove the two power supplies installed in the chassis using the steps described in the procedure,
“Removing power supplies” on page 70
3.
Set the power supplies aside. You will re-install them in the replacement chassis.
4.
Removing the controller module from the chassis requires assistance from NetApp Support.
5.
Set the controller module aside. You will re-install it in the replacement chassis.
6.
Remove the fans modules installed on the chassis front using the steps described in the procedure,
“Removing fan modules” on page 67
7.
Set the fan module aside. You will re-install them in the replacement chassis.
8.
Remove the screws from the chassis mount points.
9.
With the help of two or three people, slide the empty chassis off the rails and set it aside.
Installing the chassis
Before you begin, verify that the replacement chassis you are installing is an approved part from NetApp.
To install the chassis
1.
With the help of two or three people, slide the replacement chassis into the rack or cabinet by guiding the chassis
onto the rails or brackets.
2.
Slide the chassis all the way into the rack or cabinet.
3.
Secure the front of the chassis to the rack or cabinet, using the screws you removed in the previous procedure.
4.
Install the fan modules in the chassis as described in
“Installing fan modules” on page 68
.
Note:
You must install all three fan modules for a controller. If all three fan modules associated with a controller are not detected
when the system boots, the system will crash. For details, see
“Slot numbering and associated components” on page 49
.
5.
Install both power supplies in the chassis using the steps described in the procedure,
.
Note:
Do not turn on the power supplies at this time.
6.
Reinstall the controller module in the chassis as described in
“Installing a controller in a chassis” on page 64
AltaVault systems support only one controller per chassis. Install the blank panel over the second slot.
7.
Turn the power switch on both power supplies and the power source to the ON (|) position. The system will start
booting.
8.
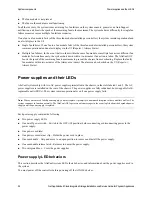
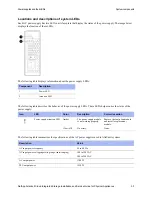
To ensure that the system has booted correctly, verify that the System attention LED on the chassis front and
Controller attention LED on chassis rear are not lit after the system has finished booting.
Summary of Contents for AltaVault Cloud Integrated Storage 4.1
Page 2: ......


