” Spin-Klin Battery 2016
Page 1 of 13
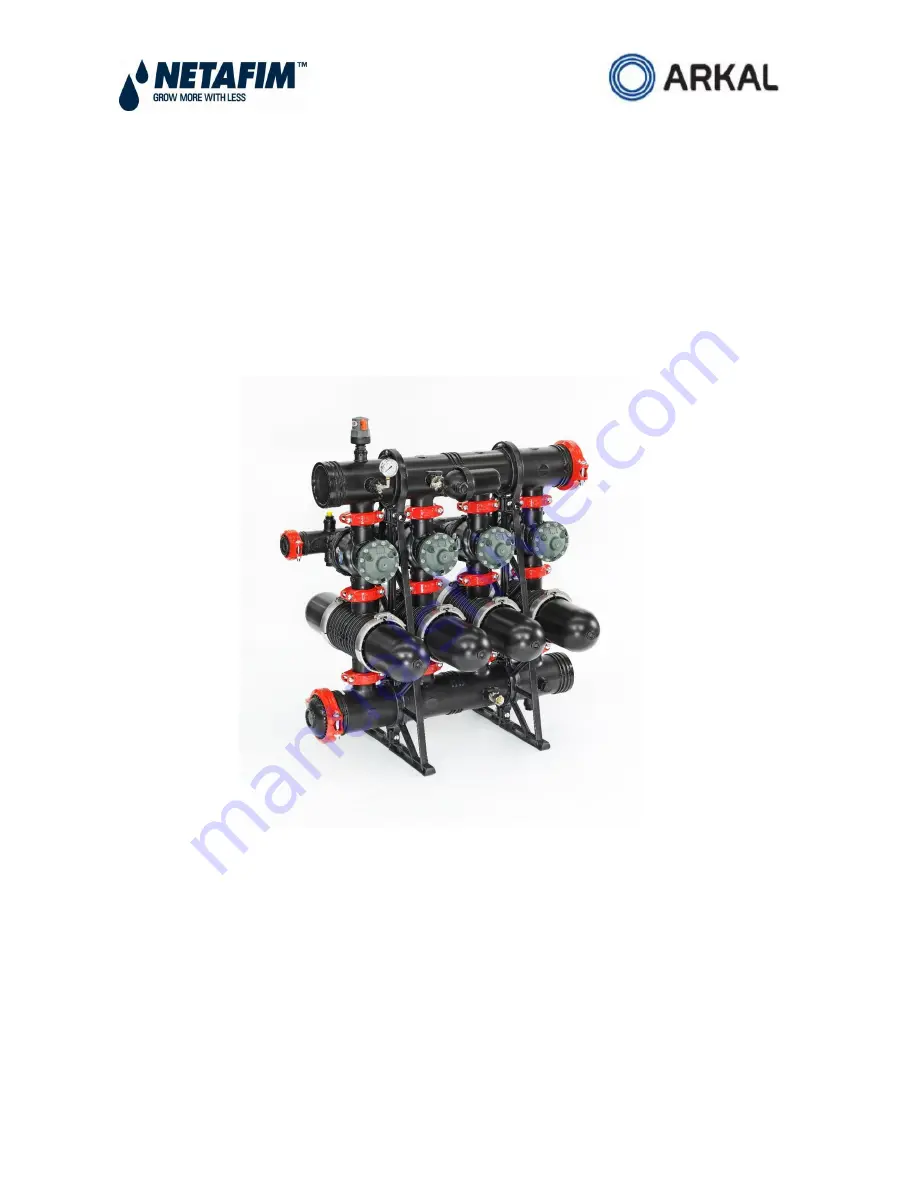
Arkal Spin-Klin
3” Battery
Installation, Operation and Maintenance
Instructions
Ref- 910101-000494 / 2016
Page 1: ... Spin Klin Battery 2016 Page 1 of 13 Arkal Spin Klin 3 Battery Installation Operation and Maintenance Instructions Ref 910101 000494 2016 ...
Page 2: ...13 Arkal Spin Klin 3 Battery User Manual This Arkal 3 Spin Klin battery is an automatic self cleaning filter designed for non hazardous liquids only and within the pressure and temperature framework described in the specifications table ...
Page 3: ...re command to the back flush valve moving it from the filtration mode to the back flushing mode 3 Filter 1 is then back flushed with water from the outlet manifold that has been filtered by the other filters in the system Contaminated water and impurities flow out through the drain manifold 4 On completion of the allotted back flush time the controller releases the back flush command Filter 1 retu...
Page 4: ...aps of the discs Back flush Mode During back flush the discs are released by releasing the inlet hydraulic pressure Multi jet nozzles provide tangential spray on the loosened discs causing them to spin and release the retained solids which are flushed out to the drain 3 x 2 Back flush Valve Filtration Position Water flows from port A main supply to port B filter connection Port C drain water outle...
Page 5: ...er clamps need to be properly closed Start up Operation Start the back flush cycle making sure that all system components function correctly Filter Load up during Start up Close the downstream flow control valve if available Flush until clean with repeated cycles Slowly reopen the downstream valve If the pressure difference remains high check and see if the flow rate is too high An excessive flow ...
Page 6: ...l operation button to automatic Check that the P hydraulic switch HIGH and LOW pressure lines are correctly connected to the appropriate ports Set the starting back flush switch to P 5meters 7psi Set the controller to a flush time of 30 seconds and a dwell time of 10 seconds These settings may require adjustment to conform to local water conditions Typically a 1 to 3 hour interval between back flu...
Page 7: ...k flush controller performance Check that the controller timing parameters are correctly adjusted and activate automatic back flush cycle In the event of possible failure at the back flush controller check for possible failures Cleaning of the Command Filter Close the command filter inlet valve release the pressure trapped at the command filter and remove the cover Thoroughly clean the filtration ...
Page 8: ...h set on a string and place them in a cleaning solutions HCL Chlorine or other refer to Cleaning Recommendations Clogged Filtration Discs Thoroughly wash the discs with fresh water Figure 7 Reassemble the discs on the spines check that the correct quantities of discs are assembled on the spine when the discs are pressed with two hands the top disc should be level with the imprinted circle on the o...
Page 9: ...we recommend the following cleaning procedure Material and Equipment A well ventilated working place 2 small containers 1 liter 2 large containers 15 liter and a stirring stick all resistant to chemicals preferably of polypropylene Plastic rope to tie up the disc Sodium Hypochlorite NaOCl Strong oxidizing liquid commercial concentration 10 Oxidizes and removes organic and biological deposits Hydro...
Page 10: ... sets of discs As the cleaning activity of the solution deteriorates it may be necessary to soak the discs for a longer time Cleaning Carbonates and Iron Deposits Open the filter and remove the dirty discs Arrange the discs loosely on the plastic rope Prepare a 5 Solution of Hydrochloric Acid 1 Pour 10 liters of water into one of the large containers 2 Carefully add 2 liters of Hydrochloric Acid 3...
Page 11: ... process If one of the solutions removes all the deposit clean the discs in that solution per the instructions above If neither solution removes the deposit completely continue with the test procedure Remove the discs from both solutions rinse them well with water and soak them in the second solution put the two discs which have been in the Sodium Hypochlorite Solution in the Hydrochloric Acid Sol...
Page 12: ...3 Spin Klin Battery 2016 Page 12 of 13 Identifying Malfunctions in the 3 Spin Klin system No Back flush Operation Important note Command filter exists only in pressurized air controlled systems ...
Page 13: ...3 Spin Klin Battery 2016 Page 13 of 13 Continuous or Non stop Back flushing ...