NENKO 29011085 Manual Download Page 5


Couple 

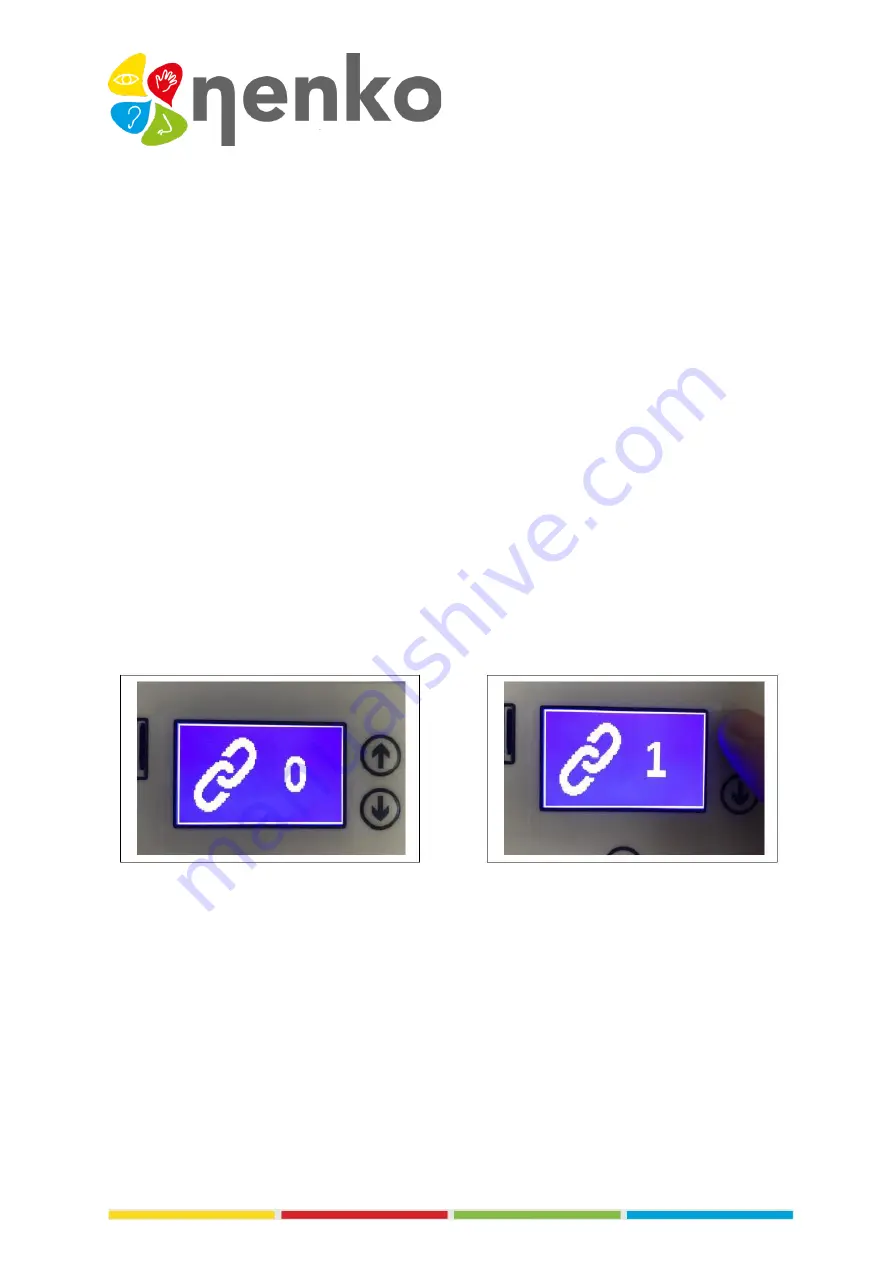
There are 5 coupling channels. Channel 0 is the default factory setting. When the panel is set to 
Channel 0, all compatible interactive switches in the room will operate the panel , e.g. oval external, 
Nenko Interactive 

 Cube. 

 
Select the desired pairing channel using the up and down arrow buttons. Select the desired setting, 
and then press OK again to save it. 
 
Channel 

is the green button (12 hours) on the switch panel 

Channel 

is the blue button 

Channel 

is the orange button 

Channel 

is the purple button 

Channel 

is the yellow button 

 
Example: 
To pair the panel with the green button on the switch panel, select Channel 1 on the panel button. 
Then press and hold the pairing button on the switch panel , and then press the green button. Now 
release the pairing button. The switch panel now controls the panel on Channel 1. 
 
Use the same procedure to pair the panel with the blue button on the switch panel: this requires 
Channel 2 to be selected in the panel, and so on. 
 
To move the switch panel back to Channel 0, press and hold the link  
on the side of the switch panel , then press the center button before releasing both buttons. 


         Channel 0: Factory reset Channel 1: 
 
This feature allows you to use a panel and switch panel 1:1  while others enjoy equipment in the 
room. 


Snow panel buttons 

Summary of Contents for 29011085

Page 1: ...background color of the bright LED lights Learn action reaction by simply turning the fan on and off at the touch of a button or control the speed to create yourself from a relaxing snow flurry to a swirling blizzard Use the sound button to play sound effects or music from the included micro SD card to provide both visual and auditory sensory stimulation Panel is Nenko Interactive compatible and t...

Page 2: ...e of the panel to see where the screws need to be placed in the designated places 7 Commissioning The Snow Panel is immediately ready for use Simply plug the panel into the wall outlet and turn on the power To turn on the panel press the power button ...

Page 3: ...ofoongevoeligheid Wireless connection Couple Use the arrow buttons to select the setting you want to change e g starting from the volume screen press down to reach the brightness settings and down again to access speed settings and so on Volume Select the volume from the menu and press OK to change the volume The volume can then be changed using the up and down arrow keys Select the desired volume...

Page 4: ... press OK again to save this setting Wireless connection Wireless connectivity can be customized with this setting Connectivity can be turned on or off When connectivity is enabled the panel responds to other interactive products in the room such as a Nenko Interactive Cube Turn connectivity on or off using the up and down arrow buttons Select the desired setting and then press OK again to save it...

Page 5: ...on Example To pair the panel with the green button on the switch panel select Channel 1 on the panel button Then press and hold the pairing button on the switch panel and then press the green button Now release the pairing button The switch panel now controls the panel on Channel 1 Use the same procedure to pair the panel with the blue button on the switch panel this requires Channel 2 to be selec...

Page 6: ... to snowstorm Music 10 relaxing white noise sounds are included just press the button to change the sound Extra empty setting no noise after track 10 The panel comes complete with a micro SD card with 10 relaxing white noise tracks and an extra blank no noise setting after track 10 Users can replace this micro SD card with another to customize their own personal preferences allowing it to Snow pan...

Page 7: ... are designed for low maintenance Clean the outside as desired with a soft damp cloth 9 Technical information INPUT 100 240V 50 60Hz 1 5A OUTPUT 12V 5A Power approvals For more information you can visit our website www nenko com ...

Reviews: