NL-N41 User Manual
36
7.3 Installation
Warning: There are some differences under different operating system. Please operate
it according to the tips. Recommend to close security software before installation in case of
preventing installation.
1.Select one interface to connect your printer to computer.
2.Turn on the printer and check if it is connected to computer successfully.
3.Double click Windows Driver.
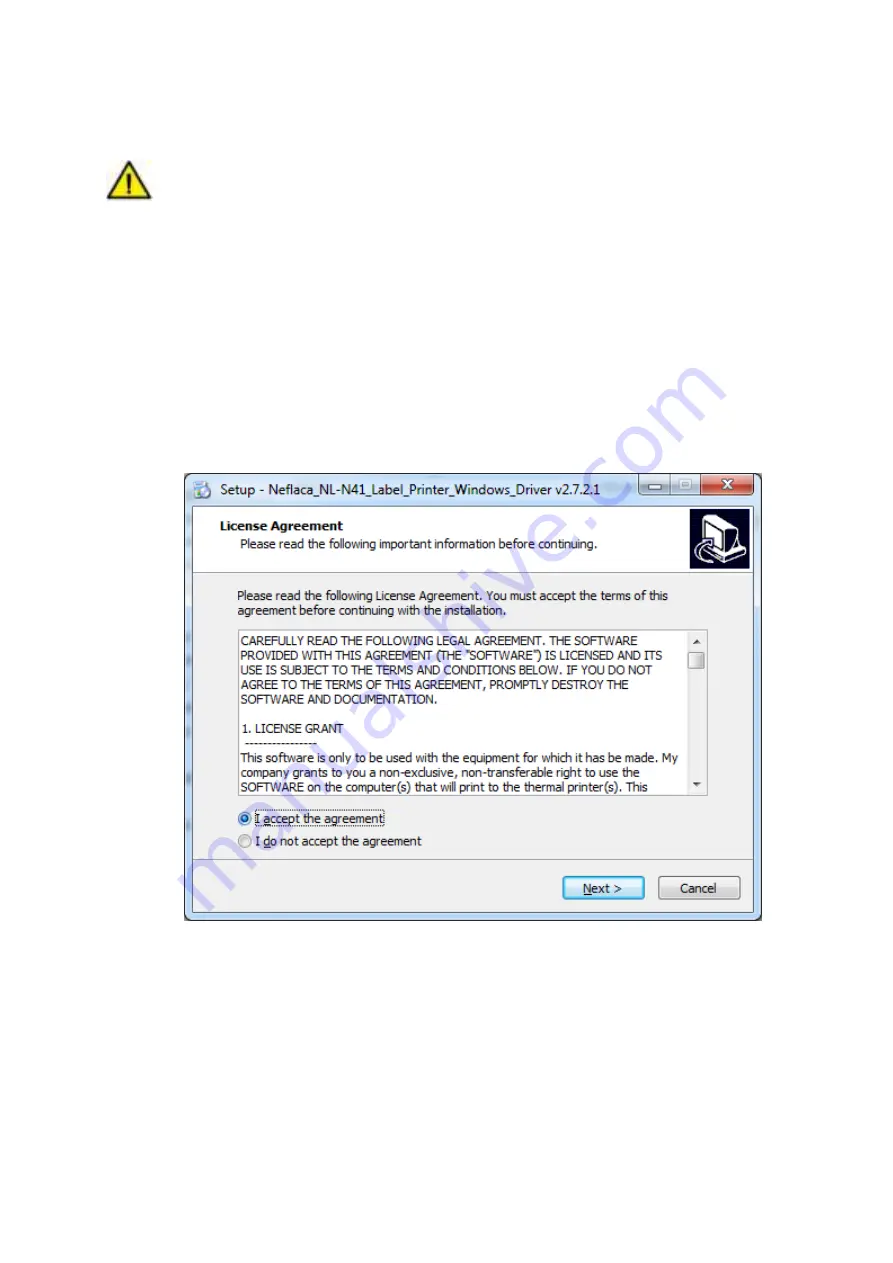
4.Read and agree the license agreement. Then click
“
Next
”
.
Summary of Contents for NL-N41
Page 1: ...NL N41 User Manual Neflaca Tel 1 213 438 9671 Web www neflacaus com...
Page 10: ...NL N41 User Manual 7 1 3 Dimension Unit mm...
Page 16: ...NL N41 User Manual 13 4 Reload a new paper...
Page 20: ...NL N41 User Manual 17 Figure 2...
Page 22: ...NL N41 User Manual 19 Figure 4...
Page 33: ...NL N41 User Manual 30 Click Parameter Setting User can set up the density paper mode and so on...
Page 34: ...NL N41 User Manual 31 1 Print density Range 0 15...
Page 35: ...NL N41 User Manual 32 2 Heat Adjust Range 50 50...
Page 36: ...NL N41 User Manual 33 3 Paper Mode Continuous Gap Blackmark...
Page 43: ...NL N41 User Manual 40 2 According to different needs set the page...
Page 44: ...NL N41 User Manual 41 Click Paper Name then choose the paper type...
Page 47: ...NL N41 User Manual 44 3 Speed 4 Test...
Page 48: ...NL N41 User Manual 45 5 Media Handing 6 Media type...
Page 49: ...NL N41 User Manual 46 3 Click Watermark it recommends to use BMP format...
Page 50: ...NL N41 User Manual 47 4 Click Halftone...
Page 53: ...NL N41 User Manual 50 3 Click Ports then choose the port needed...
Page 54: ...NL N41 User Manual 51 4 Click Advanced to set the available time for the printer...
Page 58: ...NL N41 User Manual 55 2 Select a destination and click Continue...
Page 59: ...NL N41 User Manual 56 3 Choose Installation Type and click Continue Install...
Page 62: ...NL N41 User Manual 59 8 Under Printer Scanner printer NL N41 is available...


