86
5. Using On-Screen Menu
Menu Descriptions & Functions [SETUP]
[GENERAL]
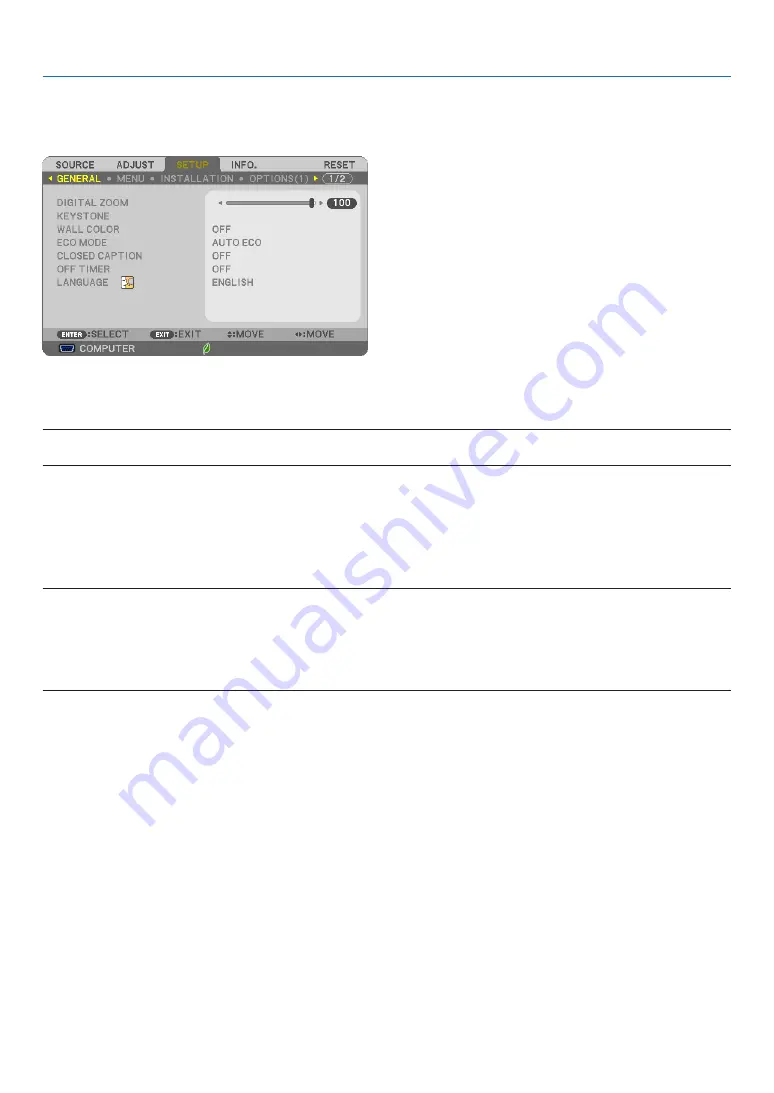
Using Digital Zoom [DIGITAL ZOOM]
This feature allows you to electronically fine adjust the image size on the screen.
NOTE:
• This feature can not be used when USB-A, LAN, or USB-B is selected as a input terminal.
TIP: To adjust the projected image size roughly, move the projector away or closer to the screen. To fine adjust the zoom, use the
[DIGITAL ZOOM] function. (
→
page
)
Correcting Keystone Distortion Manually [KEYSTONE]
You can correct horizontal or vertical keystone, pincushion, or cornerstone distortion manually.
NOTE:
• Some items are not available when one item is activated. Unavailable items are shown in grey.
• To change from one item to another item, reset the first item.
• Adjustment values will be overwritten. They will not be deleted even when the projector is turned off.
• Using [KEYSTONE], [PINCUSHION] and [CORNERSTONE] correction can cause the image to be slightly blurred because the
correction is made electronically.
KEYSTONE HORIZONTAL ��������� Corrects horizontal keystone distortion� (
→
KEYSTONE VERTICAL��������������� Corrects vertical keystone distortion� (
→
PINCUSHION LEFT/RIGHT �������� Corrects pincushion distortion at the left or right side�
PINCUSHION TOP/BOTTOM ����� Corrects pincushion distortion at the top or bottom side�
CORNERSTONE ������������������������ Fits a projected image within the border of the screen easily by align the four corner of an image
to the ones of the screen� (
→
RESET ��������������������������������������� Returns all the above items to the factory preset values�
TIP:
• Adjustable angle range in horizontal and vertical direction in the cornerstone and the keystone corrections: Approx. 10 degrees
(Max)
- Depending on input signal, the adjustable range may be narrower.


