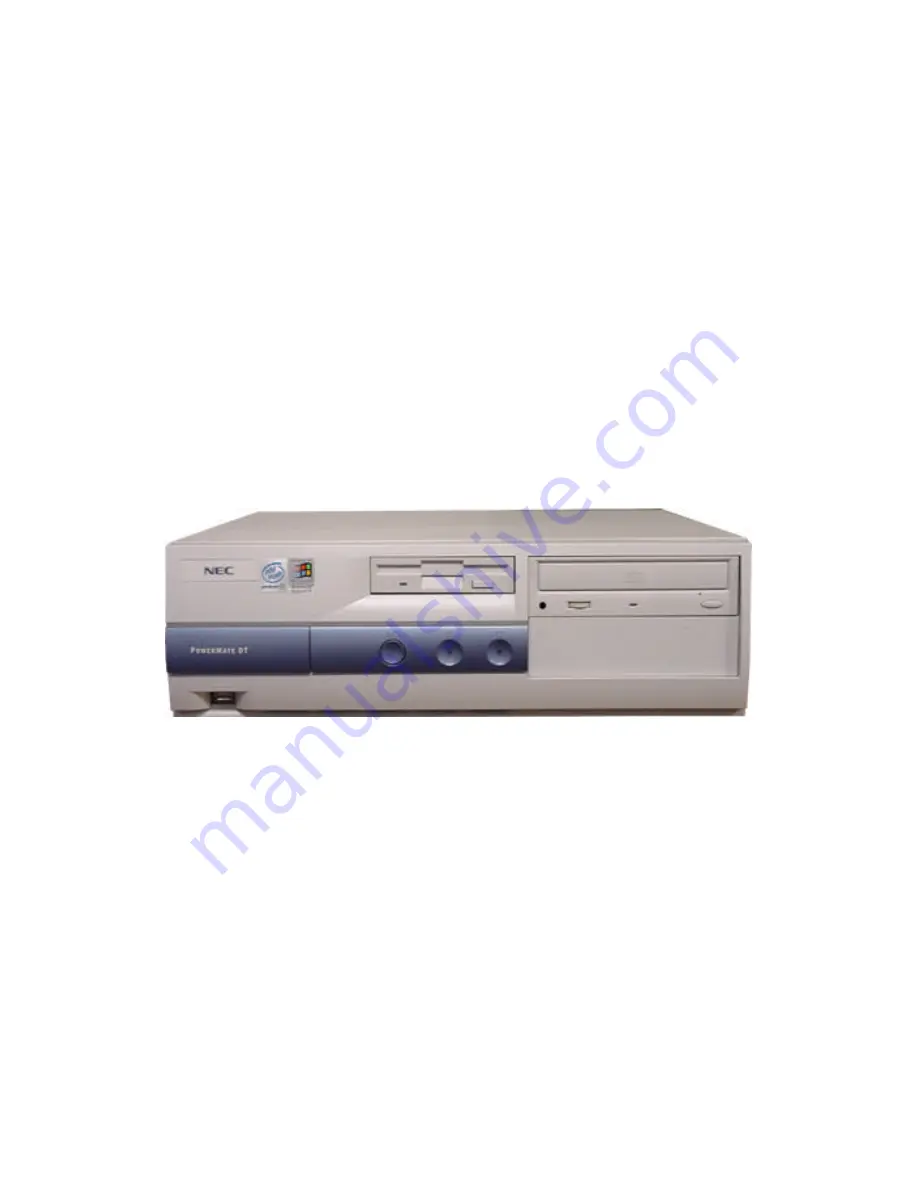
Desktop Chassis Disassembly
n
Required Tools
Disassembly Instructions
Reassembly Instructions
Page 1: ...Desktop Chassis Disassembly n Required Tools n Disassembly Instructions n Reassembly Instructions ...
Page 2: ...rthermore the screws that are removed are shown next to the image of the parts themselves When disassembling the system unit follow these general rules n Do not disassemble the system into parts that are smaller than those specified in the instructions n Label all removed connectors Note where the connector goes and in what position it was installed n Turn off the power and disconnect all power an...
Page 3: ...the cover screws 2 Slide the cover towards the back of the chassis and lift it off Fig 2 Sliding away the cover 2 Removing the Drive Bay To remove the bay containing the drives first open the chassis see the section Opening the Chassis than do as follows 1 Disconnect all cables from the drives present in the drive bay 2 Unscrew the two screws as shown A ...
Page 4: ...ve To remove FDD CD ROM or hard disk drive first open the chassis see the section Opening the Chassis take the drive bay out of the system see Removing the Drives Bay then do as follows n Floppy Disk Drive 1 Remove the two screws at the side of the floppy disk drive as shown 2 Slide the floppy disk drive towards the back of the bay to disengage the lock on its bottom Fig 4 Removing the side screws...
Page 5: ...k Drive 5 Remove the two screws at the side of the hard disk drive as shown 6 Fig 6 Unscrewing the hard disk drive 7 Slide the hard disk drive out of the bay 8 n CD ROM Drive 9 Remove the screw at the side of the CD ROM drive as shown 10 Fig 7 Removing the side screw E D B ...
Page 6: ... screws 13 Turn the CD Rom drive on its side with the lock screws upwards and remove the screws as shown 14 Fig 9 Removing the lock screws 4 Removing the Front Bezel To remove the front bezel first open the chassis see section Opening the Chassis remove the drive bay see section Removing the Drives Bay then do as follows 1 Unlock the three lower latches Fig 10 2 Tilt the front bezel upwards 3 Care...
Page 7: ...als and the motherboard 2 Remove the screws at the rear of the chassis Fig 11 Removing the PSU screws 3 Carefully take the PSU out of the system 6 Removing the Front USB Port To remove the USB front port first open the chassis see section Opening the Chassis then do as follows 1 Remove the USB connector from the header on the motherboard 2 Remove the screws that hold the USB front port to the chas...
Page 8: ...pening the Chassis remove the drive bay see section Removing the Drives Bay and remove the front bezel see Removing the Front Bezel then do as follows 1 Disconnect the switch LED cable from the header on the motherboard Fig 13 Disconnecting switch LED cable from motherboard 2 Press the latch at the side of the switch LED assy to disengage it from the chassis B ...
Page 9: ...the motherboard first open the chassis see the section Opening the Chassis than do as follows 1 Disconnect all cables from the motherboard and from all add on cards that are installed 2 Remove the add on cards if any are installed 3 Remove CPU and memory modules refer to the motherboard documentation for information on how to remove memory modules and CPU 4 Remove the screws holding the motherboar...
Page 10: ...Disassembly and Reassembly 10 Reassembly Instructions Reassembly is the reverse of the disassembly process Use care to ensure that all cables and screws are returned to their proper positions ...