40
3. Convenient Features
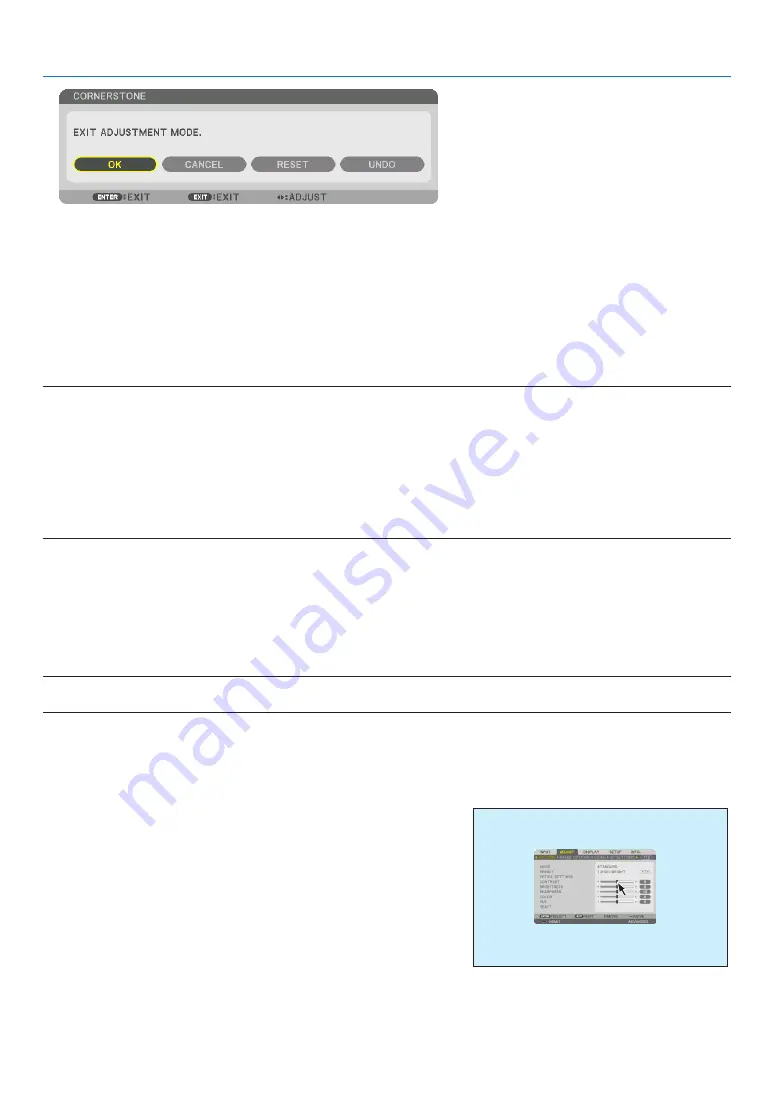
The confirmation screen is displayed.
12. Press the
◀
or
▶
button to highlight the [OK] and press the ENTER button.
This completes the [CORNERSTONE] correction.
• Select [CANCEL] and press the ENTER button to return to the [CORNERSTONE] screen.
Selecting [CANCEL] will return to the adjustment screen without saving changes (Step 3).
Selecting [RESET] will return to the factory default.
Selecting [UNDO] will exit without saving changes.
NOTE:
• Even when the projector is turned on, the last used correction values are applied.
• Carry out either one of the following actions to clear the adjustment value of [CORNERSTONE].
• In Step 11, select [RESET] and then press the ENTER button.
• In the state [CORNERSTONE] has been selected for [MODE] in the [GEOMETRIC CORRECTION]:
• Press the Geometric. button for 2 or more seconds.
• Run [DISPLAY]
→
[GEOMETRIC CORRECTION]
→
[RESET] in the on-screen menu.
• Using CORNERSTONE correction can cause the image to be slightly blurred because the correction is made electronically.
• A commercially available USB mouse is available for CORNERSTONE correction.
❼
Operation for the On-Screen Menu by a commercially
available USB mouse
Once a commercially available USB mouse is connected to this projector, it enables to perform the operation for the
on-screen menu and the geometric correction easily.
NOTE:
• Not guarantee the performance of all USB mouse available on the market.
Menu operation
①
Display the on-screen menu by right click.
②
Select a desired menu and perform adjustment by left click.
The adjustment bar can be control by drag and drop.


