background image

English-2

Registration Information

Canadian Department of Communications Compliance Statement

DOC: 

This Class B digital apparatus meets all requirements of the Canadian Interference-Causing Equipment Regulations.

C-UL:

 Bears the C-UL Mark and is in compliance with Canadian Safety Regulations according to CAN/CSA C22.2 No. 60950-1.

FCC Information

1.  

Use the attached specifi ed cables with the MultiSync P232W/MultiSync P241W monitor so as not to interfere with radio   


and television reception.


(1) 

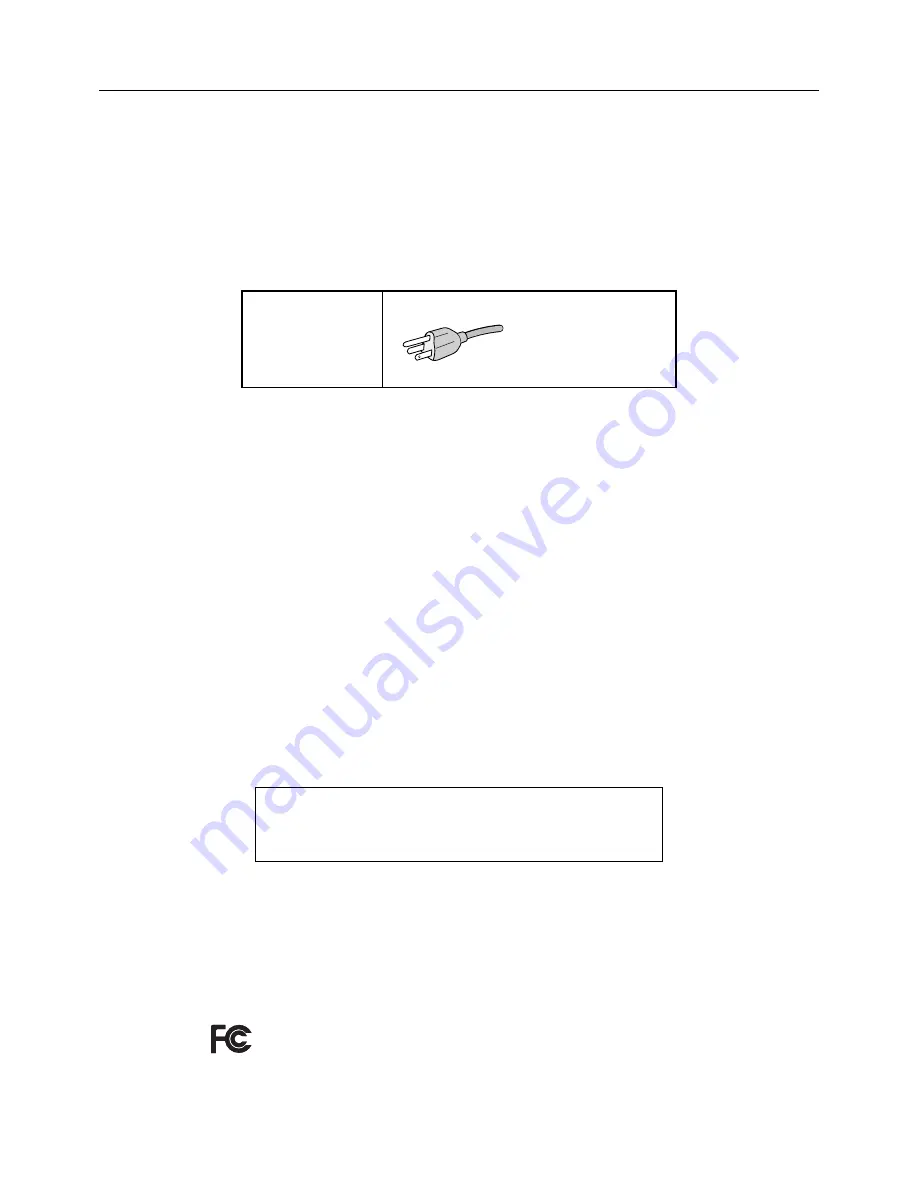
The power supply cord you use must have been approved by and comply with the safety standards of U.S.A.,    


and meet the following condition.

Power supply cord
Length
Plug shape

Non shield type, 3-conductor
2.0 m

U.S.A


(2) 

Please use the supplied shielded video signal cable, 15-pin mini D-SUB to D-SUB cable or DVI-D to DVI-D cable.    


Use of other cables and adapters may cause interference with radio and television reception.

2.  

This equipment has been tested and found to comply with the limits for a Class B digital device, pursuant to part 15 of 

the FCC Rules. These limits are designed to provide reasonable protection against harmful interference in a residential 
installation. This equipment generates, uses, and can radiate radio frequency energy, and, if not installed and used 
in accordance with the instructions, may cause harmful interference to radio communications. However, there is no 
guarantee that interference will not occur in a particular installation. If this equipment does cause harmful interference to 
radio or television reception, which can be determined by turning the equipment off and on, the user is encouraged to try 
to correct the interference by one or more of the following measures:


• 

Reorient or relocate the receiving antenna.


• 

Increase the separation between the equipment and receiver.


• 

Connect the equipment into an outlet on a circuit different from that to which the receiver is connected.


• 

Consult your dealer or an experienced radio/TV technician for help.

If necessary, the user should contact the dealer or an experienced radio/television technician for additional suggestions. 
The user may fi nd the following booklet, prepared by the Federal Communications Commission, helpful: “How to Identify 
and Resolve Radio-TV Interference Problems.” This booklet is available from the U.S. Government Printing Offi ce, 
Washington, D.C., 20402, Stock No. 004-000-00345-4.

Declaration of Conformity

This device complies with Part 15 of FCC Rules. Operation is subject to the following two conditions. (1) This device may not 
cause harmful interference, and (2) this device must accept any interference received, including interference that may cause 
undesired operation.

U.S. Responsible Party:  NEC Display Solutions of America, Inc.
Address: 


500 Park Boulevard, Suite 1100


  Itasca, 

Illinois 

60143

Tel. 

No.: 

  (630) 

467-3000

Type of Product: 

Display Monitor

Equipment Classifi cation:  Class B Peripheral

Model: 

MultiSync P232W (L231V1)


MultiSync P232W (P232W)


MultiSync P232W (P232W-BK)


MultiSync P241W (L240UN)


MultiSync P241W (P241W)


MultiSync P241W (P241W-BK)

We hereby declare that the equipment specifi ed above conforms 

to the technical standards as specifi ed in the FCC Rules.

Summary of Contents for P232W-BK

Page 1: ...MultiSync P232W MultiSync P241W User s Manual...

Page 2: ...lish 6 Controls English 11 Using the PICTURE MODE function English 17 Advanced OSD English 18 Specifications P232W English 26 Specifications P241W English 27 Features English 28 Troubleshooting Englis...

Page 3: ...are trademarks or registered trademarks of their respective owners As an ENERGY STAR Partner NEC Display Solutions of America Inc has determined that this product meets the ENERGY STAR guidelines for...

Page 4: ...does cause harmful interference to radio or television reception which can be determined by turning the equipment off and on the user is encouraged to try to correct the interference by one or more o...

Page 5: ...Immediately turn off the power unplug your monitor from the wall outlet and move to a safe location then refer servicing to qualified service personnel under the following conditions If the monitor is...

Page 6: ...realize the maximum ergonomics benefits we recommend the following To avoid eye fatigue adjust the brightness to a moderate setting Place a sheet of white paper next to the LCD screen for luminance re...

Page 7: ...Cord Video Signal Cable DVI D to DVI D cable Video Signal Cable Mini D SUB 15 pin to Mini D SUB 15 pin DisplayPort cable USB Cable Setup Manual CD ROM Screw x 4 to mount the monitor to a flexible arm...

Page 8: ...ome Macintosh systems do not require a Macintosh cable adapter For a PC with DisplayPort output Connect the DisplayPort cable to the connector of the display card in your system Figure A 4 Figure A 1...

Page 9: ...ptional product attachment Only for P241W Do not use this connector unless specified DVI 1 2 DisplayPort USB downstream USB upstream1 USB upstream2 DVI 2 3 D SUB Figure C 1a A Type B Type A Type B Typ...

Page 10: ...most timings For further adjustments use the following OSD controls AUTO CONTRAST Analog input only AUTO ADJUST Analog input only Refer to the Controls section of this User s Manual for a full descrip...

Page 11: ...ds on each side of the monitor screen and turn clockwise from Landscape to Portrait or counter clockwise from Portrait to Landscape Figure R 1 To rotate OSD menu between landscape and portrait refer t...

Page 12: ...CD monitor is designed for use with a flexible arm To prepare the monitor for alternate mounting purposes Follow the instructions provided by the manufacturer of the display mount To meet the safety r...

Page 13: ...OSD menu is off 1 7 UP DOWN Navigates up or down through the OSD Control menu Show PICTURE MODE menu when not in the OSD Control menu 1 2 8 RESET PIP Resets the OSD back to factory settings in the OS...

Page 14: ...y ECO MODE Decreases the amount of power consumed by reducing the brightness level OFF No function MODE1 Decreases the brightness range up to about 64 3 P232W Decreases the brightness range up to abou...

Page 15: ...adjustable to get as distinct or as soft an image as your prefer and set independently by different timings Color Control Systems PICTURE MODE Change the Picture mode that is most suitable for the typ...

Page 16: ...en a DVD player or other type of high definition device is connected select ENHANCED NOTE Interlaced signals 480i 576i 1080i are not supported If you have any problems please refer to the Troubleshoot...

Page 17: ...ntrol menu will stay on as long as it is use You can select how long the monitor waits after the last touch of a button to shut off the OSD control menu The preset choices are 10 120 seconds by 5 seco...

Page 18: ...currency unit is Euro You can adjust currency setting to Euro icon from US dollar using the LEFT or RIGHT key in Current setting item 4 Select CURRENCY CONVERT SETTING item using the UP or DOWN key T...

Page 19: ...color gamut Suitable for use with color managed applications Use ICC color profile included in the enclosed CD ROM DICOM 1 Medical settings for X ray imaging view Setting that conforms to the DICOM s...

Page 20: ...This menu is larger than the normal OSD To exit the advanced menu Turn off and restart the monitor in the normal way To make an adjustment ensure that the tag is highlighted then press SELECT To move...

Page 21: ...ndicator on the OSD will turn magenta RED GREEN BLUE Adjusts color gamut When the selected settings are outside of the LCD gamut the indicator on the OSD will turn magenta COLOR VISION EMU Previews va...

Page 22: ...hen the display used side by side with a standard gamut display monitor This feature compensates for the way the human eye perceives colors slightly differently compared to the scientific instrument u...

Page 23: ...AA is disabled ON If a change in signal is detected A NTAA will adjust the monitor to the optimal settings for the new signal If no change in the signal is detected then A NTAA does not activate The s...

Page 24: ...onnecting a computer to each of the upstream ports the monitor s USB downstream ports can be used by selecting this setting for the current input signal When using only one upstream port the connected...

Page 25: ...Out mode a screen will appear indicating the OSD controls are locked out There are three types of OSD LOCK OUT OSD LOCK OUT with no control To activate the OSD Lock Out function press SELECT then RIGH...

Page 26: ...video cable NOTE Set DDC CI to ENABLE when using hardware calibration software like MultiProfiler over DisplayPort DVI or VGA SCREEN SAVER Use the SCREEN SAVER to reduce the risk of image persistence...

Page 27: ...isplays the estimated carbon usages information in kg This is the arithmetic estimation not actual measurement value This estimation is based without any options COST SAVINGS Displays the electricity...

Page 28: ...to 85 Hz 1600 x 900 1 at 60 Hz 1680 x 1050 1 at 60 Hz 1920 x 1080 at 60 Hz NEC DISPLAY SOLUTIONS cites recommended 1024 x 1280 1 at 60 Hz resolution for optimal display performance 1080 x 1920 1 at 60...

Page 29: ...alog 1600 x 1200 1 at 60 Hz Digital 1680 x 1050 1 at 60 Hz 1920 x 1200 at 60 Hz NEC DISPLAY SOLUTIONS cites recommended 1024 x 1280 1 at 60 Hz resolution for optimal display performance 1200 x 1920 1...

Page 30: ...man ergonomics to improve the working environment protect the health of the user and save money Examples include OSD controls for quick and easy image adjustments tilt base for preferred angle of visi...

Page 31: ...ne hour and a residual image remains the monitor should be turned off for one hour to erase the image NOTE As with all personal display devices NEC DISPLAY SOLUTIONS recommends using a moving screen s...

Page 32: ...rds do not output video signal when monitor is turned OFF ON or disconnect connect from the AC power cord under low resolution with DisplayPort If no video is present on the screen check the status of...

Page 33: ...el Figure 2 2 Set the DARK level This is the level of brightness that the monitor will go down to when the ambient light level is low Make sure the room is at its darkest when setting this level Then...

Page 34: ...y Energy Energy saving mode after a certain time beneficial both for the user and the environment Electrical safety Emissions Electromagnetic fields Noise emissions Ecology The product must be prepare...

Page 35: ...ous safety standards at an impartial laboratory Electric and magnetic elds emissions as low as normal household background levels Low acoustic noise emissions Some of the Environmental features of the...

Page 36: ...This monitor features an advanced energy saving capability When a VESA Display Power Management Signalling DPMS Standard signal is sent to the monitor the Energy Saving mode is activated The monitor...

Reviews: