


16
Sound Control
You can select your preferred sound setting; Flat, Music,
Movie or Speech and you can also adjust the sound
frequency of equalizer, balance. If you switch AVL to on,
the set automatically keeps on an equal volume level even
if you change programme.
1. Press the MENU button.
2. Select the Sound menu, then press VOL
Ïq
button.
3. Press the PR
xy
button to select the desired
sound item; Equalizer, Balance, AVL Surround or
headphone Volume.
4. Press the VOL
Ïq
button to make desired
adjustment.
5. Press the VOL
Ïq
button in Equalizer to set the
Equalizer.
6. Press the PR
xy
button to select your preferred
setting ; Flat, Music, Movie, Speech or User.
To set the Equalizer User.
a. Select User by pressing the PR
xy
button.
b. Select a sound band by pressing the VOL
Ïq
button.
c. Make appropriate sound level with the PR
xy
button.
d. Press the MENU button to return to preceding
MENU and the TV/AV button to return to normal
TV viewing.
7. Select the Balance menu and adjust the balance of
speakers.
8. Select the AVL(Automatic Volume Leveler) menu On
or Off
9. Select the Surround menu On or Off.
10. Select the
n
Volume menu and adjust the volume
from headphone.
11. Select the Sub woofer menu to adjust the bass
volume.(It is possible when the Sub woofer is
connected to the set.)
ż
The sound Flat, Music, Movie and Speech are
programmed for good sound reproduction at the factory
and cannot be changed.
Auto Sound Control
SSM (Sound Status Memory)
1. Press the SSM button.
2. Press the SSM button repeatedly to select.
Each press of the button changes the screen display as below.
Flat
؋
Music
؋
Movie
؋
Speech
؋
User
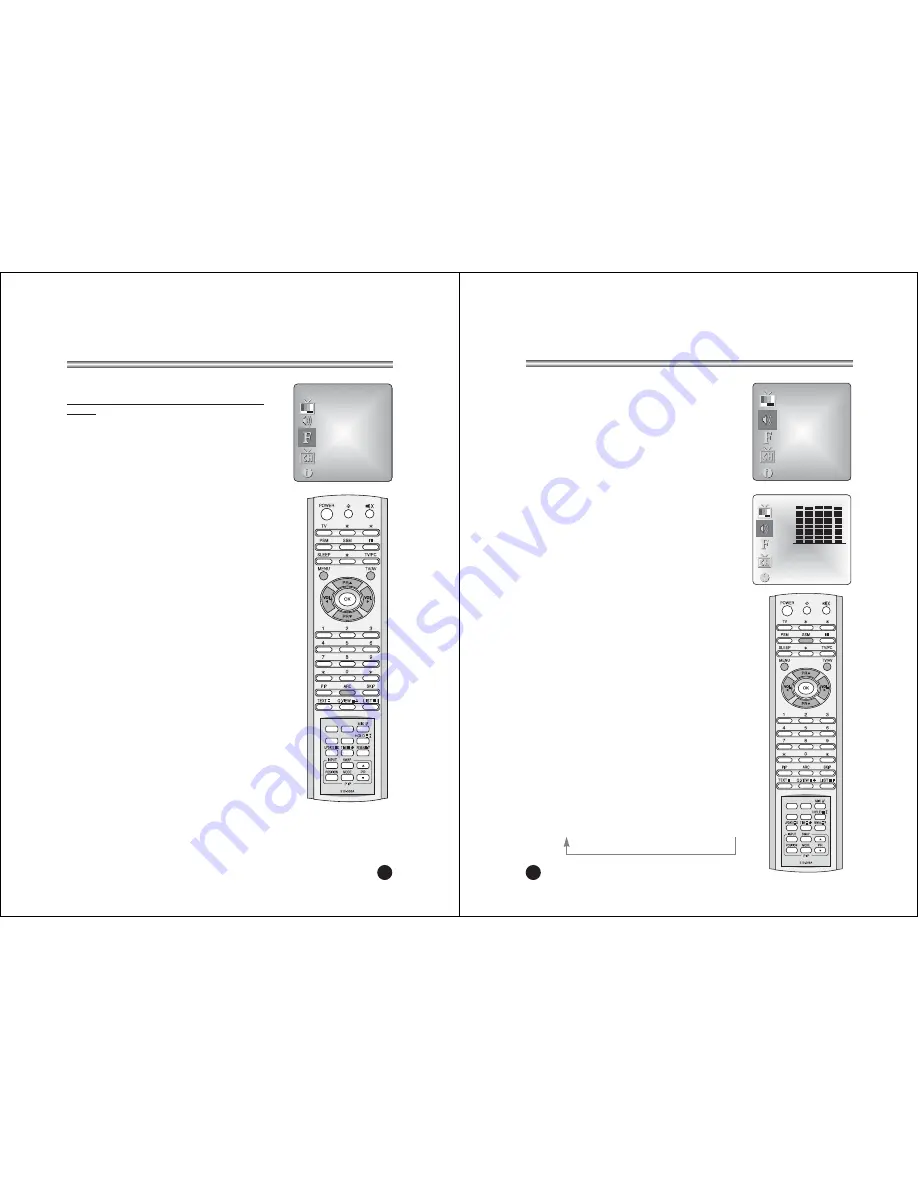
ƇƉ ȖȘ 5-6=<>)>
Sound
Equalizer
Ș
Balance 0
AVL Off
Surround
Off
n
Volume 30
Sub woofer 0
ƇƉ
5-6=<>)>
Equalizer
Flat
Music
Movie
Speech
User
3Pb
17
Other functions
TV, COMPONENT and S-VIDEO modes
(You can’t set PC mode in this menu. Use the TV/AV
button)
External equipment inputs:S-VIDEO mode are used for
video devices like VCRs, DVDs, etc.), COMPONENT
mode is used for COMPONENT type devices.
Note : If a VCR is connected to the antenna jack, use TV
mode. See External Equipment Connection section.
1. Press the MENU button.
2. Select the Special menu.
3. Press the PR
xy
button to select Input.
4. Press the VOL
Ïq
button to select TV,
COMPONENT and S-VIDEO.
COMPONENT : Component device connected to the
COMPONENT jack.
S-VIDEO : S-VIDEO device connected to the TV's
S-VIDEO Input.
To return to TV mode, press the TV/AV button.
Alternatively you can select the TV, COMPONENT,
S-VIDEO, PC-ANALOG or PC-DIGITAL mode by
pressing the TV/AV button.
Auto sleep
If you select Auto sleep on the set will automatically
switch itself to standby mode approximately ten minutes
after a TV Channel stops broadcasting.
1. Press the MENU button, select the Special menu,
then press VOL
Ïq
button.
2. Press the PR
xy
button to select Auto sleep.
3. Press the VOL
Ïq
button to select On.
4. Press the TV/AV button to return to normal TV
viewing.
Blue back
Programme without a program signal appear in blue.
Auto wide (Aspect Ratio Control)
Press the ARC button to select a desired picture format.
Each press of the ARC button, selects Auto Wide, 16:9,
14:9, ZOOM, 1:1 and Auto wide mode.
ƇƉ ȖȘ 5-6=<>)>
Special
Input
TV
Auto sleep Off
Blue back
On
Auto wide Off


