background image

856-129899-103-00


N8101-610F Processor Heat Sink 

  Installation and Handling Guide


Summary of Contents for N8101-610F

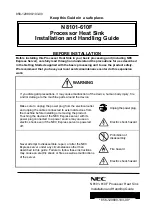
Page 1: ...cause malfunction of the device human body injury fire and or damage to the machine parts around the device Unplug the power plug Make sure to unplug the power plug from the electrical outlet and unplug the cables connected to external devices from the machine before installing or removing the product Touching the device of the NEC Express server with its power plug connected to a power source may...

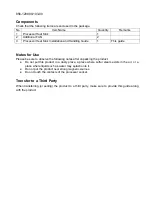
Page 2: ...be sure to observe the following notes after unpacking the product Do not put this product in a dusty place a place where sulfur steam exists in the air or a place where liquid such as water may splash onto it Do not put the product near strong magnetic sources Do not touch the contacts of the processor socket Transfer to a Third Party When transferring or selling the product to a third party make...

Page 3: ... tighten the four screws in the order shown in the image below as forming a diagonal cross and then tighten them securely 1 3 2 4 3 Make sure that the heat sink is level with the mother board Notice If the heat sink is not level remove it once and then install it again The following may be the cause of the heat sink not being level The CPU is not positioned correctly All screws are not completely ...

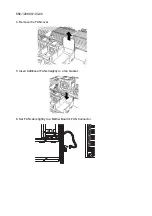
Page 4: ...856 129899 103 00 4 Remove the FAN cover 5 Insert Additional FAN straightly to a fan bracket 6 Set FAN cable tightly to a Mother Board s FAN Connector ...

Page 5: ...856 129899 103 00 Removing the Processor Heat Sink Remove the heat sink from the CPU in the reverse procedure of the installation See your User s Guide which is in the EXPRESSBUILDER for detail ...

Page 6: ...856 129899 103 00 N8101 610F Processor Heat Sink Installation and Handling Guide ...

Reviews: