NEC Display Solutions
Video Wall Installation Guide
MULTI-DISPLAY
ID Control
Auto ID / IP
}
“SET” and choose if Monitor ID, IP Address or both
shall be assigned.
Monitor ID’s and IP Addresses are provided sequentially and
automatically to each connected monitor. You have to provide the
start IP address. Confirm assigned monitors by pushing “OK” to
memorise settings.
Note: AUTO ID has to be performed only on first monitor of LAN Daisy
Chain. If function is not performed only first monitor can be controlled.
MULTI-DISPLAY
Video Out Setting
}
“ON”
Note: Con rm that Display Port output is enabled which can be used for
Display Port Daisy Chain.
MULTI-DISPLAY
Power on Delay set to “Link to ID” to educe load on power
network
Note: When “ON” selected, delay time is linked with Monitor ID. It reduces
the risk of overstressing the power network.Screens will turn on sequentially
not simultaneously when this is activated.
DISPLAY PROTECTION
Fan Control
}
switch to “on” and choose “low” fan speed as
appropriate.
Use fan control to optimise the temperature across the wall. The larger the
wall, the more thermal challenges will occur. The upper rows are usually
warmer than lower rows. This can be compensated by activating the fans in
the upper rows. Please use the internal sensors to determine whether fans
should be activated and at what speed.
The trigger points of the fans can also be adjusted to optimise fan operation.
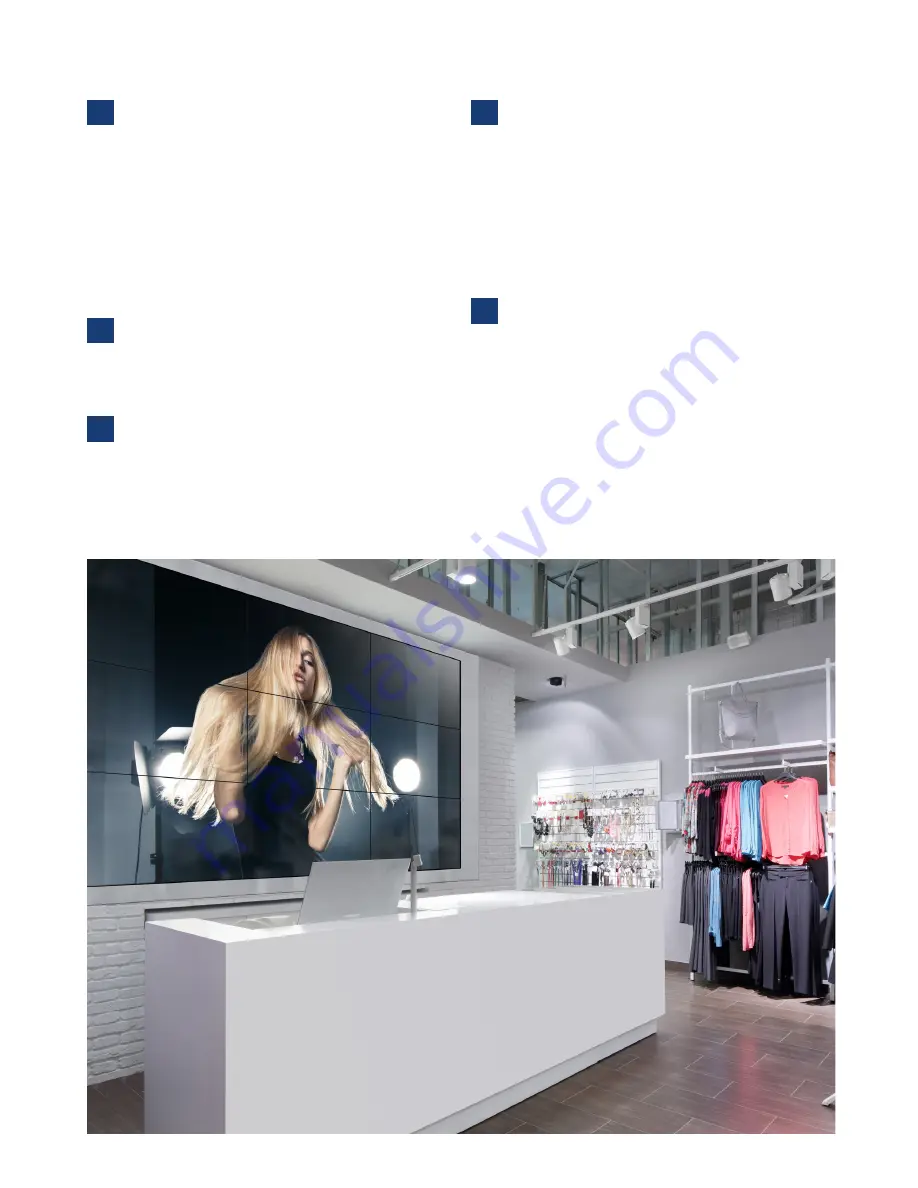
Calibration of video wall can be performed with “NEC Display
Wall Calibrator” software kit KT-LFD-CC2.
• Intensity: Best Possible Matching
• White Point: 10,000K
• Gamma: 2.2
Note: Supports hardware calibration of monitors for best viewing
experiences. Further information is provided in the user manual of NDWC
software kit.
7
8
9
10
6
2


