background image

English - 6


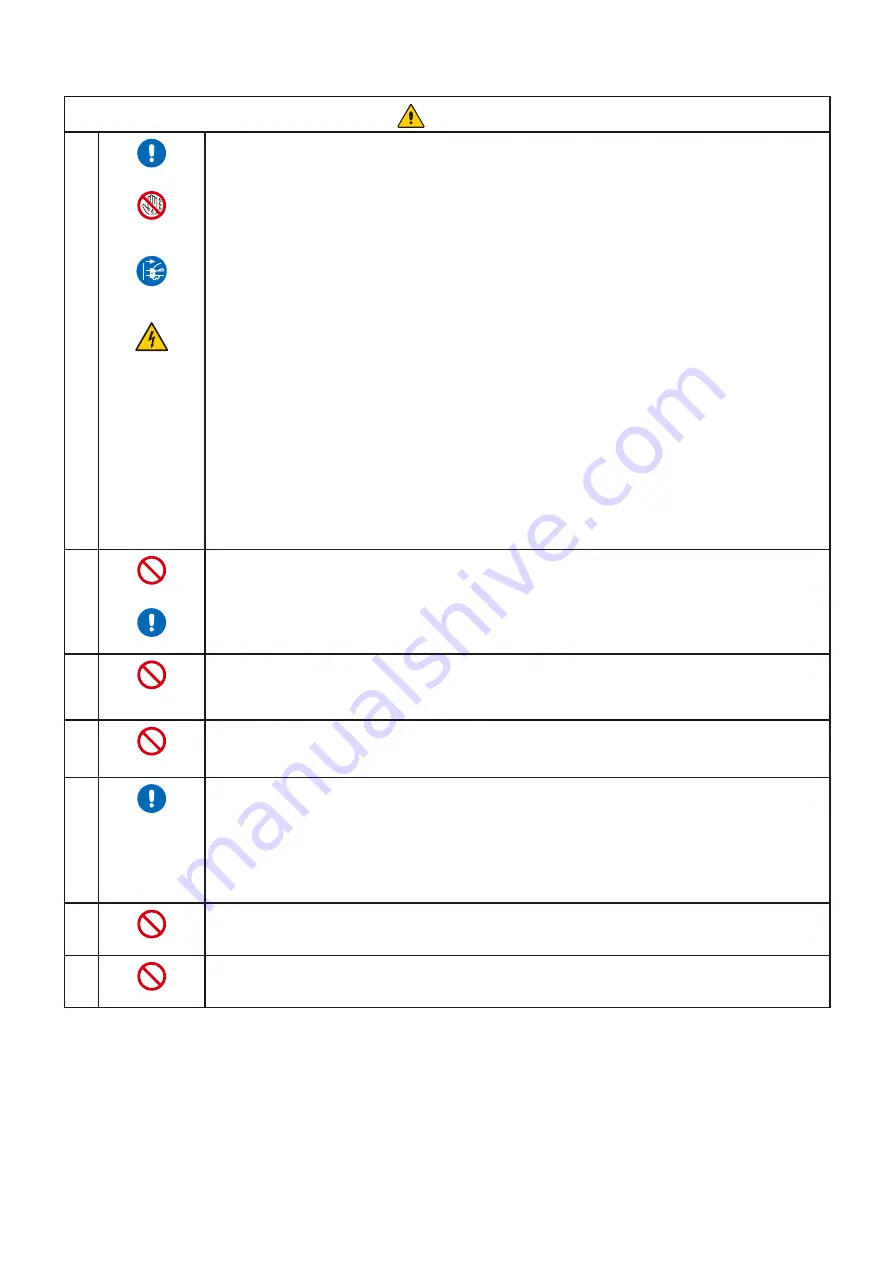
CAUTION

1

REQUIRED

DO NOT TOUCH 

WITH WET HANDS

UNPLUG THE 

POWER CORD

HAZARDOUS 

VOLTAGE

Handling the power cord.
Handle the power cord with care. Damaging the cord could lead to fire or electric shock.
•  When connecting the power cord to the product’s AC IN terminal, make sure the connector 

is fully and firmly inserted.

•  Fasten the power cord to the product by attaching the screw and clamp to prevent loose 

connection. (Recommended Fasten Force: 120 - 190 N•cm).

•  Do not connect or disconnect the power cord with wet hands.
•  When connecting or disconnecting the power cord, pull the power cord out by holding onto 

its plug.

•  When cleaning the product, for safety purposes, unplug the power cord from the power 

outlet beforehand. Regularly dust off the power cord by using a soft dry cloth.

•  Before moving the product, make sure the product power is off, then unplug the power 

cord from the power outlet and check that all cables connecting the product to other 

devices are disconnected.

•  When you are not planning to use the product for an extended period of time, always 

unplug the power cord from the power outlet.

•  This equipment is designed to be used in the condition of the power cord connected to the 

earth. If the power cord is not connected to the earth, it may cause electric shock. Please 

make sure the power cord is connected to the wall outlet directly and earthed properly. Do 

not use a 2-pin plug converter adapter.

2

PROHIBITED

REQUIRED

Do not bind the power cord and the USB cable. It may trap heat and cause a fire.

3

PROHIBITED

Do not connect to a LAN with excessive voltage.
When using a LAN cable, do not connect to a peripheral device with wiring that might have 

excessive voltage. Excessive voltage on the LAN port may cause an electric shock.

4

PROHIBITED

Do not climb on the table where the product is installed. Do not install the product on a 

wheeled table if the wheels on the table have not been properly locked. The product may fall, 

causing damage to the product or personal injury.

5

REQUIRED

Installation, removal, and height adjustment of the optional table top stand.
•  When installing the table top stand, handle the unit with care to avoid pinching your 

fingers.

•  Installing the product at the wrong height can cause tipping.  

Please install your product at proper height to prevent personal injury or damage to the 

product.

6

PROHIBITED

Do not push or climb on the product. Do not grab or hang onto the product.
The product may fall, causing damage to the product or personal injury.

7

PROHIBITED

Do not impact the LCD panel surface, it can cause serious damage to the product or 

personal injury.

Summary of Contents for E868

Page 1: ...User s Manual Large Format Display MODEL E758 E868 Please find your model name on the label on the rear side of the monitor...

Page 2: ...mmand 31 Internal Video Sources 32 Media Player 32 Connecting a USB Device 32 Chapter 4 Basic Operation Power On and Off Modes 34 Power indicator status 34 Energy Mode 34 When RS 232C is selected for...

Page 3: ...nergy Information Disposing of your old NEC product 79 Energy Saving 79 About Conversion Cables Used with the AV Terminal 81 NOTE 1 The contents of this manual may not be reprinted in part or whole wi...

Page 4: ...sion technician for additional suggestions The user may find the following booklet prepared by the Federal Communications Commission helpful How to Identify and Resolve Radio TV Interference Problems...

Page 5: ...prohibited Indicates a mandatory action This symbol indicates that the power cord should be unplugged from the power outlet WARNING 1 UNPLUG THE POWER CORD Unplug the power cord if the product malfunc...

Page 6: ...is strongly recommended to use a trained service person Failure to follow the standard installation procedures could result in damage to the product or injury to the user or installer 8 REQUIRED PROHI...

Page 7: ...the product in an area on the wall or ceiling strong enough to support the weight of the product Prepare the product using mounting accessories such as hook eyebolt or mounting parts and then secure...

Page 8: ...fire or product failure Keep objects away from children and babies If objects get into the cabinet slot turn off the product s power then unplug the power cord from the power outlet Contact your deal...

Page 9: ...h If the power cord is not connected to the earth it may cause electric shock Please make sure the power cord is connected to the wall outlet directly and earthed properly Do not use a 2 pin plug conv...

Page 10: ...r gas Contact your dealer or local authorities when disposing of batteries 9 REQUIRED Suitable for entertainment purposes at controlled luminous environments to avoid disturbing reflections from the s...

Page 11: ...ith the safety standard of your particular country Plug Type North America European Continental U K Japanese Plug Shape Region U S A Canada EU except U K U K Japan Voltage V 120 230 230 100 Please use...

Page 12: ...D Screen When the LCD screen is dusty please gently wipe with a soft cloth Clean the LCD screen surface with a lint free non abrasive cloth Avoid using any cleaning solution or glass cleaner Please do...

Page 13: ...5 Mounting Location on page 16 Orientation on page 17 Ventilation Requirements on page 19 Mounting on Ceilings on page 19 Attaching Mounting Accessories on page 20 Installing and Removing the Optional...

Page 14: ...V AAA batteries To install or replace batteries 1 3 4 2 CAUTION Please refer to CAUTION 8 NOTE The batteries supplied with the remote control may become empty quickly depending on their condition Ther...

Page 15: ...pes of cables and adapters may cause reception problems 6 Turn the power button on Switch on the monitor power before turning the computer or external equipment on 7 Operate the connected external equ...

Page 16: ...sider the following Turn off the monitor s main power switch when not in use Use the button on the main unit or the button on the remote control to put the monitor in standby mode If using a cover mad...

Page 17: ...Regularly ask the qualified personnel to inspect the mounting location and carry out maintenance Prevent Tipping WARNING Please refer to WARNING 7 and WARNING 9 Before attaching the monitor to the wa...

Page 18: ...ing when mounting on a wall or ceiling We recommend mounting interfaces that comply with UL1678 standard in North America Prior to mounting inspect the installation location to ensure that it is stron...

Page 19: ...ushing or leaning on it This may cause the monitor to become distorted or damaged Possible locations for the handles used to attach the safety wire Attach the safety wire to the handles shown in the f...

Page 20: ...rotated counterclockwise so that the right side is moved to the top and the left side is moved to the bottom Improper ventilation may shorten the lifetime of the monitor Power Indicator NOTE The OSD...

Page 21: ...English 18 The monitor cannot be used when inclined 15 or more WARNING Installing the monitor at an angle of 15 or more may cause a malfunction Within 15 Within 15 Within 15 Within 15...

Page 22: ...e of the monitor is 40 C This monitor has internal temperature sensors NOTE If the monitor overheats a Warning appears If a Warning appears stop using the monitor turn off the power and allow it to co...

Page 23: ...nly the eyebolts Eyebolts are for temporary use only M10 2 Attach Mounting Accessories Be careful to avoid tipping the monitor when attaching accessories Mounting Interface M8 600 mm 400 mm Mounting a...

Page 24: ...included with the stand or mounting equipment Use only those devices recommended by the manufacturer NOTE Use the ST 801 ONLY use screws which are included with the optional table top stand Install th...

Page 25: ...English 22 Chapter 2 Parts Names and Functions This Chapter Includes Control Panel on page 23 Terminal Panel on page 24 Wireless Remote Control on page 26...

Page 26: ...ientation landscape portrait 4 INPUT Button INPUT Cycles through the available inputs when the OSD menu is closed HDMI1 HDMI2 HDMI3 VGA RGB VGA YPbPr AV Media Player Input names are shown as their fac...

Page 27: ...cause overheating or fire 6 HEADPHONE terminal stereo mini jack Outputs the selected audio signal 7 Digital audio output terminal For connection to an audio device equipped with a digital audio input...

Page 28: ...put terminal of a computer or another device USB Type A port Can be used to display photos still images and play video and music files stored in a USB storage device Check the shape of the connectors...

Page 29: ...ure modes are Dynamic Standard Energy Savings Conferencing HighBright Custom and HDR Video 9 p q t u OK cursor buttons Used to navigate inside and select the menus 0 VOL Button volume minus button VOL...

Page 30: ...or disconnect cables when turning on the monitor s main power or other external equipment s power as this may result in loss of image Do not use an attenuating built in resistor audio cable Using an a...

Page 31: ...ct the headphones while wearing them Otherwise your ears may be injured depending on the sound volume NOTE Headphones with a stereo mini jack plug can be connected to the monitor If the plug of your h...

Page 32: ...tputting the HDMI signal Depending on the video card or driver used the image may not be shown correctly When you use a computer with HDMI go to the OSD menu Video Advanced Video and set Overscan to A...

Page 33: ...internal speakers are muted HDMI CEC Consumer Electronics Control HDMI CEC provides compatible video devices connected via HDMI with the ability to communicate and allows limited control between the...

Page 34: ...uto Turn Off System Standby If the monitor is set to standby using the remote control the HDMI CEC compatible device connected with an HDMI cable also goes into standby at the same time If the monitor...

Page 35: ...SB Type A port of the monitor NOTE The monitor is not guaranteed to work with all USB storage devices sold commercially Check that the USB storage device is connected to the USB Type A port of the mon...

Page 36: ...r the Remote Control on page 36 Showing the Information OSD on page 37 Switching Between Sound Modes on page 37 Switching Between Picture Modes on page 37 Setting the Aspect Ratio on page 38 OSD On Sc...

Page 37: ...pending on the selected control method When RS 232C is selected for control Power supply and Quick Start are set to Off Home Office mode When no signal is input No signal is displayed and the monitor...

Page 38: ...d Retail mode The monitor does not enter the energy saving mode when no signal is input The On mode is maintained Office mode When no signal is input No signal is displayed and the monitor enters the...

Page 39: ...10 ft NOTE The remote control system may not function when direct sunlight or strong illumination strikes the remote control sensor or near fluorescent lamps Handling the remote control Do not expose...

Page 40: ...D is set to On White Connected to a LAN Red Not connected to a LAN NOTE When the input signal is Media Player the information OSD will not be displayed Switching Between Sound Modes Press the SOUND bu...

Page 41: ...he image is enlarged There are no black bars neither vertically nor horizontally Part of the image vertically or horizontally is not displayed 4096 2160 1920 1080 1920 960 1024 768 3840 2160 3840 1920...

Page 42: ...t Reset Video Settings HDR Video Dynamic Standard Energy Savings Conferencing HighBright Custom OK Return MENU EXIT EXIT Input source Selected main menu Sub menu Adjustment settings Key guide Main men...

Page 43: ...e other settings related to the image Audio settings Adjust the volume balance equalizer and the other settings related to the audio Setup settings Display the monitor information select the language...

Page 44: ...rder they are displayed in the folder File names must contain only alphanumeric characters Operation buttons Press the OK button of the remote control while playing a file to display the OSD operation...

Page 45: ...All files in the folder are played once in the sorted order One or more selected files Any files you checked are played once in the sorted order 1 Repeat one file A file is playing the current file pl...

Page 46: ...o MPEG1 40 Mbps 1920 x 1080 30 Hz MPEG2 40 Mbps 1920 x 1080 30 Hz MPEG4 40 Mbps 1920 x 1080 30 Hz H 263 40 Mbps 1920 x 1080 30 Hz H 264 135 Mbps 3840 x 2160 60 Hz HEVC H 265 100 Mbps 3840 x 2160 60 Hz...

Page 47: ...ter 5 Advanced Operation This Chapter Includes Creating a Power Schedule on page 45 Using Picture Modes on page 46 Setting Security and Locking the Monitor Controls on page 47 Locking the Button Contr...

Page 48: ...time e imer Time settings le settings Power On Power Off ve Adjust Return MENU EXIT EXIT 12 00 12 00 Sleep Timer Current Time settings Schedule settings Move Adjust Power On Power Off Schedule HDMI1...

Page 49: ...t a mode HDR Video Dynamic Standard Energy Savings Conferencing HighBright Custom Picture Mode Types Picture Mode Purpose HDR Video Setting for HDR format video can be selected only when an HDR signal...

Page 50: ...sing the remote control or the monitor control panel You can prevent unauthorized use and changes to the monitor settings by enabling the security and lock settings The security and locking functions...

Page 51: ...nagement Signal Information Off Mode 1 Mode 2 HDMI1 OK Return MENU EXIT EXIT 1 In the OSD menu go to Setup Other settings and select Key Lock Settings 2 Select the key lock range Off All buttons opera...

Page 52: ...Settings 2 Select the key lock range Off All buttons operate normally Mode1 Only the POWER and the SOURCE buttons operate Mode2 All buttons are locked Only the power button can be used during standby...

Page 53: ...on page 52 HTTP Browser on page 53 Commands on page 57 Connecting an external device There are two options to connect an external device to control the monitor RS 232C Interface Connecting an externa...

Page 54: ...to the monitor First turn the computer on and then turn the monitor on To control the monitor via commands sent from a computer connected with an RS 232C cable use the control commands Instructions f...

Page 55: ...you to receive email notifications from the monitor and control the monitor from a computer via a network To use a LAN connection you are required to assign an IP address to the monitor page 75 The mo...

Page 56: ...The monitor may not respond if the buttons shown on the browser are repeatedly pressed in rapid intervals In such a case wait a moment and try again If you still can t get a response turn the monitor...

Page 57: ...tions related to the network can be configured the same way as in the OSD menu using the links below Top INPUT SOURCE HDMI1 STATUS PROTOCOL STATUS SYSTEM MODEL NAME E758 SERIAL XXXXXXXXXX FIRMWARE VER...

Page 58: ...rk when Off is selected for DHCP SUBNET MASK Set the subnet mask for the network to which the monitor is connected when Off is selected for DHCP DEFAULT GATEWAY Set the default gateway for the network...

Page 59: ...d only for use with Crestron s ROOMVIEW For further information visit https www crestron com AMX Settings Click on AMX on the left hand column on the HOME screen to enter the setting screen AMX BEACON...

Page 60: ...a connected device Instructions for each command format can be found in External_Control pdf in our Website see Appendix B External Resources page 68 RS 232C Interface Item Details PROTOCOL RS 232C B...

Page 61: ...on page 59 The image is not displayed correctly on page 60 An instruction or caution screen is displayed on page 61 Others when connected to a computer on page 61 Others remote control speakers on pag...

Page 62: ...the computer P 29 The power indicator is lit a color other than blue or it is flashing The monitor automatically goes into standby at the preset time period after the video signal is lost Press the p...

Page 63: ...nd check the following settings P 39 If the OSD menu does not open properly the monitor may be malfunctioning Contact your supplier P 71 P 71 If the OSD menu opens properly the monitor is not malfunct...

Page 64: ...ce this problem may cause a malfunction P 74 1 Depending on the computer a proper signal may not be output immediately after changing the resolution or the frequency and the caution may be displayed f...

Page 65: ...lution Reference The media player function does not recognize the USB storage device Check that a USB storage device is correctly connected to the USB port P 32 When using a video device Symptom Cause...

Page 66: ...English 63 Chapter 8 Specifications This Chapter Includes Compatible Signal List on page 64 E758 on page 65 E868 on page 66...

Page 67: ...o No Recommended resolution 4096 x 2160 54 0 kHz 24 Hz No Yes Yes No No Compressed image 4096 x 2160 56 3 kHz 25 Hz No No Yes No No Compressed image 4096 x 2160 67 5 kHz 30 Hz No No Yes No No Compress...

Page 68: ...minal Digital audio signal For digital audio output HDMI ARC terminal 3 Digital audio signal PCM 2 ch 32 44 1 48 kHz 16 20 24 bits Speaker Output Internal Speakers 10 W 10 W Stereo Control Terminals R...

Page 69: ...inal Digital audio signal For digital audio output HDMI ARC terminal 3 Digital audio signal PCM 2 ch 32 44 1 48 kHz 16 20 24 bits Speaker Output Internal Speakers 10 W 10 W Stereo Control Terminals RS...

Page 70: ...C MPEG 4 Visual license included in this product 1 MPEG AVC THIS PRODUCT IS LICENSED UNDER THE AVC PATENT PORTFOLIO LICENSE FOR THE PERSONAL USE OF A CONSUMER OR OTHER USES IN WHICH IT DOES NOT RECEIV...

Page 71: ...the communications protocol for externally controlling and querying the monitor via either RS 232C or LAN The protocol uses encoded binary and requires calculation of checksums and most functionality...

Page 72: ...OSD Controls List This Chapter Includes Video Settings on page 70 Audio Settings on page 72 Setup on page 73 Control Settings on page 75 Media Player on page 76 Schedule on page 77 Default values can...

Page 73: ...ect ratio 1 1 Shows the image in a 1 by 1 pixel format If the input resolution is higher than the recommended resolution the image will be scaled down to fit the screen Full Fills the entire screen ev...

Page 74: ...the brightness of the screen is adjusted automatically according to the room brightness NOTE When set to ON Backlight Brightness cannot be changed Color Enhance Changes the colors of the image and the...

Page 75: ...dio Internal Speakers Configures the settings for the internal speakers output Auto The sound is not output from the speakers when a cable is connected to the HEADPHONE terminal Off Sound is not outpu...

Page 76: ...or lost Press the INFO button of the remote control to display the selected input terminal on the Information OSD None The monitor does not search for video signal on the other input connections Firs...

Page 77: ...Only the power button and the input switching function operate Mode 2 All buttons are locked Only the power button can be used during standby mode IR Lock Settings Prevents the monitor from being con...

Page 78: ...ubnet mask data for the monitor connected to the network when Off is selected for DHCP DEFAULT GATEWAY Set the default gateway for the monitor connected to the network when Off is selected for DHCP DN...

Page 79: ...ignal is being input in a terminal other than the USB port There was no user operation for 10 seconds or more NOTE Memo The POWER VOLUME and MUTE buttons of the remote control operate normally If othe...

Page 80: ...nutes 240 minutes can be selected Current Time settings Sets the current time NOTE If the monitor remains for two weeks or more with the power cord unplugged the clock will not show the correct time I...

Page 81: ...81 We are strongly committed to environmental protection and sees recycling as one of the company s top priorities in trying to minimize the burden placed on the environment We are engaged in developi...

Page 82: ...in Europe https www sharp nec displays com jp in Japan https www sharpnecdisplays us in USA Energy Saving This monitor features an advanced energy saving capability When a Display Power Management sig...

Page 83: ...products may only apply to the current European Union Member States uct or if applicable follow applicable legislation or agreement you may have The mark on electrical and electronic products may only...

Page 84: ...ables to connect to the AV terminal Check the wiring specification of the cable in advance and choose a proper cable NOTE Different wiring specifications may exist for 4 contact mini jack cables No Si...

Page 85: ...English 82 Rev 1...

Reviews: