© NEC Corporation 2019 33
Login via ViPlex Express
4.5.2
Connect the PC to the LED Poster products via one of the following methods (see 5.4):
Wireless LAN Access point of the LED Poster
External router
Ethernet cable
Notice
If the IP addresses of the PC and LED Poster are not in the same network segment and can be
pinged successfully, click the
Refresh
button and select
Specify IP
to connect to LED Poster
manually.
If the PC and LED Poster are connected through Ethernet cable and there are no other DHCP
servers in the network, click the button
on the top right corner of the page and select
DHCP
Service
. Then, select a local IP address and turn on
DHCP service
to connect to LED Poster
automatically.
Start ViPlex Express.
Step 1)
Click the
Refresh
button.
Step 2)
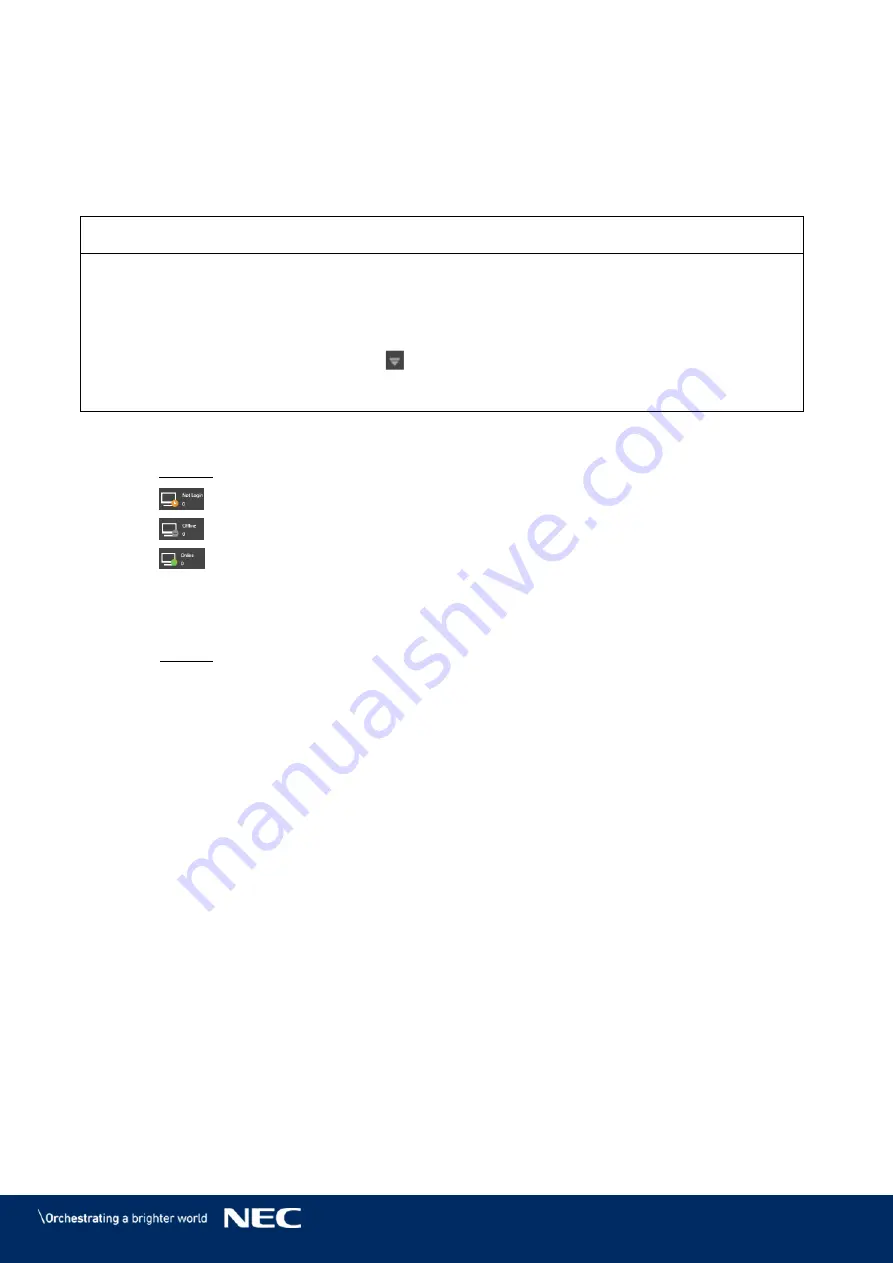
Result: The screen list appears.
The LED Poster is online and you can log in to it.
The LED Poster is offline and you cannot log in to it.
The login to the LED Poster is successful.
After ViPlex Express found the LED Poster, ViPlex Express attempts to log in to the LED
Poster automatically with the default account or the account used for last login.
Automatic login starts.
Step 3)
Result: If the login is successfully,
YES
is shown and the operation is finished.
If the login failed,
NO
is shown. Go to Step 4).
Click the
Connect
button next to the screen information.
Step 4)
Enter your user name and password, click the
OK
button.
Step 5)
Related Operations
Right click the screen information to see the related operations.
Logout:
Log out of the LED Poster.
Rename:
Rename the LED Poster.
Change Password:
Modify the password used for the user "admin" as login to the LED
Poster.
Forget password:
Delete the user name and password used for last login.


