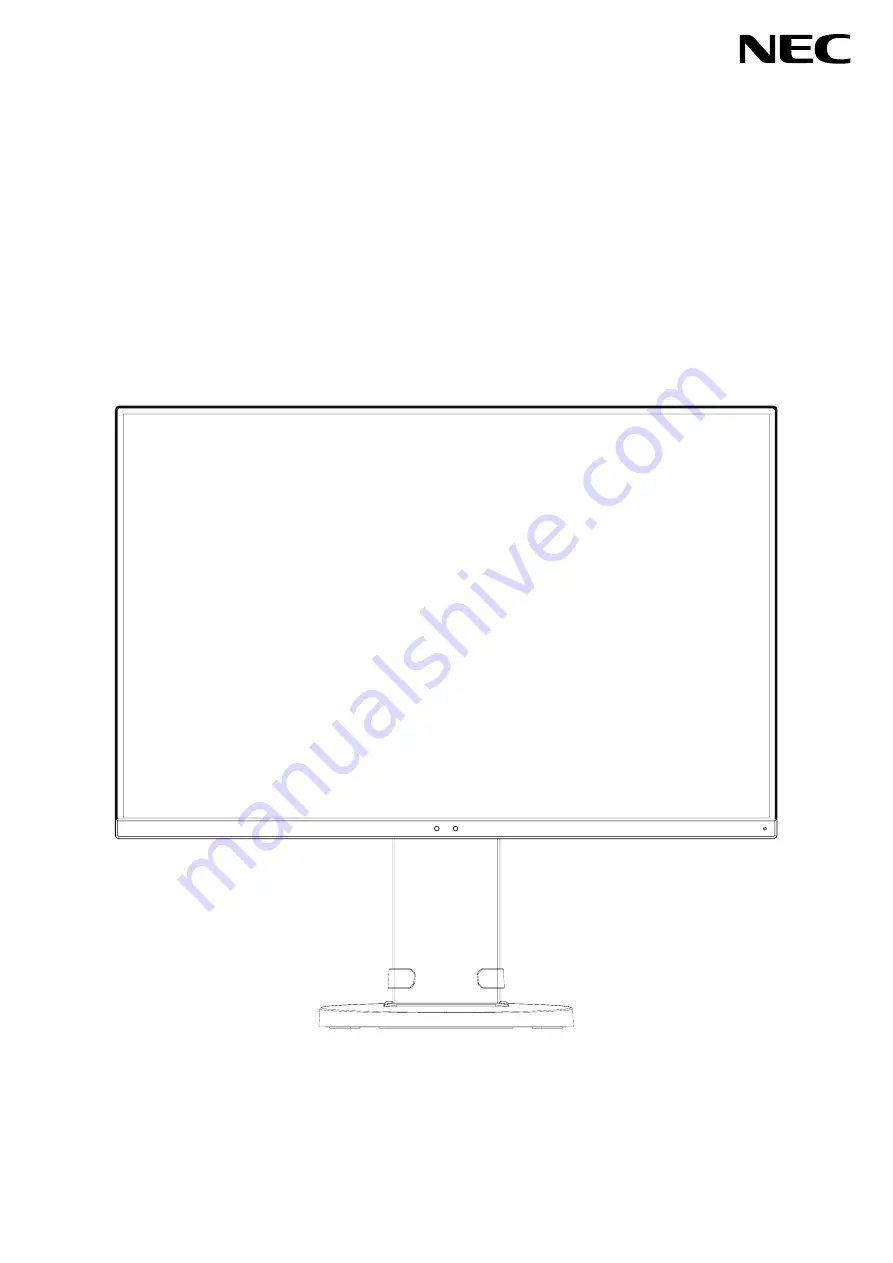
Desktop Monitor
MultiSync EA245WMi
User’s Manual
Please fi nd your model name in the label on the backside of monitor.
Page 1: ...Desktop Monitor MultiSync EA245WMi User s Manual Please find your model name in the label on the backside of monitor ...
Page 2: ...ish 5 ControlSync English 10 Multiple monitors connection using DisplayPort English 11 Recovering from no image English 12 Controls English 13 Specifications English 20 Features English 21 Troubleshooting English 22 Using the Zoom Function English 24 Human sensing function English 25 Using the Auto Brightness function English 26 Manufacturer s Recycling and Energy Information English 27 The model ...
Page 3: ...power supply cord that matches the power supply voltage of the AC power outlet being used NOTE This product can only be serviced in the country where it was purchased Windows is a registered trademark of Microsoft Corporation NEC is a registered trademark of NEC Corporation ErgoDesign is a registered trademark of NEC Display Solutions Ltd in Austria Benelux Denmark France Germany Italy Norway Spai...
Page 4: ...relocate the receiving antenna Increase the separation between the equipment and receiver Connect the equipment into an outlet on a circuit different from that to which the receiver is connected Consult your dealer or an experienced radio TV technician for help If necessary the user should contact the dealer or an experienced radio television technician for additional suggestions The user may find...
Page 5: ...your monitor from the wall outlet and move to a safe location then refer servicing to qualified service personnel under the following conditions If the monitor is used in this condition the monitor may cause fall fire and electric shock If the monitor stand has been cracked or peeled If the monitor has been wobbled If the monitor has an unusual odor When the power supply cord or plug is damaged If...
Page 6: ...he following To avoid eye fatigue adjust the brightness to a moderate setting Place a sheet of white paper next to the LCD screen for luminance reference Do not position the Contrast control to its maximum setting Use the preset Size and Position controls with standard signals Use the preset Color Setting Use non interlaced signals with a vertical refresh rate of 60 Hz Do not use primary color blu...
Page 7: ...play card in your system Figure A 1 For a PC with HDMI output Connect the HDMI cable to the connector of the display card in your system Figure A 2 For a PC with Analog output Connect a 15 pin mini D SUB signal cable to the connector of the display card in your system Figure A 3 For a MAC with Thunderbolt output Connect a Mini DisplayPort to DisplayPort adapter to the computer then attach the Disp...
Page 8: ... Figure C 1 Power cord 30 Tilt DisplayPort DisplayPort IN OUT 2 DVI DVI HDMI Highest Stand Position Audio Input Audio Input USB 3 0 Upstream USB 3 0 Upstream ControlSync IN OUT ControlSync IN OUT 1 1 USB 3 0 Downstream D SUB Headphone Figure C 2 1 See page 10 2 See page 11 NOTE Adjustment of the volume control as well as the equalizer to other settings than the center position may increase the ear...
Page 9: ...you have any problems please refer to the Troubleshooting section of this User s Manual Figure E 1 Power key Raise and Lower Monitor Screen The monitor may be raised or lowered in either portrait or landscape mode To raise or lower screen place a hand on each side of the monitor and lift or lower to the desired height Figure RL 1 NOTE Handle with care when raising or lowering the monitor screen Fi...
Page 10: ...ments the mounting stand must be able to support the weight of the monitor and be UL certified Remove Monitor Stand for Mounting To prepare the monitor for alternate mounting purposes 1 Disconnect all cables 2 Place hands on each side of the monitor and lift up to the highest position 3 Place monitor face down on a non abrasive surface Figure S 1 4 Place one hand around the base and one hand on th...
Page 11: ...CD assembly 4 2 kg Thickness of Bracket Arm 2 0 3 2 mm 12 mm Spring washer Flat washer Caution Use ONLY 4 pieces M4 sized specified screws when mounting to avoid damage to the monitor and stand To fulfill the safety requirements the monitor must be mounted to an arm which guaranties the necessary stability under consideration of the weight of the monitor The LCD monitor should only be used with an...
Page 12: ...E SETTING Yes OFF MODE SENSOR SETTING Yes OFF MODE START TIME Yes HUMAN SENSING Yes HUMAN SENSOR SETTING Yes HUMAN SENSOR START TIME Yes DV MODE Yes SCREEN AUTO ADJUST No AUTO CONTRAST No LEFT RIGHT No DOWN UP No H SIZE No FINE No INPUT RESOLUTION No H RESOLUTION No V RESOLUTION No VIDEO LEVEL No OVER SCAN No EXPANSION Yes UNIFORMITY No COLOR Color Control System Yes R G B color gain No TOOLS VOLU...
Page 13: ...ending on the setting of computer operation system image does not extend Please check your computer setting NOTE Monitors should be connected by the included DisplayPort cable Using the same display model is strongly recommended for connecting multiple monitors Please contact your display card supplier for detailed information BIT RATE Maximum number of connectable monitors MST multi stream transp...
Page 14: ... show to set the DisplayPort switch menu 5 Select DP VER 1 1 to switch the DisplayPort setting 6 Touch MENU to close the OSD menu 7 Turn on the computer NOTE MST multi stream transport and SST single stream transport requires the corresponding display card Check to make sure that the display card supports MST multi stream transport Contact your supplier for detailed information NOTE Monitors shoul...
Page 15: ...ub menu Exits OSD menu 4 LEFT RIGHT Navigates to the left or right through the OSD menu 5 UP DOWN Navigates up or down through the OSD menu You can adjust the BRIGHTNESS directly by touching UP while the OSD menu is off 1 You can adjust the VOLUME directly by touching DOWN while the OSD menu is off 1 6 ECO RESET Resets the OSD controls back to factory settings Switches among ECO MODE settings Acti...
Page 16: ... mode automatically when the input signal is lost ON Monitor enters into power saving mode automatically when the amount of surrounding light goes below the level determined by you The level can be adjusted in OFF MODE sensor setting When in power saving mode the LED on the front of the monitor becomes dark blue When in power saving mode touch any of the front keys except for POWER and INPUT to re...
Page 17: ...black areas and optimizes it NOTE This function is disabled when Color Control System is set to L B PROGRAMMABLE or DICOM SIM STANDARD is used for TCO Certificate compliance SCREEN AUTO ADJUST Analog input only Automatically adjusts the image position H Size and Fine settings AUTO CONTRAST Analog input only Adjusts the image displayed for non standard video inputs LEFT RIGHT Controls horizontal im...
Page 18: ...o expand the height of the image on the screen NOTE When this function may not work reduce the V RESOLUTION level VIDEO LEVEL HDMI input only NORMAL For computer setting Displays all input signals of 0 255 steps EXPAND For audio visual equipment setting Expands input signals of 16 235 steps to 0 255 steps OVER SCAN HDMI input only Some video formats may require different scanning modes in order to...
Page 19: ...is function selects Audio Input HDMI or DisplayPort VIDEO DETECT Selects the method of video detection when more than one video inputs are connected FIRST When current video input signal is not present then the monitor searches for a video signal from the other video input ports If the video signal is present in another port then the monitor switches the video source input port to the new found vi...
Page 20: ...r waits after the last key touch to shut off the OSD menu The preset choices are 10 120 seconds by 5 second increments OSD LOCK OUT This control completely locks out the access to all OSD control functions except for Brightness Contrast and Volume To activate the OSD Lock Out function enter the OSD menu select OSD LOCK OUT then touch SELECT and RIGHT simultaneously To deactivate touch SELECT and L...
Page 21: ...ency Convert setting 0 11 This setting can be changed by using the ECO information menu If you want to use the French setting please refer to steps below 1 Touch the Menu key and select the ECO information menu using the LEFT or RIGHT key 2 Select CURRENCY SETTING item by touching the UP or DOWN key 3 The French currency unit is Euro You can adjust currency setting to Euro icon from US dollar by t...
Page 22: ...ches 324 0 mm 12 8 inches 518 4 mm 20 4 inches USB Hub I F Port Load Current USB Specification Revision 3 0 USB 3 0 Upstream port applicable to USB monitor Upstream 1 control USB 3 0 Downstream 3 Maximum 0 9 A per port for USB 3 0 AUDIO AUDIO Input STEREO Mini Jack DisplayPort Connector HDMI Connector Analog Audio Digital Audio Digital Audio Stereo L R 500mV rms 20 Kohm PCM 2ch 32 44 1 48 kHz 16 2...
Page 23: ...s innovative power saving methods that allow the monitor to shift to a lower power consumption level when on but not in use saving two thirds of your monitor energy costs reducing emissions and lowering the air conditioning costs of the workplace Multiple Frequency Technology Automatically adjusts monitor to the display card s scanning frequency thus displaying the resolution required VESA Standar...
Page 24: ...ces NEC DISPLAY SOLUTIONS recommends using a moving screen saver at regular intervals whenever the screen is idle or turning off the monitor when not in use Message OUT OF RANGE is displayed screen is either blank or shows rough images only Image is displayed only roughly pixels are missing and OSD warning OUT OF RANGE is displayed Either signal clock or resolution is too high Choose one of the su...
Page 25: ...onnected Refer to your USB device User s Manual Check if the USB upstream port on the monitor is connected to the USB downstream port on the computer And make sure the computer is ON Human sensor does not work If human icon on SENSOR SETTING HUMAN SENSING is located on vermilion color it is detected that there is person Make sure there is no object in front of Human sensor Make sure there is no eq...
Page 26: ...ULL or ASPECT in EXPANSION to activate the Zoom function see page 16 EXPANSION OFF 2 Set a resolution via H RESOLUTION or V RESOLUTION see page 16 Vertical expansion Horizontal expansion 3 The image position can be moved from the center to left or right by selecting LEFT RIGHT and upward or downward by selecting UP DOWN see page 15 Move to left or right Move upward or downward ...
Page 27: ...ter the period of time You can set notification screen at SENSOR INFORMATION see page 18 C After displaying a notification If LIGHT is set at HUMAN SENSING the monitor screen gets gradually darker then becomes 0 brightness in the end If DEEP is set at HUMAN SENSING the monitor enters into power saving mode D When the sensor detects a person coming back the monitor setting is automatically back fro...
Page 28: ... 2 Set the DARK level This is the level of brightness that the monitor will go down to when the ambient lighting level is low Make sure the room is at its darkest when setting this level Then use the front Keys to move the cursor up to the BRIGHTNESS setting Choose the desired brightness level Figure 3 Figure 3 When the Auto Brightness function is enabled the Brightness level of the screen changes...
Page 29: ...e is activated The monitor enters a single Energy Saving mode Mode Power consumption LED colour Maximum Operation 50 W Blue Normal Operation 22 W Default setting USB Audio sleeping Blue Energy Saving Mode 0 30 W Amber Off Mode 0 25 W Unlit Factory settings For additional information visit http www necdisplay com in USA http www nec display solutions com in Europe http www nec display com global in...