12
12
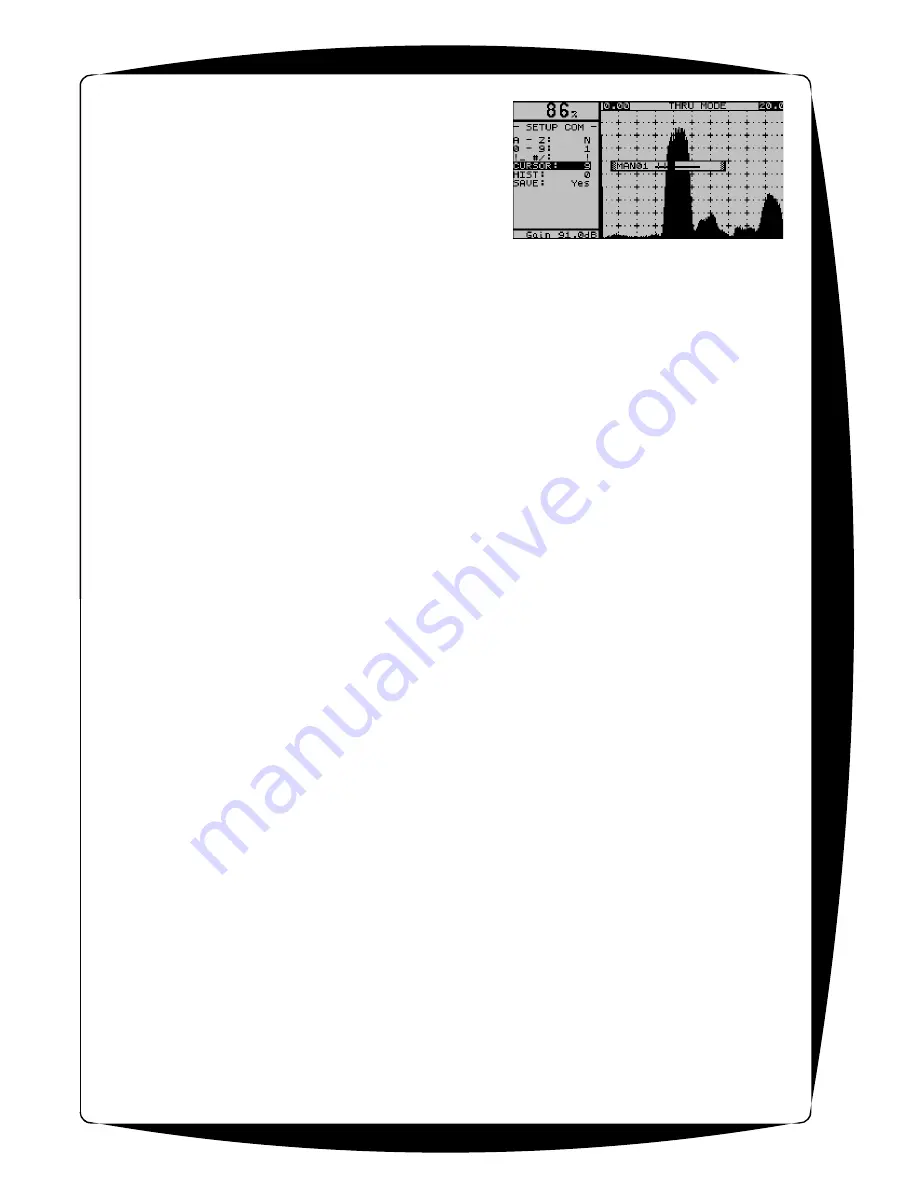
Figure 14
- Save Location
Stores the Ultrasonic setup currently in use. 1 - 50
setups can be stored. A user defined, 16 char
comment can be applied to each saved setup. When
the cursor is on the SAVE or RECALL field the
comment for that setup is displayed on the status line.
The parameter LIST allows the user to see and select
from a list off all stored setups with their comments. To
Save a setup, follow these stepes:
C
Cursor to SAVE
C
Press the right &/or left arrow keys to locate an
available position (1-50). Used setup locations will display a user defined setup name in the
status line (line available above A-Trace). The status line will normally display the receiver
MODE.
C
If an attempt is made to save “over” an existing location, a message will be displayed asking
for verification to overwrite the existing setup.
C
When an available location is found, a screen as shown in the previous figure prompting for
an alpha-numeric setup name. To name the setup, use the up, down, left & right arrow keys
to scroll to a character (for example, highlight menu item A - Z and press the right arrow key
until the letter C is displayed) and then press SEL/HELP to select the desired character.
C
Continue this operation up to 16 characters to fill in the setup name line.
C
Scroll down to SAVE and press SEL/HELP
C
An exit from the save menu will be performed and the setup name will be displayed in the
status line.
Rcall
Recalls any ultrasonic setup stored in memory. This includes the Factory Default setup (NEW) or
any of the other 50 instrument setups. Note: If the gage is powered ON with the SEL/HELP
button depressed, the Factory Default setup will be loaded. When the cursor is on the SAVE or
RECALL field the comment for that setup is displayed on the status line. The parameter LIST
allows the user to see and select from a list off all stored setups. Use the left & right arrow keys
to move through the list in sequence or, set Rcall to list and press select. A list showing setup
number along with alpha numeric name will then be displayed. Scroll down through the list to
select the desired setup and press SEL/HELP
SCREEN
Allows selection of PRINT SCREEN. PRINT SCREEN, when selected, toggles the screen
printing mode on or off. When the screen printing mode is on, any screen displayed may be
printed by pressing and holding the MENU button. To cancel the screen print function, press the
SEL/HELP button while the cursor is on the PRINT:SCREEN field
SETUP
When highlighted allows the user to print the current to a serial (RS-232) printer or to a file. When
the desired setup is loaded, press the SEL/HELP key.
AlmTim
ALARM TIME: Alarm ON time: This sets the amount of time ( in seconds ) the alarm will stay on
even after a single pulse triggers it. Adjustable from 0.1 seconds to 60 seconds.
PRF
Pulse Repetition Frequency : This is the frequency ( number of times per second ) at which the
system pulses the transducer, and collects thickness / amplitude readings.


