KIT
INSTRUCTIONS
Wall Mount with Expansion Module
7761–K001Issue B
Page 1: ...KIT INSTRUCTIONS Wall Mount with Expansion Module 7761 K001 Issue B...
Page 2: ...th NCR NCR s copyright notice must be included It is the policy of NCR Corporation NCR to improve products as new technology components software and firmware become available NCR therefore reserves th...
Page 3: ...ii Revision Record Issue Date Remarks A Jan 2016 First Issue B May 2017 Removed reference to VESA...
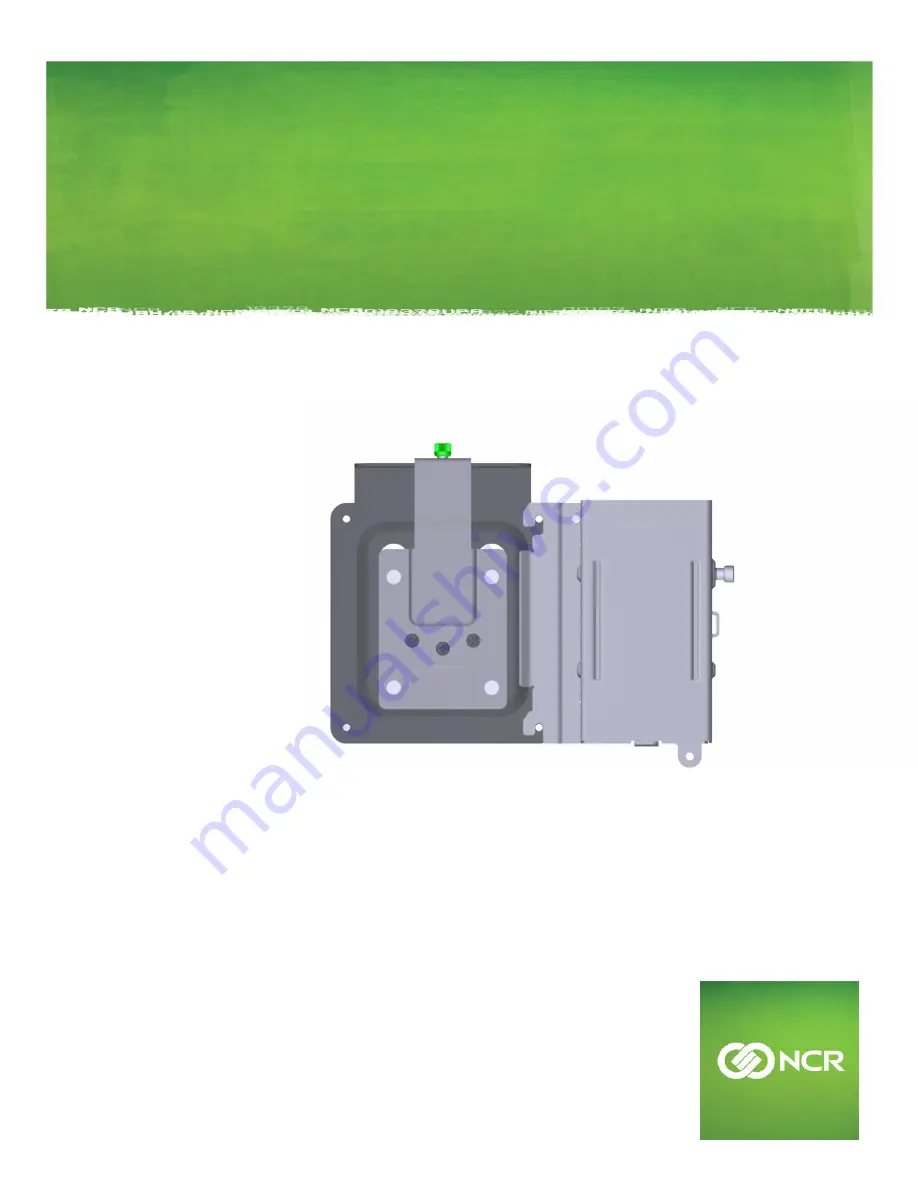
Page 4: ...Wall Mount with Expansion 7761 K001 Introduction This kit provides a wall mount for the P1535 P1235 with the expansion module...
Page 5: ...Mount Plate with UP arrow pointing up to the vertical surface using lag screws 4 Make sure you install the screws into the studs or that you use hardware of similar strength Use the bracket as a temp...
Page 6: ...Pivot the bottom end of the module up and then remove the plate tabs on the top end of the expansion module from the slots in the rear cabinet 3 Install the Wall Mount Bracket with the thumbscrew faci...
Page 7: ...nsion 5 Hang the terminal on the Mount Plate a Insert the mushroom studs on the Wall Mount into the elongated slots on the Mount Plate b Slide the terminal down to lock the brackets together c Secure...
Page 8: ...de the Mount Plate a Loosen the screws 2 of the Mount Plate b Hook the Power Supply Bracket over the screws Re tighten the screws Note To install the Power Supply Bracket independently from the Mount...
Page 9: ...Wall Mount with Expansion 2 Insert the power supply into the bracket AC Connector on top 3 Replace the front cover of the bracket 4 Secure the bracket with the thumbscrew and the AC Power Cord with a...