22
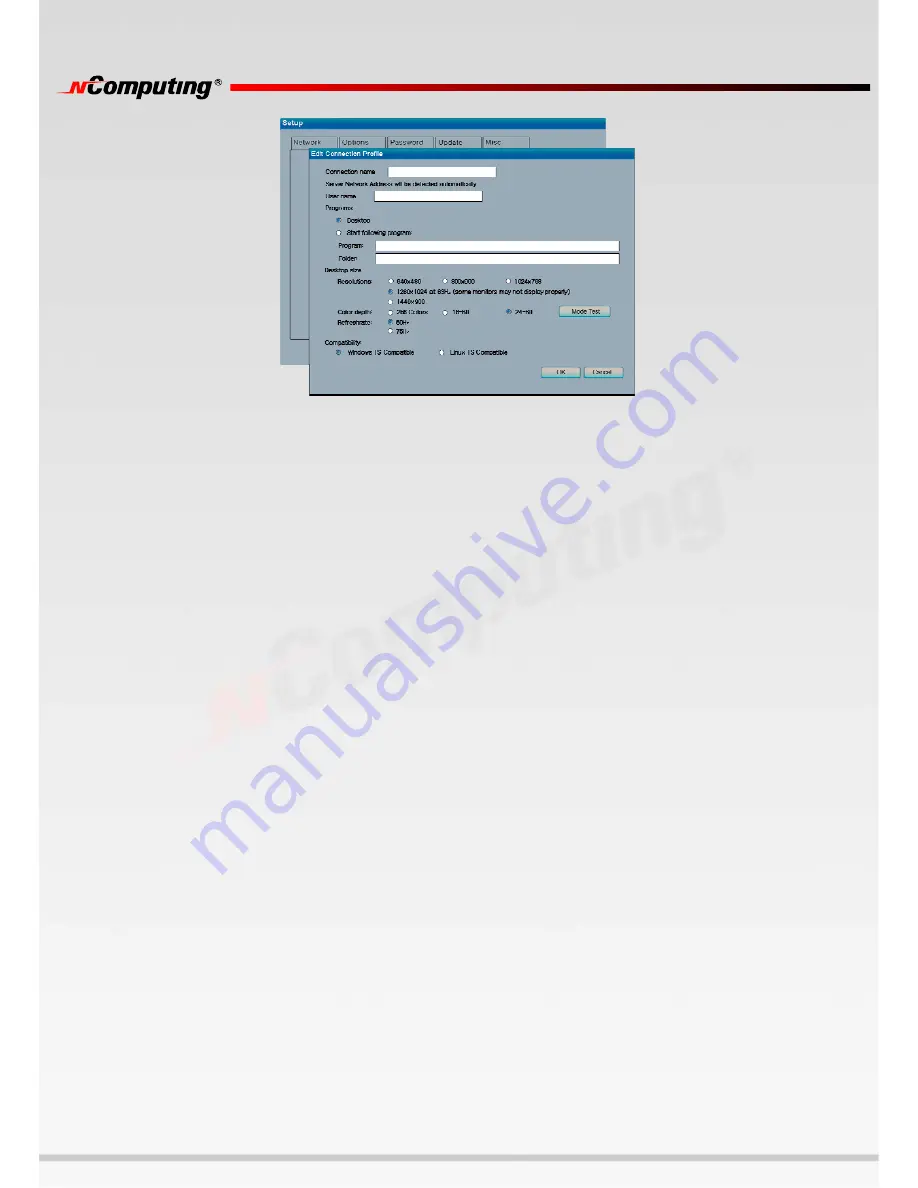
In each profile, there are the following settings:
•
The “Autoconnect Enabled” radio button, when activated, sets the terminal to automatically
connect to the selected server when the terminal is turned on.
•
In the “User name” field, you can enter the user name that you want input to the Windows login
dialog box upon connection.
•
In the “Domain” field, you can enter the domain that you want input to the Windows login dialog box
upon connection.
•
In the "Programs" section, you can set what application launches when the access terminal connects to a
host PC using that profile. You can make the desktop come up, or a program that is specified by
program name and the folder where it exists on the host PC.
•
In the "Desktop Size" section, you can set the video behavior when the access terminal connects to a
host PC using that profile. You can set the resolution, color depth, and frequency. For example, you can
choose a resolution of 1024x768, a color depth of 16 bit, and a frequency of 60 Hz.
•
The "Mode Test" button allows you to choose a desktop setting and do a basic test to see if it works with
your monitor. Click on the button and the video output will change to the specified resolution, color
depth and frequency. To exit the video mode test, press the "Esc" key on the keyboard.
•
The “Compatibility” section allows you to choose whether the profile is used to connect to the terminal
services software installed on Windows or Linux.
•
Click on the "OK" button to save the changes and close the window.
•
Click on the "Cancel" button to discard the changes and close the window.
*
Note:
Some monitors may not display certain video mode properly.
The “Password” Tab
The "Password" tab contains settings for protecting the access terminal options with a password.
Summary of Contents for L-Series
Page 1: ...1 ...


