background image

3

No.

Item

Descriptions

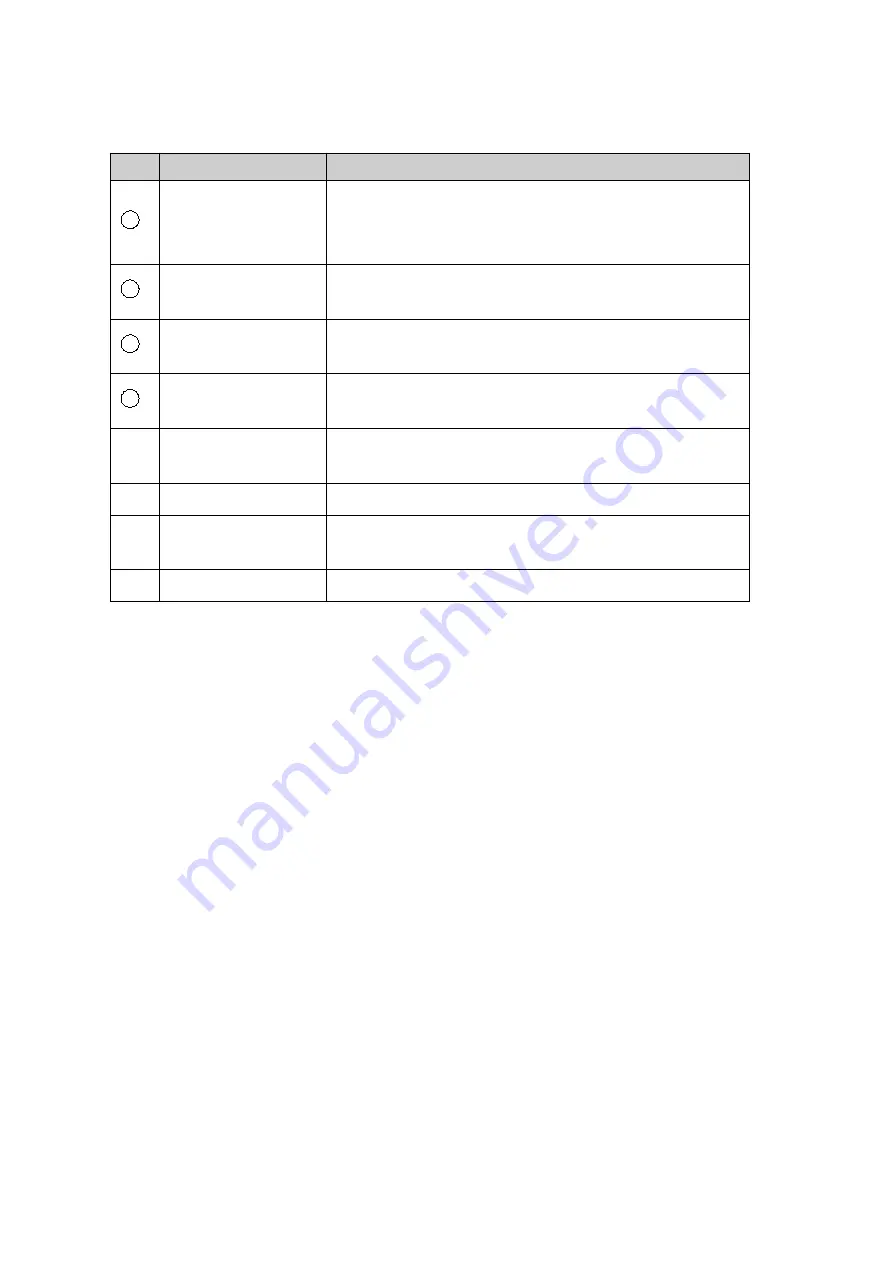
1

Power indicator

The indicate will be lit blue when powered on and
flicker for standby status.

2

Signal transmission

indicator

When the device transmits audio signal, the indicator
flickers

3

Signal

reception

indicator

When the device receives audio signal, the indicator
flickers

4

Charging indicator

The indicator will be lit red during charging, and will
turn green once fully charged

Confirm button

Turn on the device and press Confirm button and Exit
button to enter the menu

Left Option button

Press the button to choose the last item

Right

Option

button

Press the button to choose the next item

Exit button

Press the button to return to the last menu

Preparations

Charge the Battery

a. Plug the power adapter's plug into a power outlet.
b. Insert the USB cable into the Mini USB interface at bottom of the beltpack.
c. When the red indicator lights up, it indicates that charging is started; when the green
indicator lights up, it indicates that charging is complete.

Install antenna

Screw the antenna clockwise until it is tight.

Install headset

Align the headphone connector at the interface and and plug in. Press the connector
button before pulling it out.

Basic operations

Power On/Off

Screw the Power / Volume button clockwise until you hear a“click”to turn on the device.
Screw counterclockwise to turn off.
The device screen will display its own ID, channel and battery power after being turned
on.

Summary of Contents for FDI-PT320

Page 1: ...1 Wireless Full Duplex Intercom System Beltpack FDI PT320 User s Manual Please read the manual carefully before operation...

Page 2: ...USB Charger 1 4 Mini USB Charging Cable 1 5 User s Manual 1 Component Description No Item Descriptions 1 Antenna interface External antenna 2 Switch Volume button Screw clockwise to turn on the device...

Page 3: ...the next item Exit button Press the button to return to the last menu Preparations Charge the Battery a Plug the power adapter s plug into a power outlet b Insert the USB cable into the Mini USB inter...

Page 4: ...oose Channel Setting Then press Confirm button to enter the setting Choose channel by pressing Left Option and Right Option button The channel range is 2 99 Press Exit button to return to the previous...

Page 5: ...ss Exit button to return to the previous menu after setting PTT Mode means press the PTT button and keep holding to turn on microphone and speak Release the button to turn off microphone Continuously...

Page 6: ...Left Option and Right Option button Press Exit button to return to the previous menu after setting Turn on the Tally function the 2 indicators at the top of the beltpack display red or green colors c...

Page 7: ...setting Set group ID for each beltpack by pressing Left Option and Right Option button There are 8 ID from 1 to 8 The beltpacks with the same group ID will form a group just by pressing the button on...

Page 8: ...a microphone icon will be displayed at the upper right corner of the screen It indicates that the beltpack is transmitting audio signal Receiving voice signals When a beltpack is transmitting audio si...

Page 9: ...nment that may damage circuits Do not break the antenna Cleaning Please wipe the dust on the device with clean dry towel or brush If the device is dirty please clean with neutral detergent and non wov...

Page 10: ...n 12 months for the base station and beltpacks 6 months for headphones Warranty Claim You have to provide product warranty card or valid purchase invoice to apply repair The product mark should be kep...

Page 11: ...11 NAYA WeChat Subscription Number Shanghai NAYA Intelligence Technology Co Ltd http www nayatec com...

Reviews: