NAVIS NavDP 4000. Operation Manual
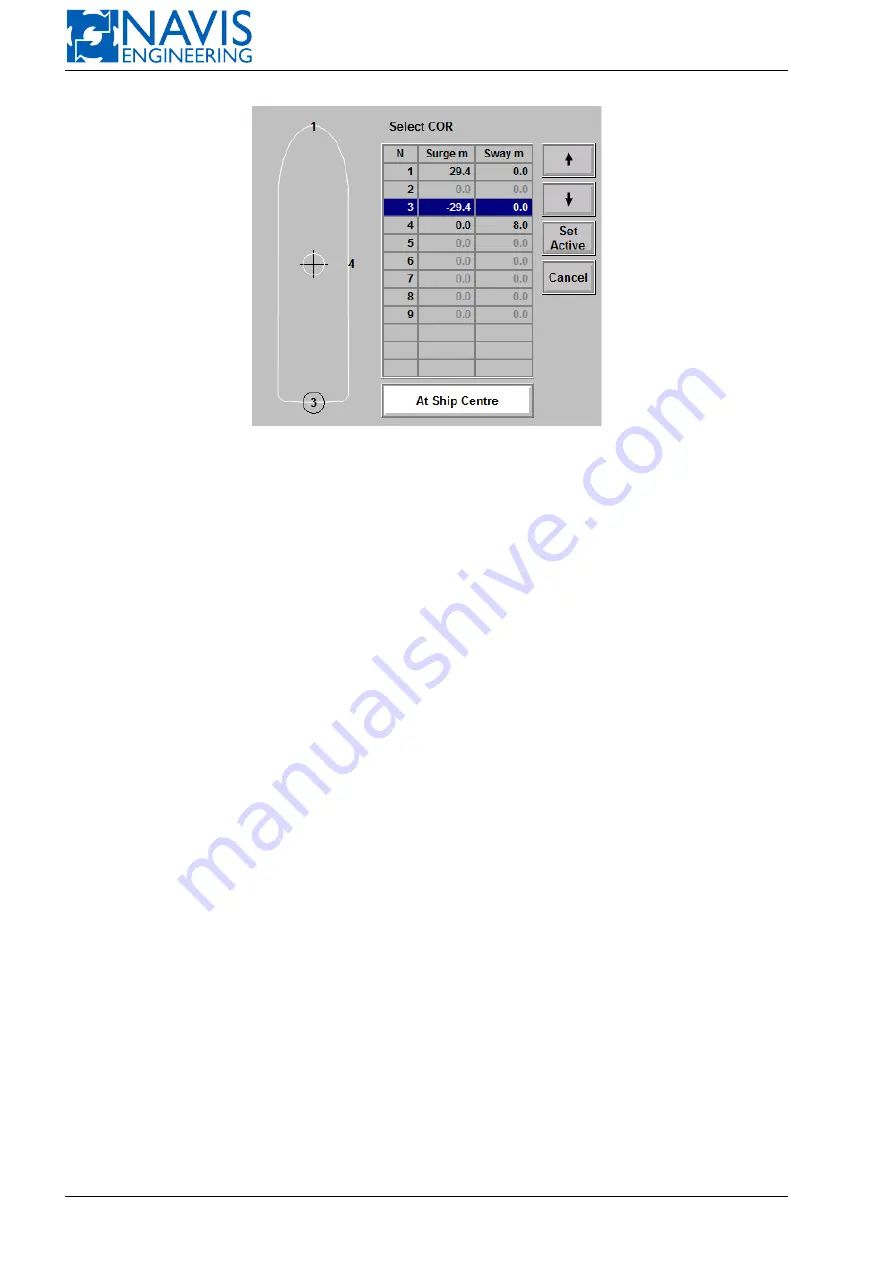
Figure 10.4: A COR point selection dialogue box
A window appears in which you can see the actual vessel coordinates. Note that these are the coordinates of the actual
COR.
If you enter new position setpoint or offsets with respect to the actual coordinates, you set a new position setpoint with
respect to COR already chosen.
If you then change COR during the operation (while the system is moving the vessel to a new position) it would
not affect the maneuver, because any change in the COR position would be automatically followed by corrections of the
position setpoint. Therefore, you should hardly care of the COR position if you want to transfer the vessel to a new
position without changing its heading.
If you are going to change the vessel heading too, take into account that the resulting vessel position would depend
on the COR location. For instance, assume that the vessel heading and position are kept by the DP system, and you enter
the heading offset, say, 15 degrees. If COR is assigned at the bow, the DP system tries to hold the bow motionless while
rotating the stern; if COR is assigned at the stern, the DP system tries to hold the stern motionless while rotating the bow.
Since the directions of rotation differ, the resulting position of the center of gravity would not be the same.
Manual Heading and Auto Position
Select a COR position. Then press the
AUTO
softkey in the
POS
panel. A window appears in which you can see the
actual vessel coordinates and set the position setpoint (in terms of the COR position selected). In this mode, the control
system maintains COR at the position setpoint, while turning the vessel accordingly to the rotary knob angle. If you do
not rotate the rotary knob (i.e. it is in neutral position), you can select a new position for COR without influencing the
maneuver, because a change in the COR position automatically causes the corresponding change in the position setpoint.
However, if you operate the rotary knob at the time, take into account that the moment demand depends on the COR
position.
Auto Heading and Manual Position
Press the
AUTO
softkey in the
HDG
panel. A window appears in which you can see the actual heading and set the
heading setpoint. In this mode, the control system generates forces in the surge and sway axes accordingly to the joystick
position, while maintaining the vessel at a desired heading. In this mode, the actual COR position does not matter.
10.2
Automatic Wind Compensation
If the
AWC
softkey is not highlighted, as shown below, this function is not active
Press the
AWC
softkey, it starts blinking. Press the
ENTER
softkey to acknowledge, or the AWC softkey to cancel.
If you acknowledge, the AWC softkey becomes highlighted, as shown below
The AWC function is now activated, see Figure 10.7. To deactivate, press the AWC softkey, it starts blinking. Press
the
ENTER
softkey to acknowledge, or the AWC softkey to cancel.
173
Doc. 000.JDP-10000-OME, rev.3.3.13/“2102.$–17A-Advanced”


