Page 16
IP CAMERA USER MANUAL
2. Input the preset number and set its position by controlling PTZ control panel and then click
Add button to add preset point into the Available position list.
3. Select the preset in the pull down list of the Available position and click Go to button to
move the dome to this preset point; click Delete button to delete the checked preset point.
4. After finishing setting, click Save button to save the settings.
4.4
Alarm Configuration
Alarm configuration includes six submenus: Motion Detection Area, Motion Detection
Trigger, Motion Detection Schedule, Alarm Input Trigger, Alarm Input Schedule and Alarm
Out.
4.4.1
Motion Detection Area
1.
Go to “Alarm configuration”
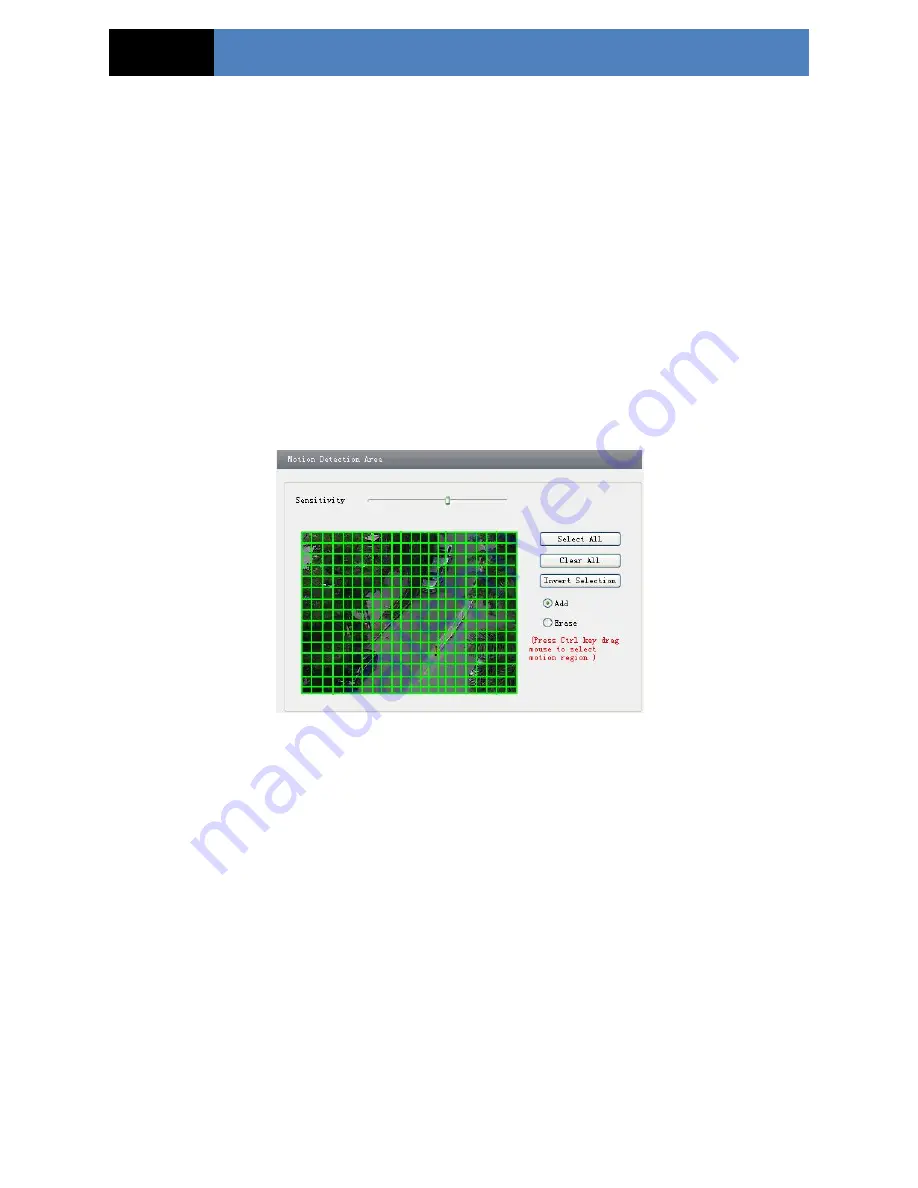
“Motion Detection Area” to see an interface as below.
2. Move the “Sensitivity” scroll bar to set up the motion trace sensitivity.
3. Check the “Add”, press the “Ctrl” button and move mouse to select the motion detection
area. Select “Erase” and move the mouse to clear all motion detection area.
4. Press the “Save” button to save the settings.
4.4.2
Motion Detection Trigger
1. Go to “Alarm Configuration”
“Motion Detection Trigger” to display an interface as
shown below.
2. Check “Enable alarm” check box. Then motion based alarm is activated.
3. Set alarm holding time.
4. Set alarm trigger options.


