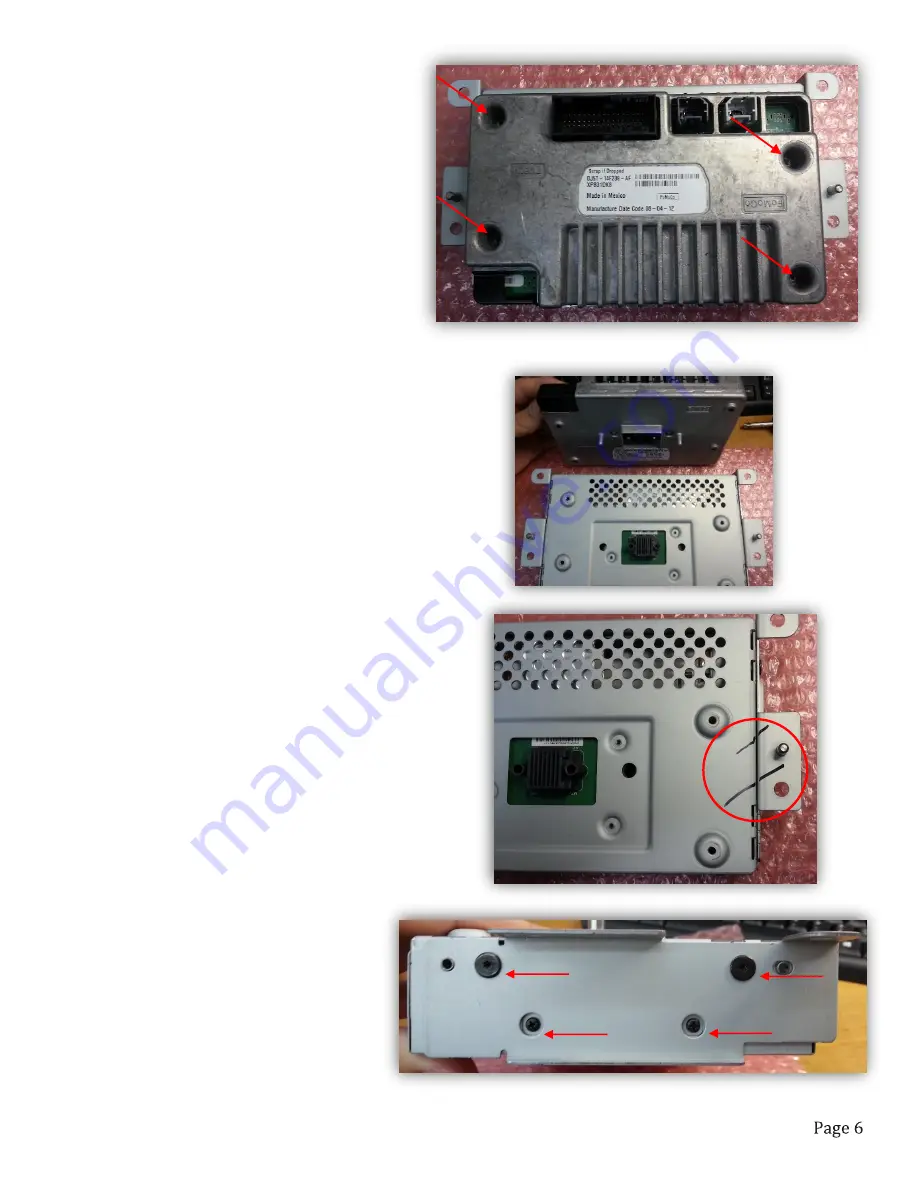
1. To begin, place the LCD assembly face
down on a soft surface (ESD mat would be best)
so as not to scratch the screen. Remove (4x)
Phillips head screws:
2. Separate the two halves of the assembly by pulling
straight up after the screws have been removed. Set the
back half of this LCD assembly aside.
Note that the center
connector is keyed and the halves can only be replaced in
one direction:
3. On the LCD panel housing, mark across the brackets
and the housing to make replacing later a breeze:
4. On each side (left and right) of the LCD
housing, remove (2x) Torx T8 screws, and
(2x) Phillips head screws:
NTV-DOC223


