Page 22/40
TIP:
Attach the white and green sensor clips first, and attach the black clip last as you about to
commence the screen. This allows you to move the baby as needed to attach the sensors and ear
couplers without dislodging the forehead sensor.
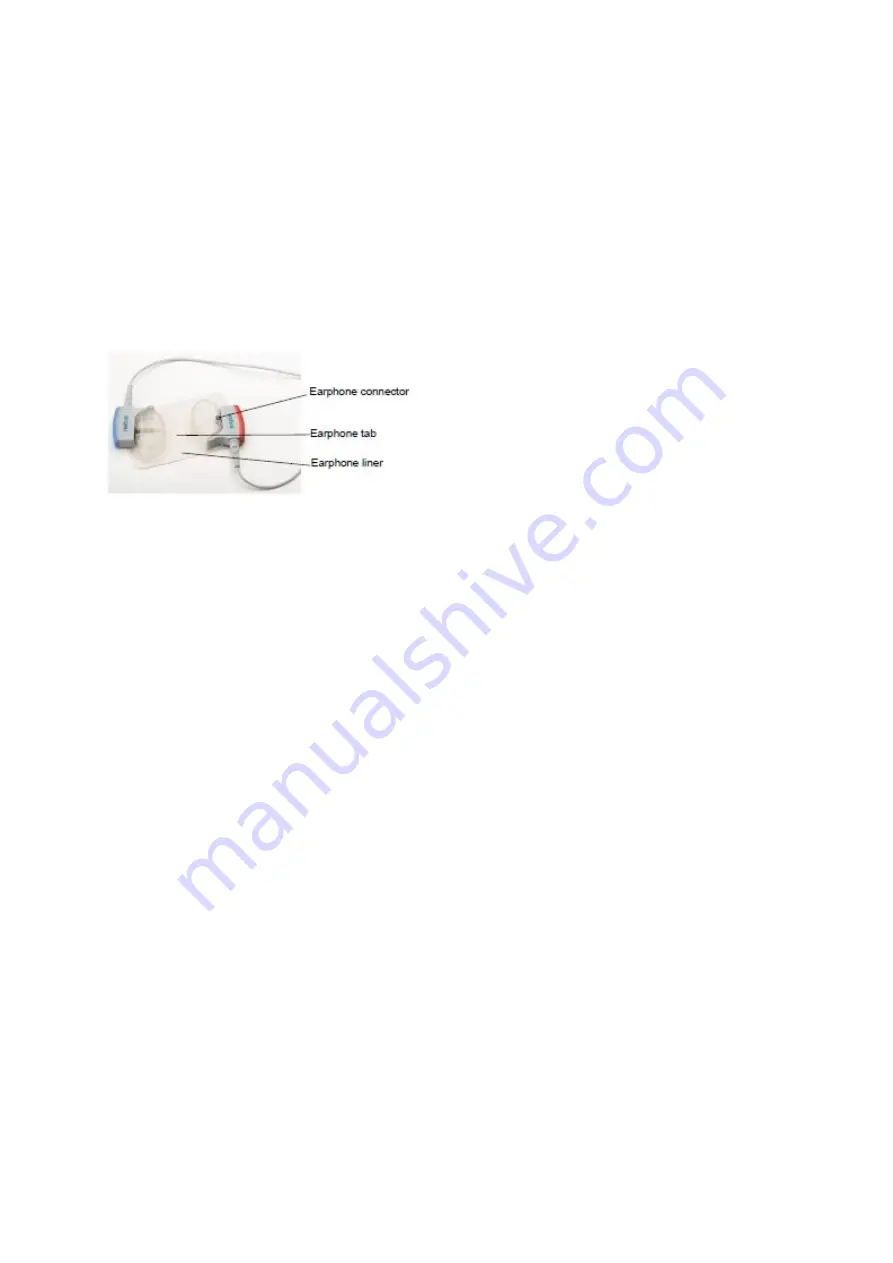
Apply Flexicoupler® Disposable Ear Couplers:
Before removing the Flexicouplers from the adhesive liner, attach the ATA Cable transducers by
inserting the transducer into the round opening, and clicking it into place along the side of the
Flexicoupler.
One at a time, remove a Flexicoupler from the liner and place it securely over the baby's ear:
Position the Flexicoupler tab at the back of the ear with the cable emerging either toward the top of
the head or toward the baby's body. Roll the earphone from the back of the ear to the front as you
attach it to the baby. The earphone must completely enclose the external ear and form a good seal
all the way around.
Ensur
e that the transducer is in the front, i.e., towards the baby’s
face. This ensures that the
screening stimulus is
directed into the infant’s ea
r.
Avoid applying Flexicouplers to hair if possible.
Ensure that the colored
transducer is in front of the baby’
s ear and the Blue transducer is positioned
on the left ear and the Red transducer is positioned the on right ear.
3.5.7.2
Perform a Screening
Options to start screening include the Speed Screen function (if enabled by your administrator), or via
the New Patient button or by selecting a patient from the To-Do List.
The screening options appearing on your device are set by your program administrator. The ALGO 7i
device supports simultaneous, sequential, or single screening of each ear individually.


