background image

6.           Files are now installed.  As the software is specific to Nasa engines, the normal 
              software registration has been supressed.

7.            A short-cut will be installed on the desktop, provided you use the default value 
               path as above.


That's it – all done!

FIRST USE OF THE NAVTEX  PRO

Install the receiver (“Engine”) and antenna in accordance with the instructions. Power-up 
the receiver and leave for a while (this can be several hours, depending on your location)  
to store a few messages.
Connect the serial cable supplied between the receiver and your PC/laptop, either direct to 
a suitable serial COM port, or via the  serial-to-USB adaptor supplied.  If using the adaptor, 
this must have been installed, with its drivers, in line with the manufacturer's instructions. If 
your cable has a blue “fly” lead, this is not used on Navtex and can be ignored. Tuck it 
away or cut it off and ensure it is not shorting to anything

Step 1.  

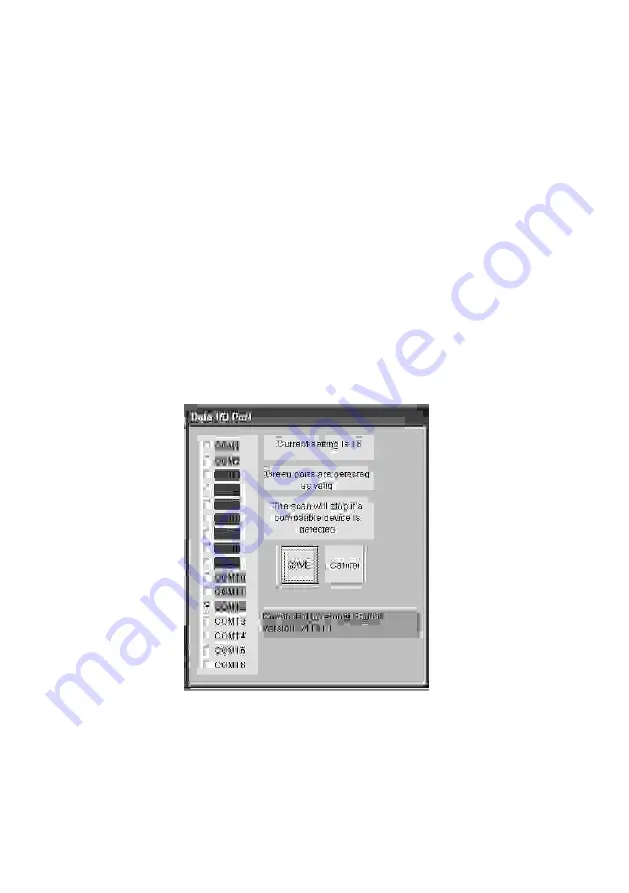
Click “SET PORT AND CHANNELS” and “Auto-search”. The software will 

search port settings 1 to 16 for the Engine, and will stop and display a green “Connected “ 
message if it finds it. Click “Save” and “Finish”, and “Yes” when prompted to implement 
settings changes.

Step 2.

Click  “Poll Engine for Messages” to download stored messages.

You will see lines of messages being displayed as the download progresses. After about 40 
seconds “end” will be shown in the display bar and the messages will be displayed after a 
short processing delay.

You are now up and running. There is a full description of the available facilities in the “Help” 
file, which you can call up by pressing “F1” or choosing “help” from the menu

Summary of Contents for NAVTEX PC PRO

Page 1: ...DESIGNED AND MANUFACTURED IN ENGLAND RoHS 2002 95 EC NAVTEX PC PRO NASA MARINE Ltd BOULTON ROAD STEVENAGE HERTS SG1 4QG ENGLAND 01438 354033 MARINE INSTRUMENTS ...

Page 2: ......

Page 3: ... clock is synchronised to your PC time so you need to allow for the UTC time standard for Navtex broadcasts when setting timed switches On initial set up the software will search for the communications port connected to the Engine You can manually initiate downloading of the messages stored in the Engine or set the software to automatically download on start up New messages received after download...

Page 4: ...wire goes to positive and the wire with a black stripe to negative Best results are obtained by keeping the antenna as far from sources of electrical noise as possible Sometimes it is required to move the engine and antenna to optimise reception INSTALLING THE SOFTWARE 1 Insert the CDROM If it does not autorun open the CD drive folder and double click on setup exe The following screenshots show a ...

Page 5: ...3 Confirm your name and organisation and click OK 4 A default folder for the installation is offered by the setup routines You may change this if you Click OK 5 Click the button ...

Page 6: ...vers in line with the manufacturer s instructions If your cable has a blue fly lead this is not used on Navtex and can be ignored Tuck it away or cut it off and ensure it is not shorting to anything Step 1 Click SET PORT AND CHANNELS and Auto search The software will search port settings 1 to 16 for the Engine and will stop and display a green Connected message if it finds it Click Save and Finish...

Page 7: ......

Page 8: ... prudently and check its operation from time to time against other data Inspect the installation from time to time and seek advice if any part thereof is not fully seaworthy Nasa Marine Ltd warrants this instrument to be substantially free of defects in both materials and workmanship for a period of one year from the date of purchase Nasa Marine Ltd will at its discretion repair or replace any com...

Reviews: