


The SPL meter should be placed at the primary listening position, at
approximately the height of the seated listener’s head. A tripod is helpful
but with a little duct tape almost anything — a pole lamp, music-stand,
or ladder-backed chair, for example — can do as well. just be sure that no
large acoustically reflective surfaces obstruct or are near the microphone
element.
Orient the meter with its microphone (usually at one end) pointing straight
up toward the ceiling (not toward the speakers) and ensure that “C”
weighting scale is selected. Set the meter to display 75 dB SPL. On Radio
Shack meters, this necessitates either setting the meter to its 80 dB range
and taking your readings at the -5 point or selecting the 70 dB range and
reading at the +5 point.
SETTING SPEAKER LEVELS AT TEST MODE
While at ‘Speaker Levels’ menu, press the HTRC 1 remote’s ‘Test’ key
activating the T 175’s Speaker Levels balancing test signal . You will hear a
“surf” sound as you step through your speakers (‘test’ appears to the right
side of the current speaker), beginning with the Front Left. If you do not
hear the test signal, check your speaker connections or your ‘Speaker Setup’
OSD menu settings.
Use the remote’s
keys to adjust the loudness of the noise output from
the currently playing channel to the required level (it’s usually simplest to
begin with the Front Left). As you cycle the test signal around the speakers,
the OSD will highlight the currently playing channel. The “level offset”
reading on the right will change by 1 dB increments; ±12 dB adjustment is
available. Press ‘ENTER’ to adjust the next speaker.
NOTE
If you are balancing levels “by ear”, choose one speaker—usually the
center—as a reference and adjust each of the others in turn to “sound as
loud” as the reference. Be sure that you remain in the primary listening
position while balancing all channels.
To produce the same SPL meter reading (or subjective loudness), use the remote’s
keys to adjust each speaker.
NOTES
• All speakers must be in their final locations before level-setting.
• Your subwoofer (if any) should be set with its integral crossover defeated,
or if undefeatable, set to its highest-possible frequency if you are using
the T 175's Subwoofer output. Final subwoofer-level adjustment “by-ear,”
using music and film sound material, is frequently useful.
• Due to the effects of room acoustics, matched-pair speakers (front;
surround; back) will not always calibrate to exactly the same level offset
readings.
You can exit ‘Test’ mode at any time by pressing key, bringing you back to
‘Speaker Setup’ menu. You can also press the ‘TEST’ key to discontinue the
‘Test’ mode.
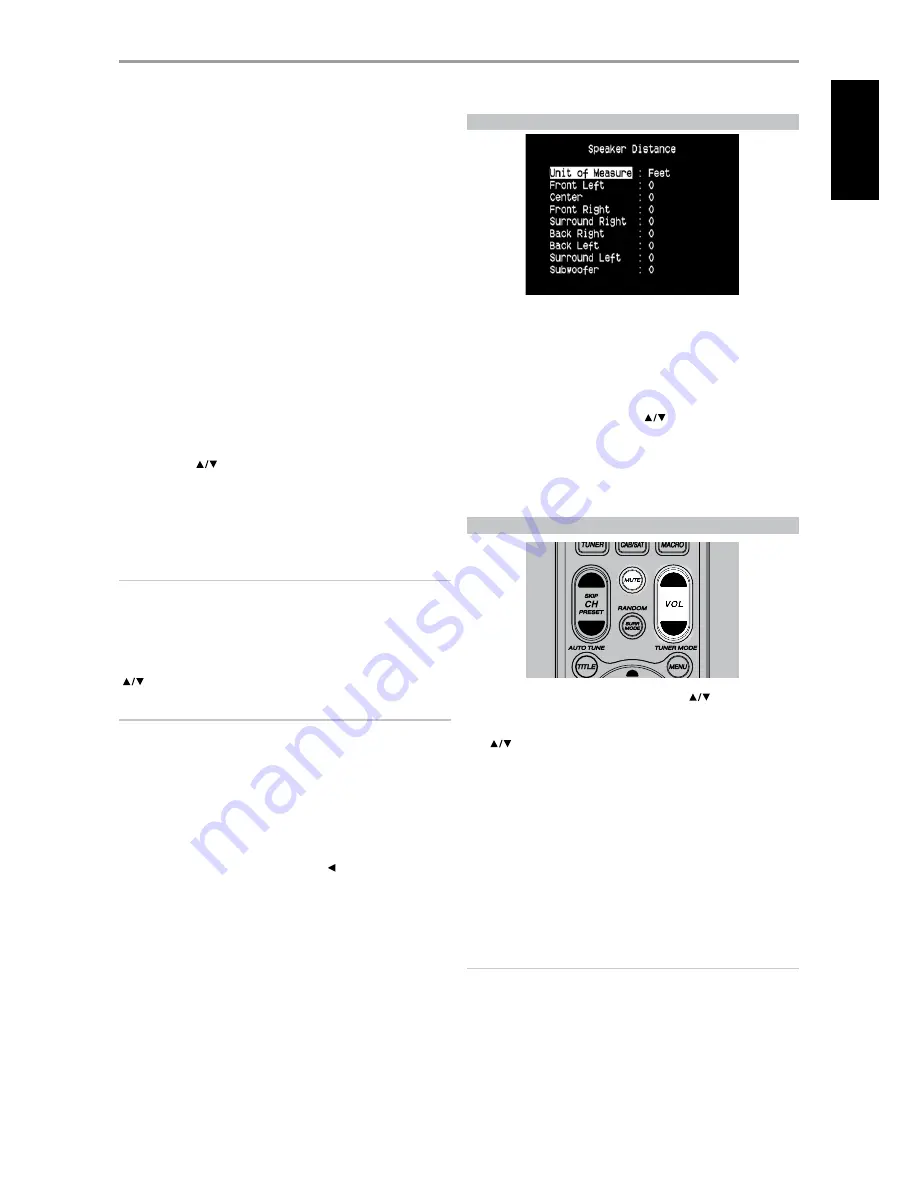
SPEAKER DISTANCE
Your system’s speaker distance settings are a subtle but important
refinement of your setup. Informing the T 175 of the loudspeaker-to-listener
dimensions of each speaker automatically imposes the correct delays,
optimizing imaging, intelligibility and surround-sound ambience. Enter your
dimensions with precision within about 1 foot (30 cm).
SETTING SPEAKER DISTANCE
While at ‘Speaker Distance’ menu, use the
keys to individually set Front
Left, Center, Front Right, Surround Right, Back Right, Back Left, Surround
Left and Subwoofer to the distance measuring from your principal listening
position to the front surface of their corresponding loudspeakers. Distance
can be set up to 30 feet or 9.1 meters Distance can be displayed as feet or
meters selectable at the ‘Unit of Measure’ item.
ADjUSTING THE VOLUME
In addition to the Volume knob, use the HTRC 1’s VOL
to adjust the “master
volume” of the T 175 raising or lowering the channels altogether. A momentary
keypress will change the master volume by 1 dB increments. If you hold down
VOL
, the master-volume change will “run-on” until the key is released.
Since recordings vary considerably in overall average level, there is no
imperative to listen at any particular master-volume setting. A setting of -20 dB
may sound “as loud” from one CD or DVD as -10 dB does from another.
The T 175 will power-up from Standby mode at whatever master volume
setting was last used; however, if the prior setting was greater than –20 dB,
the T 175 will power up at –20 dB. This prevents inadvertently beginning a
session at excessive volume.
MUTING THE SOUND
Use the HTRC 1’s ‘Mute’ key to silence all channels completely. Muting is
always available regardless of the source or listening mode selections.
NOTES
• Changing input or listening-mode selections does not release muting.
• Adjusting the volume level via the HTRC 1 or the front panel volume
knob will automatically release the mute function.
OPERATION
USING THE T 175 – SETUP MENU
5
EN
G
LI
SH
FR
ANÇ
AIS
ESP
AÑOL
IT
ALIANO
DEUT
SCH
NEDERL
ANDS
SVENSK
A
РУ
ССКИЙ