


5
When the TUNE UP button is pressed briefly the tuned frequency
will increase by one step. Holding the button down will cause the
tuner to scan continuously up the frequency band. In a similar
way, pressing TUNE DOWN will decrease the tuned frequency or
scan down the band. Correct tuning can be obtained either by
setting the correct frequency, if it is known, or by tuning until the
ON TUNE indicator illuminates – which indicates accurate tuning.
In the AM band there will be no programme sound when the Z132
is set one step off tune. The frequency can also be entered
directly using the remote handset’s number keys – see page 6.
Once a station is tuned, its frequency may be stored as one of the
Presets if desired (see page 6).
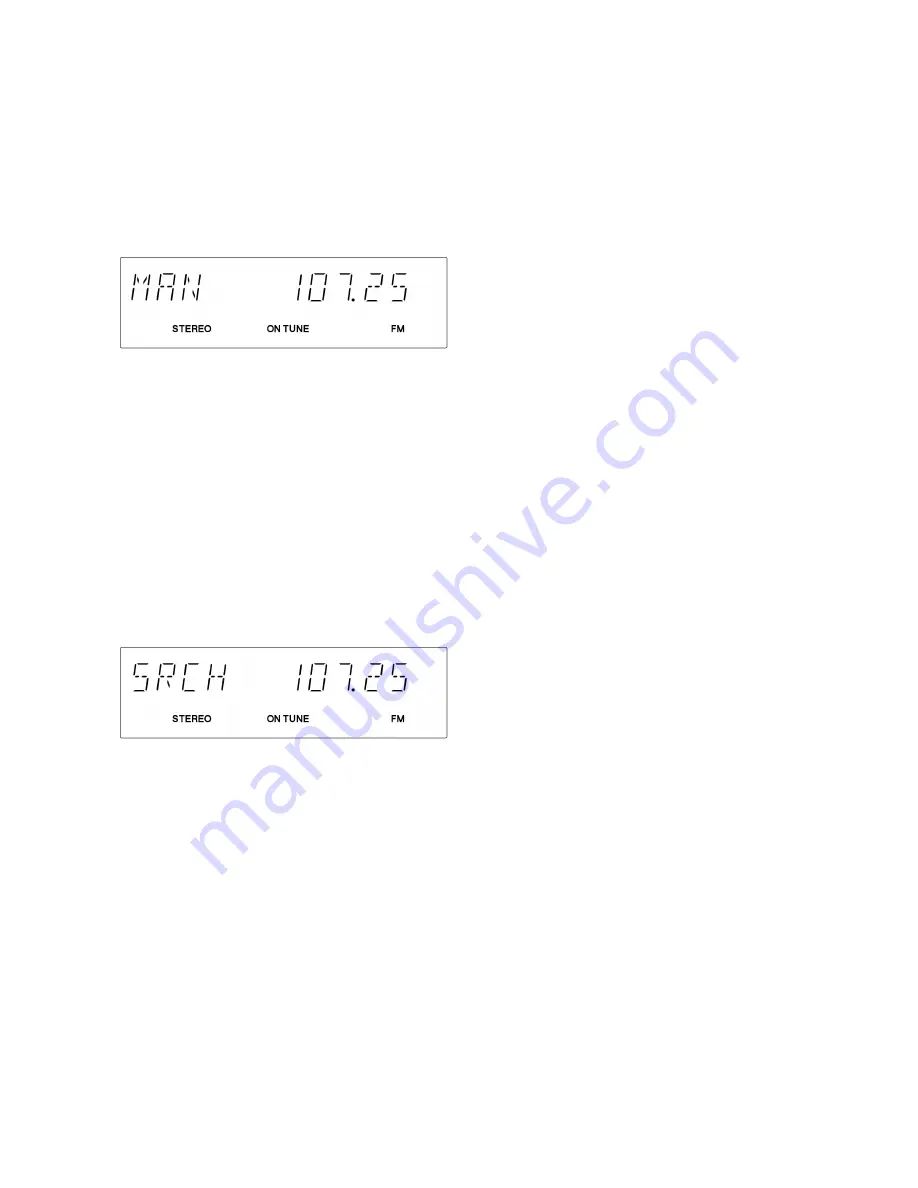
Manual display mode – without Station Name
(Figure 3)
Search tuning mode
When SEARCH mode is selected the tuned frequency will not
change. The display will briefly read “SEARCH” and then show
“SRCH” followed by the tuned frequency (see Figure 4). If an FM
RDS station has been tuned the display will change to show the
station name once the information has been acquired, unless the
Station Name feature has been switched off – see below (Station
Name is not active by default in North America).
When the TUNE UP button is pressed briefly the Z132 will
commence searching for stations at frequencies higher than the
start point. If the TUNE DOWN button is pressed the tuner will
search lower frequencies. When the first station of adequate
strength is detected, the tuner will stop searching and the ON
TUNE indicator will illuminate. Once the station is tuned, its
frequency may be stored as one of the Presets if desired (see
page 6), or the search initiated again by pressing the desired
TUNE button. Searching may be stopped before a station is found
by pressing the TUNE button in the opposite direction to the
current search, or by pressing the MODE button.
Search display mode – without Station Name
(Figure 4)
6 Select (Control Menu)
The basic tuner functions (tuning and mode controls for example)
are all directly available, both from the front panel buttons and the
remote control. In order to access all features, however, it is
necessary to use the menu system.
To enter the menu system, press the SELECT button on the front
panel or the ‘SETUP’ key on the remote control. The display will
change to show “CONTROL MENU”. Use the navigate
and
keys on the remote control or the TUNE buttons on the front
panel to cycle through the list of features before pressing
SELECT (or ‘SEL’ on remote) to make your choice.
You may exit the menu system at any time without selecting an
option by using one of the following methods:
• press SETUP key again on the remote handset.
• press SELECT button or SEL remote key while the display
shows, “CONTROL MENU”.
• wait for the menu to time-out after about 10 seconds.
In all of these cases, the Z132 will revert to the previous operation
mode.
NOTE:
the menu cannot be accessed while the tuner is in
standby or during the 5 second start-up period when switching the
unit out of standby.
The instructions below describe operation from the front panel
only for simplicity. The features available via the menu system
are:
Station name (menu display will show: (STATION NAME)
[Applies only to FM stations with RDS]
Use this feature to display the name of the station currently tuned.
Press SELECT on this option and then use the TUNE buttons to
choose Station Name on or off. Then press SELECT again to
activate/deactivate the Station Name feature.
NOTE:
“Station Name” is not displayed while a preset is being
programmed.
Display time (DISPLAY TIME)
Use this option to display the current time. The time will be
displayed for a short period before the display reverts to its
previous mode.
Alarm set (ALARM SET)
[
NOTE:
the alarm feature requires the tuner to be linked to a
Myryad Smart My-Link® Integrated Amplifier or Preamplifier.]
Use Alarm Set to set the on and off times of the alarm – in 24
hour format. Press SELECT to choose this option then use the
TUNE UP/DOWN buttons (front panel or remote) to set the hours
part of the alarm on time (display will show “HR ON HH.MM”
where HH is the hours and MM is the minutes). Press SELECT to
confirm the hours and then use the TUNE buttons again to set the
minutes (display will show “MIN ON HH.MM”).
Press SELECT to confirm that the minutes are correct. The
display will immediately change to allow setting of the Alarm Off
time, starting from one minute after the on time which has just
been set. The display will read “HR OFF HH.MM” and the setting
of hours and minutes is the same as before.
Once the Alarm off time has been set, use the TUNE buttons to
choose between using the tuner or CD player as the source when
the alarm is activated. If you choose tuner, it will switch to the last
tuned frequency when the alarm-on time is reached. If you
choose CD player, ensure that a disc is in the CD player to be
played when the alarm-on time is reached.
Once the alarm is set the system should be switched into standby.
When the alarm-on time is reached, the amplifier and the
tuner/CD player will be switched out of standby and the chosen
programme will be heard. Please ensure that the amplifier volume
is appropriately set. When the alarm off time is reached, the
amplifier and tuner/CD player will be switched back into standby.
Note: there is no alarm tone.
Alarm on/off (ALARM ON/OFF)
Use this option to enable/disable the alarm. After the alarm
setting option (above) has been used, the alarm is automatically
set to ON. To disable (or enable) the alarm, select this option and
use the TUNE buttons to choose OFF (or ON) and then press
SELECT. This procedure allows the alarm to be turned on or off
without having to reset the alarm times.
Clock set (CLOCK SET)
Use this option to set the clock in 24-hour format. The procedure
is exactly the same as for setting the Alarm time – using the
SELECT and TUNE UP/DOWN buttons. Once the time has been
set, press SELECT and then choose whether the clock should be
on or off in standby. When this option has been selected the
display will briefly show the time – e.g. “TIME 14.27” - before
returning to normal operation.
If you tune to an RDS station which broadcasts a time code, the
Z132 will automatically set the time precisely using the RDS data.
However please note that the RDS clock time code may not be
available in all countries.
Memory Clear (MEMORY CLR)
Use this feature to clear unwanted preset stations from the
memory. Press SELECT to choose Memory Clear then use the
TUNE buttons to cycle through the three available options:
• CLEAR ONE – clears the currently selected preset
• CLEAR ALL – clears all preset information from the memory
and leaves FM preset 1 tuned to 98.00MHz and AM preset 1
tuned to 999kHz (1000kHz in North America).
• FACTORY SET – returns the unit to the default factory settings.
This option includes clearing all preset information and leaves AM
and FM default presets set as above.
When the desired option has been selected, press SELECT again
to execute the chosen Memory Clear operation.


