background image

Option B – ventilation through the roof

Prior to installation of the Installation Kit and Connection Kit
are needed. These can be purchased from the place where
the toilet was bought.

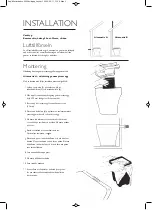
1

. Lift the upper section (5) of the toilet, remove the urine 

container (8) and waste container (3).

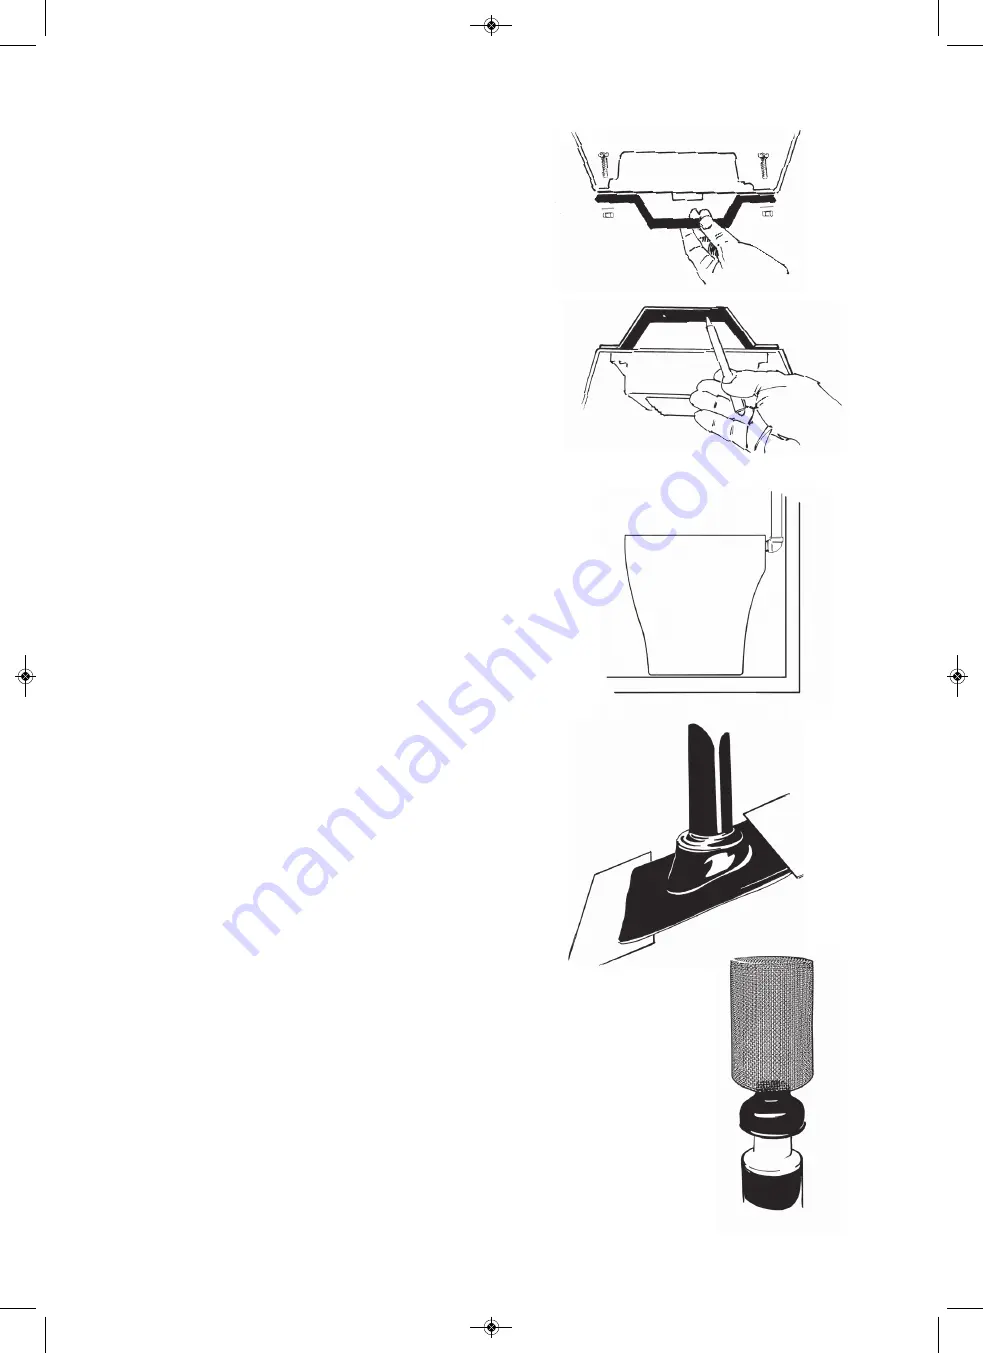
2. Fasten the wallbracket temporairly on the lower section

(7), put the lower sektion in posision aginst the wall. 
Mark for the bracket.

3. Remove the wallbracket from the toilet. Install the 

bracket on the wall.

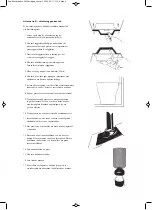
4. Put the 90 degrees bend on the outlet.

Set the lower section in position and fasten it to the 
wallbracket.

5. Make a hole in the roof for the ventilation pipe, 55 mm.

6. Install the ventilation pipes unsleeved end into the 

90 degrees coupling.

7. Insulate all piping that passes through cold spaces 

(e.g. in the attic and on above roof. This is to prevent 
condensation.

8. Cut the exterior pipe to fit the angle of the roof.

9. Position the roof flashing. For tin roof, its better to have a 

sheetmetal worker to make the flashing.

1

0.  Put the outer pipe with the roof flashing over the 

insulated ventilation pipe.

11

. Adjust the roof flashing to the external roof and seal 

firmly with asphalt sealant between the flashing and 
the roof.

1

2.  Once all the piping is insulated and covered, fit the 

reducing coupling on top, and then fit the insect netting.

1

3.  Place a bag in the composting chamber and fold it over 

the edge. Put the frame in position to lock the bag. Place 
the container inside the lower section and make sure that 
the bag does not cover the fan.

1

4.  Put the upper section back in place.

1

5. Plug in.

1

6.  Check that the Separera logo is green to confirm that the 

urinecontainer is in correct position.

Sep-Mini-instruk-Behollare-EN-2022-4sid.qxp_Layout 1  2022-05-10  14:55  Sida 4

Summary of Contents for Separera Mini

Page 1: ...llationspaketet f r alternativ A v ggenomf ring Toalettstol T cklock Efterkomposteringsk rl med lock Urinbeh llare urtagbar 7 liter Skruv med brickor enligt alt AVentilationsr r 50 cm f r v gg N thuv...

Page 2: ...ytterv gg f r ventilationsr ret 55 mm 4 Placera underdelen 6 p plats mot toalettrummets ytterv gg markera f r skruv mot v gg 5 Montera ventilationsr ret t ta med silikon runt r ret b de p insidan och...

Page 3: ...a f r att f rhindra kondens 8 Kapa av ytterr ret s att det passar med takets vinkel 9 Tr p takstosen p ytterr ret anv nd s pvatten s g r det l ttare F r den som har pl ttak kan det vara l mpligt att k...

Page 4: ...llaren r full s kommer Separera dekalen ndra f rg fr n gr nt till r tt 1 Bryt str mmen 2 Tag av verdelen 3 Lyft ur urinbeh llaren 4 T m p avsedd plats 5 Sk lj ren med vatten 6 S tt tillbaka urinbeh ll...

Page 5: ...ins Toilet with fan Lid Urine hose 1 5 m Screw with washer for wall bracket according to option A Ventilation Pipe 50 cm for wall Insect netting 2 Composting containers Latrine Bags 10 pcs The install...

Page 6: ...all for the ventilation pipe 55 mm 4 Set the lower section in position and mark for fastening in the wall 5 Fit the ventilation pipe and seal in and outside using silicone Fit the insect netting 6 Set...

Page 7: ...s e g in the attic and on above roof This is to prevent condensation 8 Cut the exterior pipe to fit the angle of the roof 9 Position the roof flashing For tin roof its better to have a sheetmetal work...

Page 8: ...ner with hot water 6 Put it back 7 Connect to power Check that the Separera logo is green to confirm that the urine container is in correct position MAINTENANCE Electrical connection Separera is appro...

Reviews: