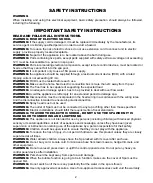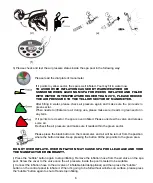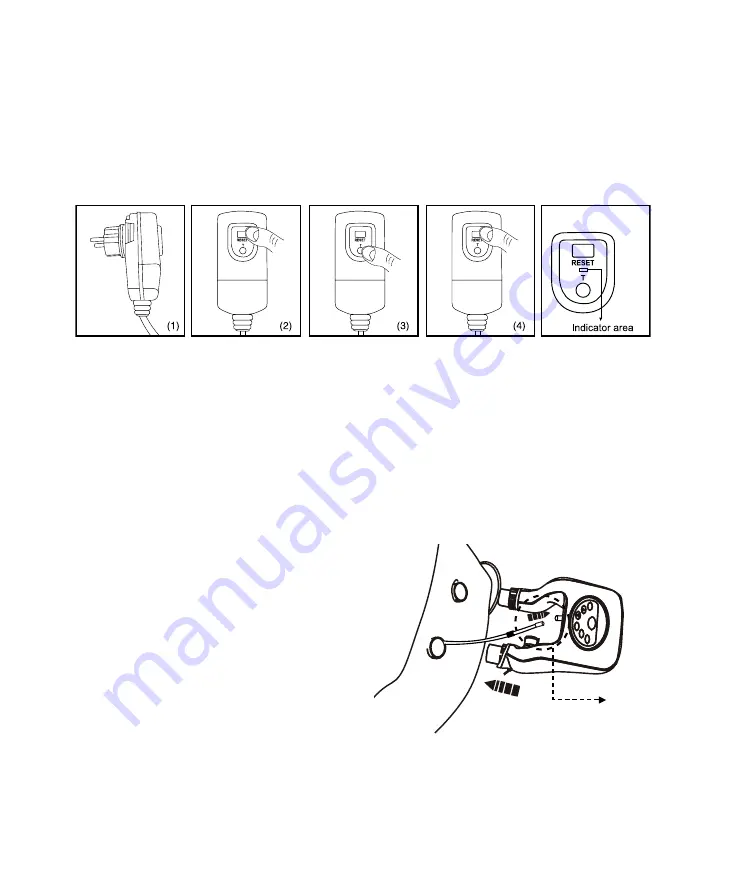
B. RCD Test
WARNING: RISK OF ELECTRIC SHOCK. The RCD plug must be tested before each use.
WARNING:
Insert the RCD plug into a residual current device (RCD) protected power receptacle only.
WARNING:
Before inserting the plug into a power receptacle, make sure the current rate of the power
receptacle and the fixed wiring are suitable for the Spa. Contact a qualified electrician if you cannot verify.
1. Insert the plug into the power receptacle. (1)
2. Press the “RESET” button. The indicator area should turn red. (2)
3. Then press the “TEST” button. The indicator area should disappear. (3)
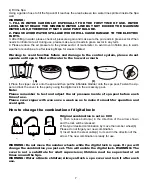
WARNING: Do not use if above test fails.
4 . Finally, press the “RESET” button again. The indicator area should turn red. The spa is ready for use. (4)
C. Assembly
a) Unfold the Spa pool from the packaging. Spread the Spa, cover and temp barrier mat. Make sure
Spa and cover are right side up. Put temp barrier mat under Spa(optional).
Note:
B-100 includes a side bar, which must be used before filling spa with water so that it’ll help keep
spa pool in good shape after filled with water.
Temp barrier mat(optional) is helpful to avoid heat loss from bottom and provide better heat preservation
together with inflatable bladder(optional) being used.
It’s only possible to setup and leave the spa at outside temperature less then 4°C as long as the spa has a
constant water temperature guaranteed more then 4°C. The spa can be used under low environment
temperature down to maximum -10°C if it is properly set up to make sure no frozen water inside control
box, pipes and spa pool. It’s helpful to put temp barrier mat between spa and ground, or similar mat which
is made of foam material or some material with temp barrier function.
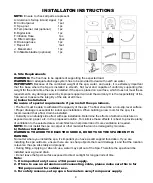
b) Screw the control panel onto the spa,
fasten the ring to the pipe adaptor.
c) Connect the pin plugs. Make sure
that plugs are properly matched together,
then screw a cap, and then you’ll see yellow light
on control panel, no bent or wet for the pin
inside male connector which will cause failure
connection.
d) Open the air valve under the control panel. Screw one end of inflation hose onto it.
e) Unscrew the top part of air valve on the Spa. Screw the other end of inflation hose onto Manometer, and
then put into the air valve.
f) As previously outlined, test spa’s RCD plug. Press the “ON/OFF” button on the control panel, then inflate
the spa pool by pressing the “bubble” button.
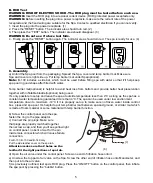
For B-130, B-150 and B-140 only
Put the side leather cover on the spa tub.
Attention: make sure the 2 holes on the
leather fit the right positions of spa tub.
(c)
5
(b)


