CLRM-110 Precision Colorimeter
17
Notes:
1. When performing black calibration, direct the measuring port to the
air. Be sure the black calibration is starting in a dark, no bright light
source environment. Keep the measuring port more than 1m away
from any reflective items (hands, desks, walls etc.).
2. No need to enforce black and white calibration. Once turning it on,
you can start the measurement. It is suggested to perform
calibration in following occasions: first use, great change of the
environment, long-term unused or inaccurate data.
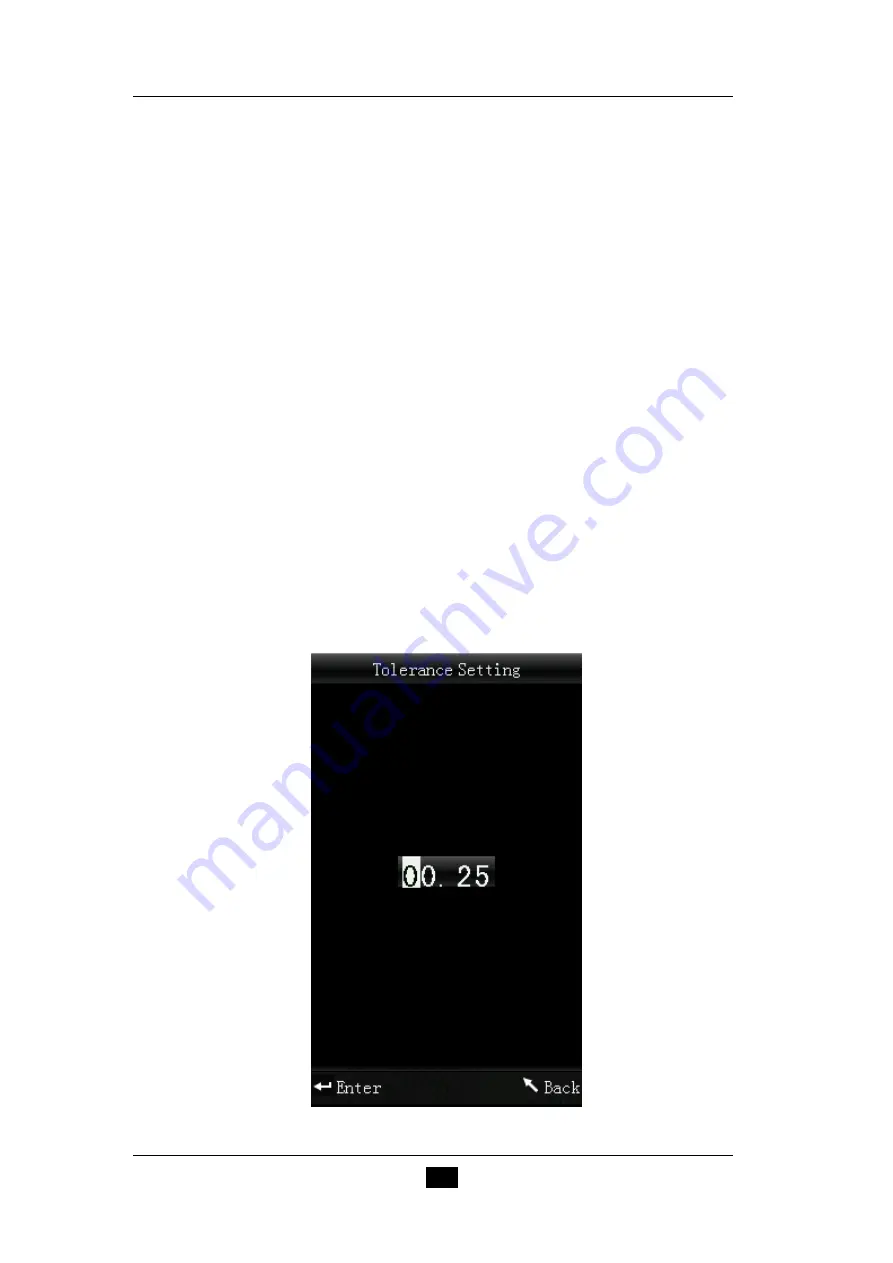
3. Tolerance Setting
Select “Tolerance” in main menu to enter tolerance setting interface, as
shown in Figure 14. You can add or subtract the number in which the
cursor is positioned through “Up” and “Down” button. After setting the
number to the needed one, press “Enter” button, the cursor will jump to
the las
t number. When the cursor is in the last number, press “Enter”
button to save the settings and return to the main menu.
If you don’t want to set or modify the tolerance, you can press “Back”
button to return to the main menu.
Figure 14 Tolerance Setting
Summary of Contents for CLRM-110
Page 9: ...CLRM 110 Precision Colorimeter 7 Figure 4 Battery Installation Li ion Battery Battery Cover ...
Page 14: ...CLRM 110 Precision Colorimeter 12 Figure 8 Main Menu Figure 9 USB Communication ...
Page 30: ...CLRM 110 Precision Colorimeter 28 Figure 25 Time Date Setting Figure 26 Time Setting ...
Page 31: ...CLRM 110 Precision Colorimeter 29 Figure 27 Date Setting Figure 28 Time Format ...
Page 33: ...CLRM 110 Precision Colorimeter 31 Figure 30 Restore Factory Settings ...


