


Home
Station
ADSL
Web Set‐up Portal
15
Name
.
‐
Editable
field
used
to
give
the
device
a
name.
It
will
originally
appear
blank.
Type
.
‐
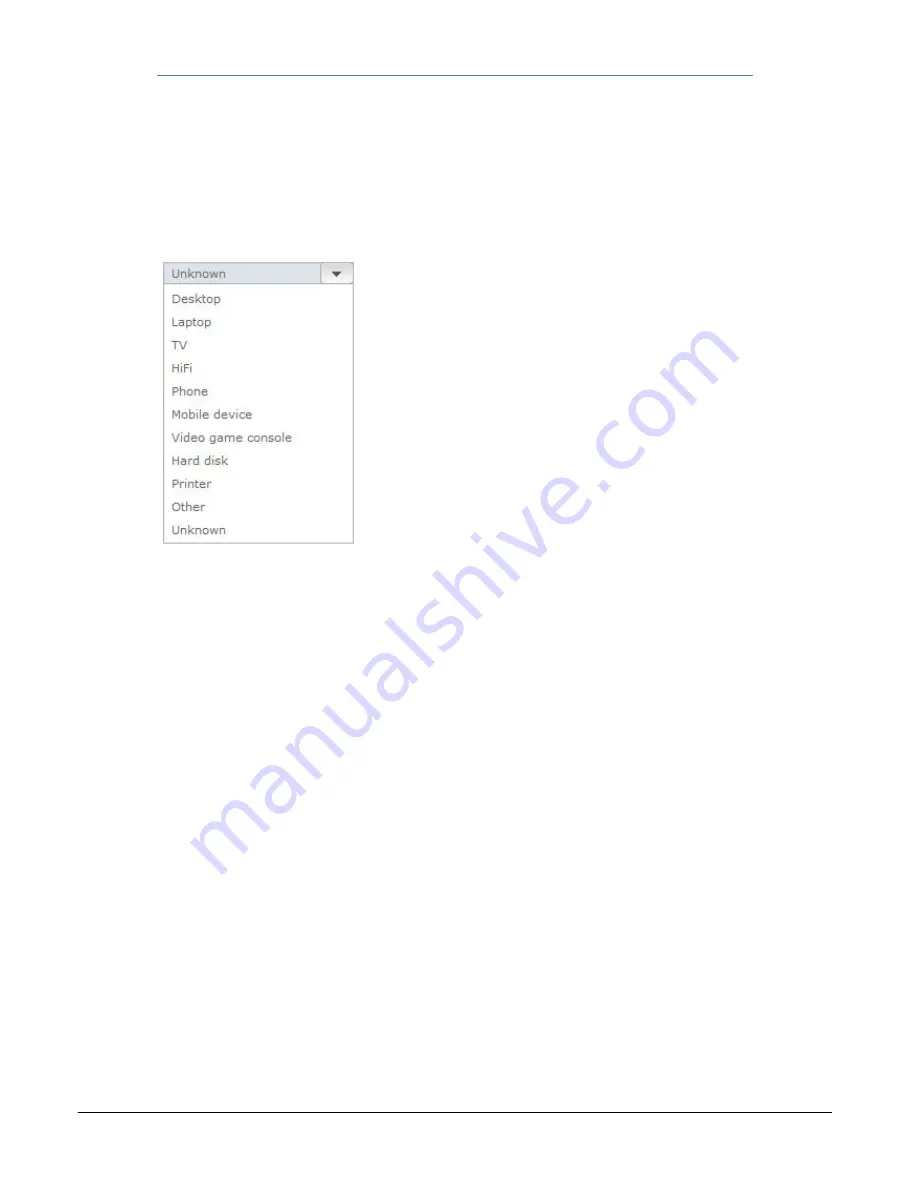
Drop
‐
down
list
to
indicate
the
type
of
device.
The
default
value
will
be
"Unknown",
but
you
may
select
the
type
by
clicking
the
drop
‐
down
arrow
and
selecting
the
type
from
those
listed.
(figure
5.3).
By
changing
the
type,
the
icon
on
the
left
will
automatically
change,
displaying
the
icon
defined
for
the
type
selected.
This
icon
will
subsequently
appear
on
the
network
map.
‐‐
Figure
5.3
—
IP
Address.
‐
IP
address
of
the
device
on
the
LAN
Connection
.
‐
Indicate
whether
your
computer
is
connected
by
cable
or
WiFi,
or
whether
it
is
disconnected
Ports
available
for
this
device.
‐
A
list
of
all
the
applications
defined
for
the
router
(see
Chapter
6).
The
boxes
to
the
left
of
each
application
will
indicate
whether
they
are
linked
to
the
device
(marked
"v")
or
not
(blank).
The
applications
already
linked
to
other
devices
on
the
LAN
are
also
indicated
(grey
box).
In
the
case
of
applications
not
linked
to
other
devices,
as
each
application
may
only
be
linked
to
one,
you
may
link
or
detach
applications
from
devices
by
clicking
on
the
box
with
your
mouse.
Configure
applications
and
ports.
‐
Direct
access
to
the
general
applications
and
port
set
‐
up
window
that
will
be
described
in
Chapter
6.
Finally,
click
Accept.
The
settings
applied
will
be
validated
and
the
device
will
become
linked.
Summary of Contents for ASL26555
Page 1: ......


