background image

Installation tools:

Pencil

Hammer

Electrodrill

Installation tools:

Band tape

2m

Part list

(7/32")

Wood Drill Bit

Stud finder

For parts shortage or damage, please contact us directly by 

[email protected].

New delivery

 will be timely 

arranged to replace missed or defective parts.

Attention:

A-Wall plate bar

2 pcs

Installation hardware

Socket wrench

1/2"(13mm)

2M

2M

H--Lag bolt

4 pcs

I--M8X20 bolt

4 pcs

J--M8 washer

8 pcs

K--5mm Allen Key

1 pc

B-Sliding block

4 pcs

Step 1  

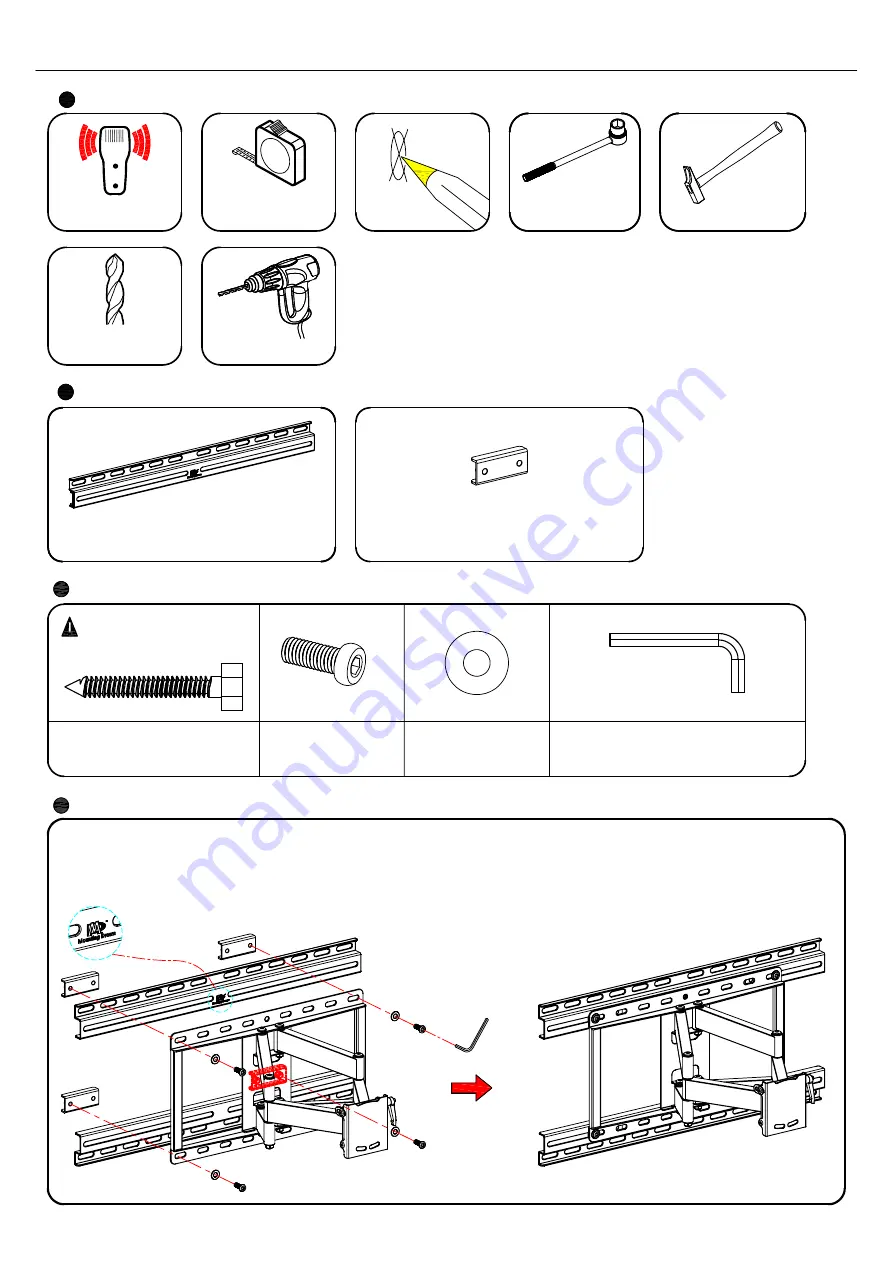
Screw in bolts (I) , washers (J) and sliding blocks (B) with Allen Key (K)

               to connect wall mount (Your 16" width mount) to the wall plate bars (A).
               Do not overtighten to make sure the mount can slide.

I

J

A

B

K

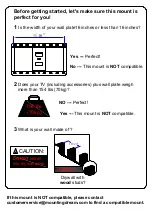
CAUTION:

                 Do not install

in drywall alone

Installation  instruction

UP

Summary of Contents for MD5232

Page 1: ... lbs MODEL MD5232 INSTALLATION INSTRUCTION Thank you for purchase We strive to provide products and services of exceptional quality We sincerely invite you to write an unbiased review For parts missed or installation problems please contact us at telephone 626 604 9048 USA Mon Fri 10am 6pm Pacific time or email us by customerservice mountingdream com so that we may solve the issue for you A1 ...

Page 2: ...avant l assemblage veuillez contrôler soigneusement pour éviter les pièces manquantes ou défectueuses notre représentant de service client va vous fournir une assistance de montage pour régler les problèmes des pièces manquantes ou défectueuses Si vous avez commandez le produit après d un concessionnaire agréé donc nous allons livrer directement les pièces de remplacement chez vous il est interdit...

Page 3: ...ries plus wall plate weigh more than 154 lbs 70kg 154 lbs 70kg NO Perfect Yes This mount is NOT compatible 3 What is your wall made of CAUTION DO NOT install into drywall alone Perfect Drywall with wood studs Yes Perfect No This mount is NOT compatible If this mount is NOT compatible please contact customerservice mountingdream com to find a compatible mount 16 18 24 ...

Page 4: ... or defective parts Attention A Wall plate bar 2 pcs Installation hardware Socket wrench 1 2 13mm 2M 2M H Lag bolt 4 pcs I M8X20 bolt 4 pcs J M8 washer 8 pcs K 5mm Allen Key 1 pc B Sliding block 4 pcs Step 1 Screw in bolts I washers J and sliding blocks B with Allen Key K to connect wall mount Your 16 width mount to the wall plate bars A Do not overtighten to make sure the mount can slide I J A B ...

Page 5: ...ry or property damage 1 Wall mount must be installed into wood stud s center not drywall alone 2 Drywall covering the wood stud must not exceed 16 mm 5 8 in 3 Minimum wood stud size common 2 x 4 in 51 x 102 mm Nominal 1 1 2 x 3 1 2 in 38 x 89mm 4 The wall must be capable of supporting five times the weight of TV plus mount 5 Make sure the logo on wall plate is upward as picture shows 6 All lag bol...

Page 6: ...ic time or email us by customerservice mountingdream com For more information please visit our website www mountingdream com Product dimensions 406mm 16 610mm 24 406mm 16 102mm 4 635mm 63 5mm 20mm Step 3 Locate the wall mount unit by sliding left or right then tighten Bolts I with Allen Key K to lock the mount at desired position K ...

Reviews: