1
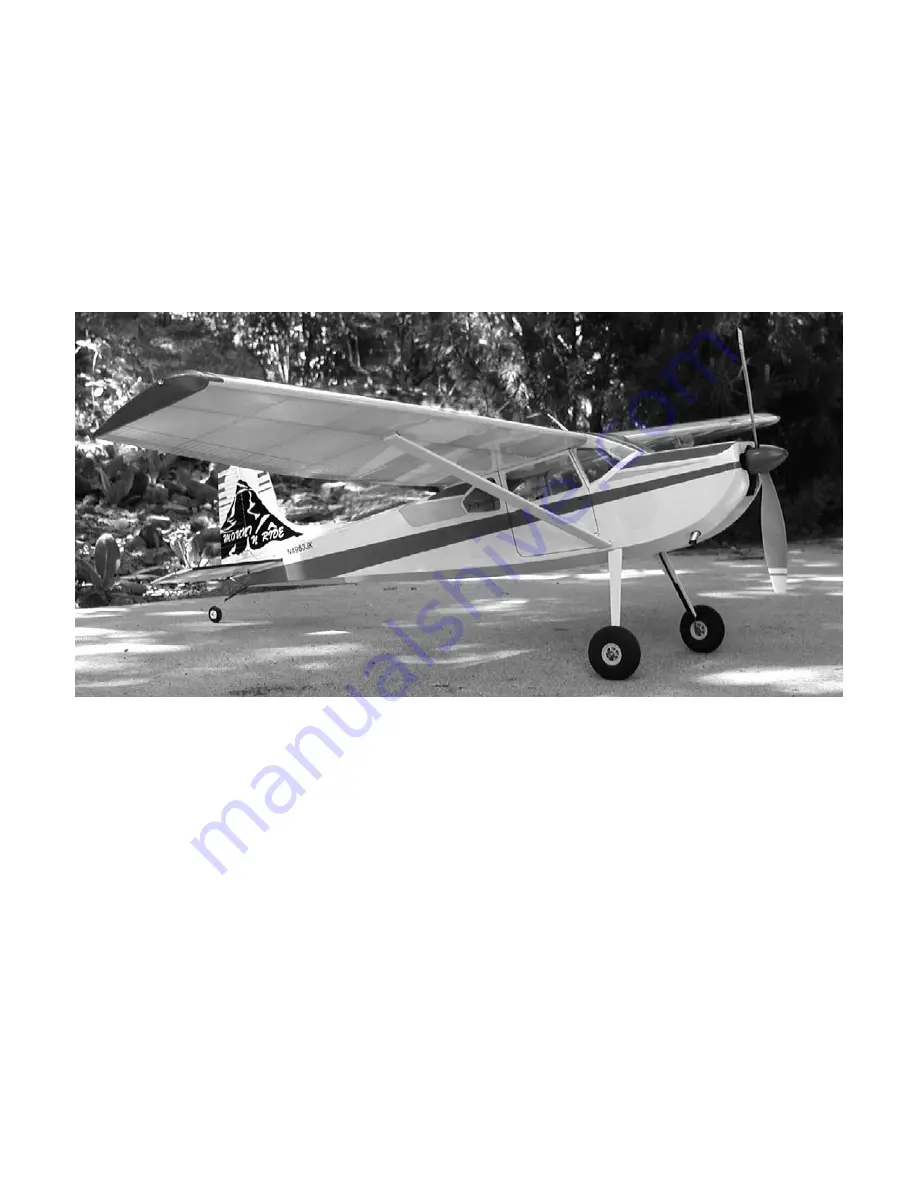
C-180 Builder’s
Manual
.
May 20, 2002
Last revised July 11, 2002
Copyright
!
2002 Douglas Binder, Mountain Models
www.mountainmodels.com
[email protected]
(719) 630-3186
Page 1: ...1 C 180 Builder s Manual May 20 2002 Last revised July 11 2002 Copyright 2002 Douglas Binder Mountain Models www mountainmodels com sales mountainmodels com 719 630 3186 ...
Page 2: ...sa sheet 1 ea 1 8 laser cut balsa sheet 1 ea 1 32 laser cut plywood sheet 1 ea clear plastic windshield sheet 2 ea 3 16 x 3 16 x 18 balsa leading edge 2 ea 1 8 round x 1 2 hard wood wing dowel 1 ea 1 16 plywood battery holder 2 ea 1 16 x 5 5 main landing gear wire 1 ea 1 16 x 2 625 tail landing gear wire 2 ea 025 x 18 thin music wire for pushrods 2 ea 10 25 plastic pushrod tubing 1 ea 2 Heat shrin...
Page 3: ...3 ...
Page 4: ...o sides are different in that the pushrod exit holes are in different places Don t worry now about which side is which That will happen when you install the control horns Glue the bottom fuselage doubler to the fuselage side with thin CA The doubler should be flush with the bottom and the front of the fuselage Glue the remaining fuselage doublers into place Position them before gluing to check tha...
Page 5: ... F1 Until the nose cowl is glued in place F1 is very fragile NOTE F2 and F3 must be oriented properly Ensure the word Front faces forward You will now need to sand the fuselage doublers in the back so that the fuselage sides can come together at an angle The easiest way to do this is to place some sandpaper between the fuselage sides while gently squeezing the sides together Pull the sandpaper out...
Page 6: ... attachment point for the tailwheel Glue bulkheads F8 and F9 in place and glue the backs of the fuselage sides together There are two places on the top of the fuselage and one place on the bottom where you will need to glue a 1 8 square balsa support into place Glue the two 1 16 balsa bottom front stringers between F1 and F5 Note that they extend past F1 ...
Page 7: ...ger This will give you a platform to attach the vertical stabilizer later Sand the sides to match the sides of the fuselage Run the two pushrod tubes through the holes in F7 and F8 then out the slots near the rear of the side fuselage Glue two 1 8 square stringers then the 1 16 plywood battery holder to the tops of F5 and F6 Apply some Velcro to the batter holder Align the three front wing mount p...
Page 8: ...p of the fuselage Carefully remove the parts from the fuselage while holding them together so as not to lose their alignment to each other Remove the dowels and glue the parts together Position the 060 carbon fiber rods so that they are between the front and back part and even with the top of the notched part Glue the carbon rods in place Set the wing mount assembly back on the fuselage again with...
Page 9: ... notched false ribs Position the three nose cowl pieces so that the insides line up with the smallest piece first and the largest piece last Glue them together Glue the nose cowl to the front of the F1 Glue the two top front 1 8 stringers into place Be sure to insert the stringer as far as possible into the nose cowl ...
Page 10: ...2 and F3 It should extend just past F3 Flow thin CA over the length of the motor mount stick to strengthen it Sheet the two front bottom stringers with the 1 32 x 1 1 4 x 3 7 8 balsa Sheet the top front of the fuselage with the other 1 32 balsa piece ...
Page 11: ...edges from the 1 32 balsa sheet Set one aside and keep the other over the plans Use one of the 1 8 square balsa sticks for a lower spar With one end at the middle of the wing cut the other end at the far left end of the wing Position the 1 32 plywood center spar over the plans and glue the lower 1 8 spar to it Just glue the end of the 1 8 spar Glue two split ribs to the center spar in the center p...
Page 12: ...r spar ends glue the 4 spar webbings between the top and bottom spar on the back of the spar Glue the 3 16 square balsa leading edge in place Glue the two 1 8 stringers to the ribs Let the left side dry Remove from the plans and relocate over the right wing plans Rock the wing to the right by shimming up the left side keeping it square and build the right wing as above Once the wing is dry remove ...
Page 13: ...sure that the holes align Place the wing on the fuselage and line up the ribs with the false ribs on the fuselage wing mount assembly Slide the 1 8 balsa front wing support between the center two ribs and pressed against the wing mount assembly Remove the wing with the front wing support still in place and glue the wing support to the ribs When dry position the wing back on the fuselage Using a 1 ...
Page 14: ...abilizers Rudder and Elevator Assembly The tail assemblies are made up from the 1 8 laser cut sheet Lay the plans out on a flat worktable and tape them down and then lay a sheet of wax paper over the plans This will protect the plans from the glue The pieces of balsa are positioned over the plans and glued together Each joint can be glued by holding the two pieces in place and applying a drop of t...
Page 15: ...n depends on where the pushrod exit slots are on the fuselage The low slot is for the elevator and the high slot is for the rudder The elevator control horn goes down Carefully remove a strip of covering from the top of the fuselage 1 8 wide and from the tail to 4 25 in front of the tail Glue the vertical stabilizer in place where you removed the covering Slide the horizontal stabilizer in place a...
Page 16: ...will NOT glue the strut to the fuselage Mark on the wing where the strut ends Clear away a bit of covering and glue the strut to the wing To remove the wing from the fuselage you will bend the strut so that it pulls away from the fuselage Glue the windshield in place with thin CA The smooth side of the plastic should be out Cut out and glue cowl vent exhaust pipe and steps as shown on the plans Se...
Page 17: ... you have 3 8 washout and both sides are even Flying Attach a battery to the Velcro strip on the wing inside the fuselage Check that none of the control surfaces are binding and that everything including the battery is secure Before you fly the 180 check that the control surfaces move the correct directions Always check the directions while you are behind the airplane I highly recommend that you c...