


CHAPTER
I N S T A L L I N G T H E M I C R O B O O K H A R D W A R E
17
4
Installing the MicroBook
Hardware
OVERVIEW
Windows users: install the software first . . . . 17
Connect the MicroBook interface . . . . . . . . . . . 17
Connect inputs and outputs . . . . . . . . . . . . . . . . 18
Bus power . . . . . . . . . . . . . . . . . . . . . . . . . . . . . . . . . . 21
A typical MicroBook setup . . . . . . . . . . . . . . . . . . 22
WINDOWS USERS: INSTALL THE
SOFTWARE FIRST
PC installation goes much more
smoothly if you install the MicroBook
software (previous chapter) before you
connect the MicroBook hardware (this
chapter).
CONNECT THE MICROBOOK
INTERFACE
1
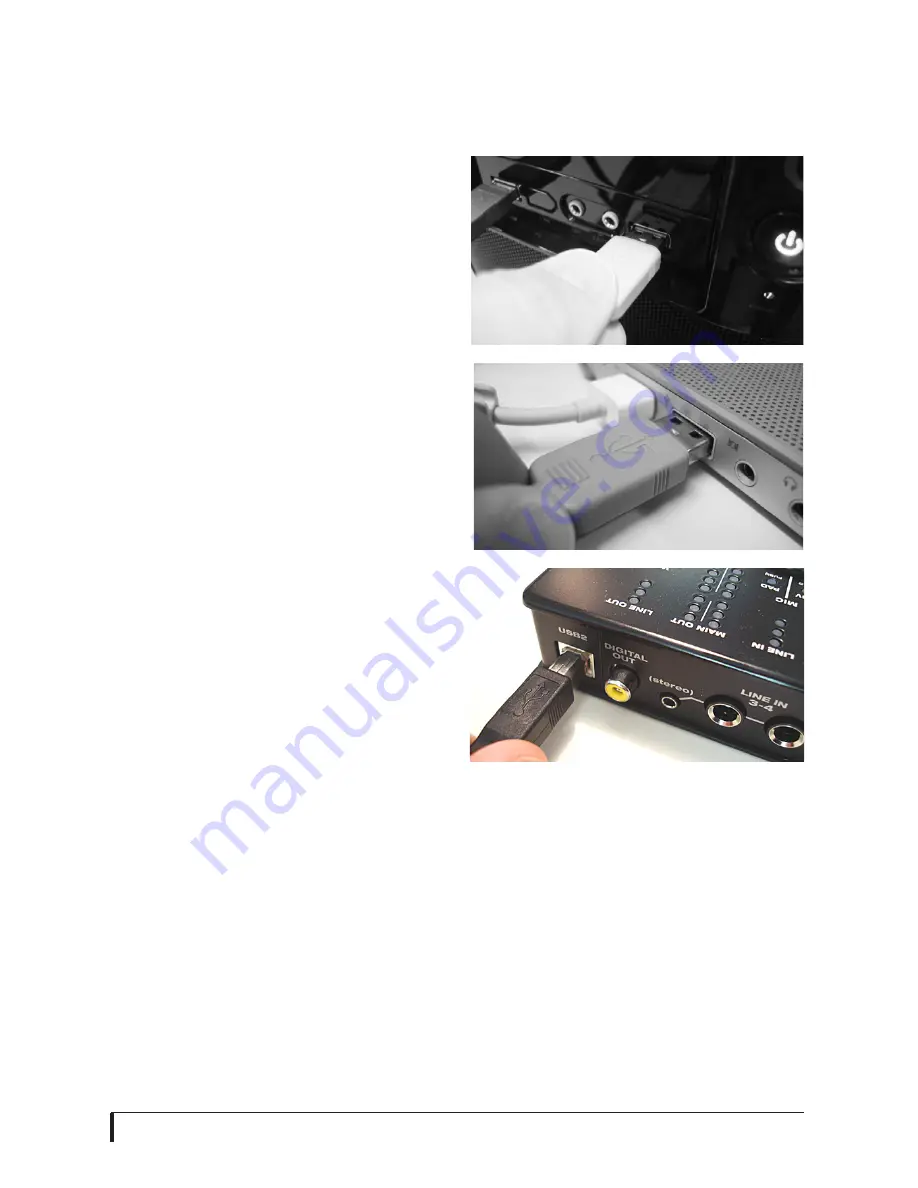
Plug the MicroBook USB cable
(included) into a USB socket on the
computer as shown below in Figure 4-1.
2
Plug the other end of the USB cable
into the MicroBook as shown in
Figure 4-1.
Figure 4-1: Connecting the MicroBook to the
computer.
Summary of Contents for MicroBook II
Page 1: ......
Page 14: ...A B O U T T H E M I C R O B O O K 12...


