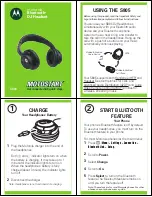
Motorola Noise-com ENMN4010, Manual
The Motorola Noise-com ENMN4010 is a high-quality communication headset designed for crystal-clear audio in noisy environments. With our free user manual, you can easily understand all its features and functions to enhance your communication experience. Download the manual from manualshive.com and enjoy the full potential of your headset.
Share
Download


Reviews:
No comments
Related manuals for Noise-com ENMN4010
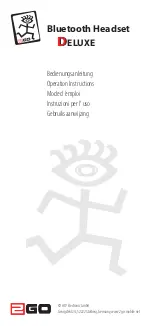
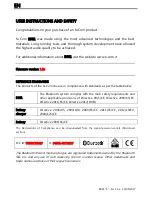
DELUXE
Brand: 2GO Pages: 20
B901
Brand: N-Com Pages: 33
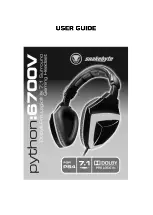
6700V
Brand: Python Pages: 8
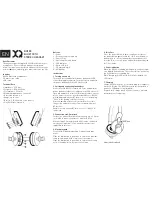
BH100
Brand: Xqisit Pages: 16
BT400
Brand: Able Planet Pages: 2
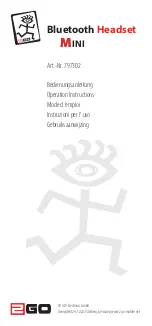
Mini
Brand: 2GO Pages: 12
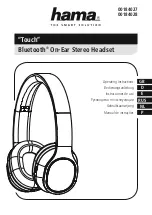
Touch
Brand: Hama Pages: 27
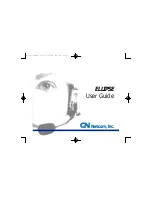
Ellipse
Brand: Jabra Pages: 12
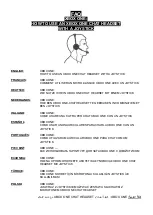
S805 - -QSG-EMEA
Brand: Motorola Pages: 6
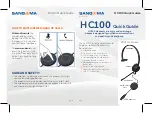
HC100
Brand: Sangoma Pages: 2
ONE
Brand: XBOX Pages: 13

H9
Brand: Ibml Pages: 2
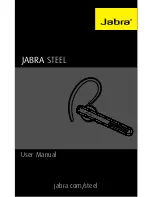
Steel
Brand: Jabra Pages: 20
KX-TGA106M - Cordless Extension Handset
Brand: Panasonic Pages: 6
RP-HTX80B
Brand: Panasonic Pages: 2
WXCH2050 - WIRELESS ORDER TAKER
Brand: Panasonic Pages: 12

BT160
Brand: Jabra Pages: 2

BT160
Brand: Jabra Pages: 2


