Wireless Camera
Quick Start Guide
Page 1
Congratulations on your purchase of the Motorola Wireless Camera. Your camera uses a high-resolu-
tion color video camera, a built-in heat-activated motion detector, and an audio microphone. These
features enable you to secure an area, regardless of day or night, rain or shine. This Quick Start Guide
describes how to set up and troubleshoot your Wireless Camera.
Controlling Your Camera
Using your computer and the Gateway, you locally manage your home environment with the Motorola
Home Monitoring & Control System. When configured, the system can notify you of any new events
by sending an e-mail when your Wireless Camera detects an event. An event is defined as movement
in the field of view of the camera heat sensor.
How It Works
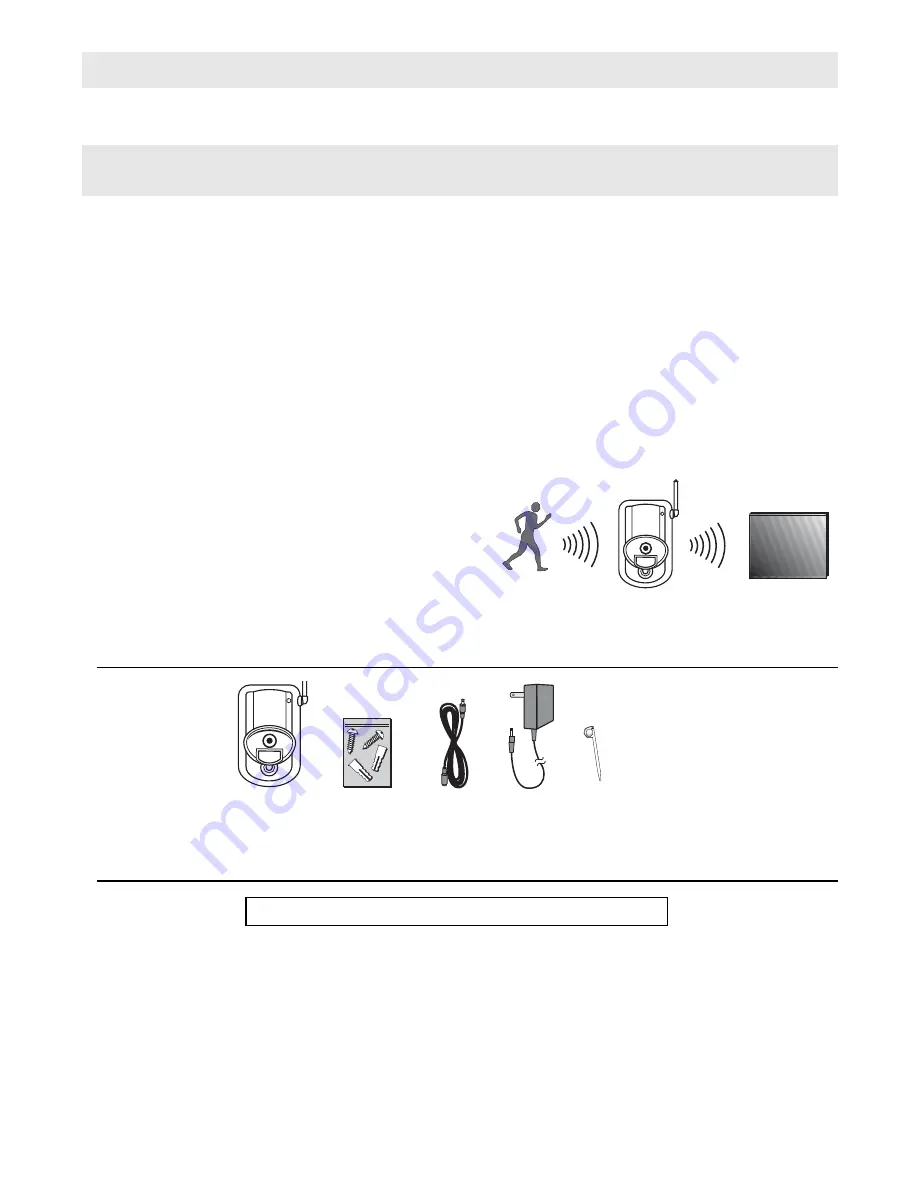
The Wireless Camera surveys the area up to 12 -14 ft.
(3.5 - 4 m) at a viewing angle of 80 degrees. If armed,
heat-motion triggers the camera and turns it on auto-
matically and begins transmitting the image. The cam-
era then communicates the video wirelessly back to
the Gateway, which in turn feeds your computer. This
enables you to watch the video to determine the event
that triggered it.
Package Contents
Installation Overview
Installing your camera is a simple two-step process.
1
Register your camera with your Gateway using a process called discovery. You must use AC
power and not batteries for the intial discovery process. Refer to your Gateway documentation
for instructions on how to discover your Wireless Camera.
2
Mount the camera.
Note: Batteries can be used after discovery but are discouraged as they only provide approximately 2 hours of
coverage. Instead, use the power adapter to ensure smooth camera operation.
Introduction
Controller
Wireless
Camera
Hardware
Mounting Kit
Camera AC
Extension
Cord
9V Power
Adapter
Discovery
Tool
The Gateway must be installed before activating your camera!


