3
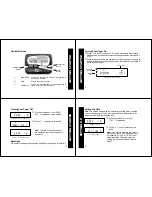
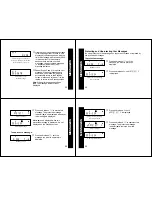
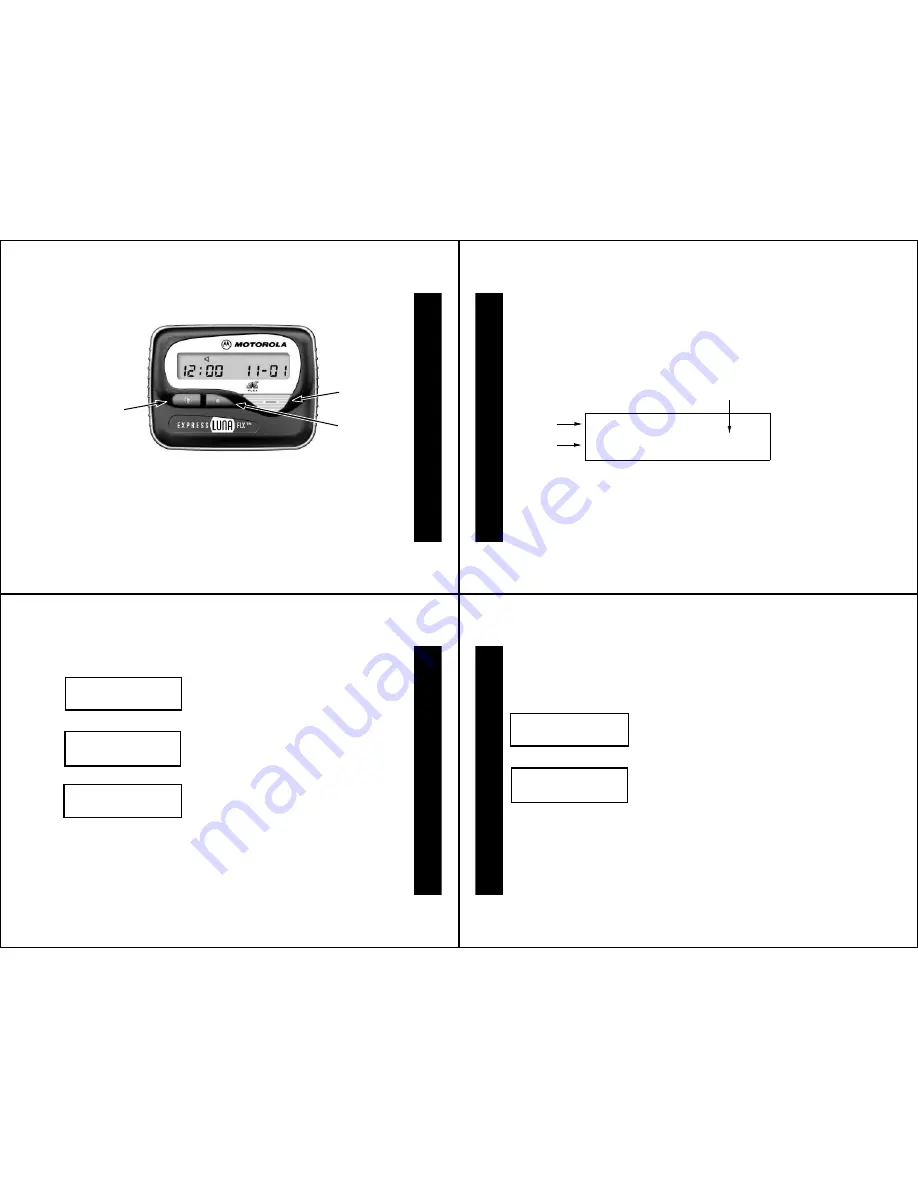
Control Buttons
]
Read/Select
Used to turn the pager on, display messages and to
select pager functions.
\
Mode
Used to scan pager modes.
[
Light/Reset
Used to turn on/off the pager’s LCD backlight and to
return the pager to Standby mode.
Light/Reset
Button
Button
Read/Select
Mode
Button
GETTING STAR
TED
4
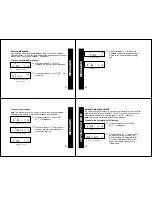
Turning Your Pager On
➊
Press
]
to turn your pager on. A start-up message is momentarily
displayed and your pager activates the currently selected alert (either
E
or
D
).
➋
Press any button to stop the startup alert. While the pager is on and no
activity is taking place, the Standby screen is displayed, an example of
which is shown below.
E
0:00a
1-01
Standby screen example
Alert Mode
(Audible)
Default
Time
Default Date
GETTING STAR
TED
5
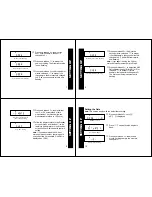
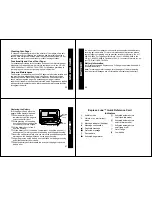
Turning Your Pager Off
Backlight
You can turn the pager’s backlight on and off by pressing and releasing
[
.
Standby screen (pager on)
➊
Press and release
\
until
pager
off
?
is displayed on the screen.
➋
Press
]
. The pager is turned off.
Standby screen (pager off)
Note:
The time of day and the date
are displayed even when the pager is
turned off.
E
0:00a
1-01
E
pager
off
?
0:00a
1-01
GETTING STAR
TED
6
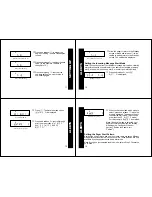
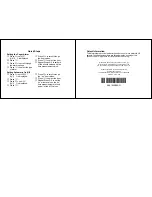
Setting the Time
Note:
This section begins with the default time setting which uses the
12-hour as opposed to the 24-hour method of time measurement as
indicated (with the
a
representing AM).
Standby screen
➊
Press and release
\
until
set
time
?
is displayed.
Set Time prompt
➋
Press
]
. The hour values begin to
flash.
Note:
If you want to switch to the 24-hour
method, use the 12-hour equivalent here
(for example,
01:00p
for 13:00). It will
automatically be converted when you
change the method of measurement in
Step 8.
E
0:00a
1-01
E
set
time
?
SETTING UP


