Deployment Guide
25
1.
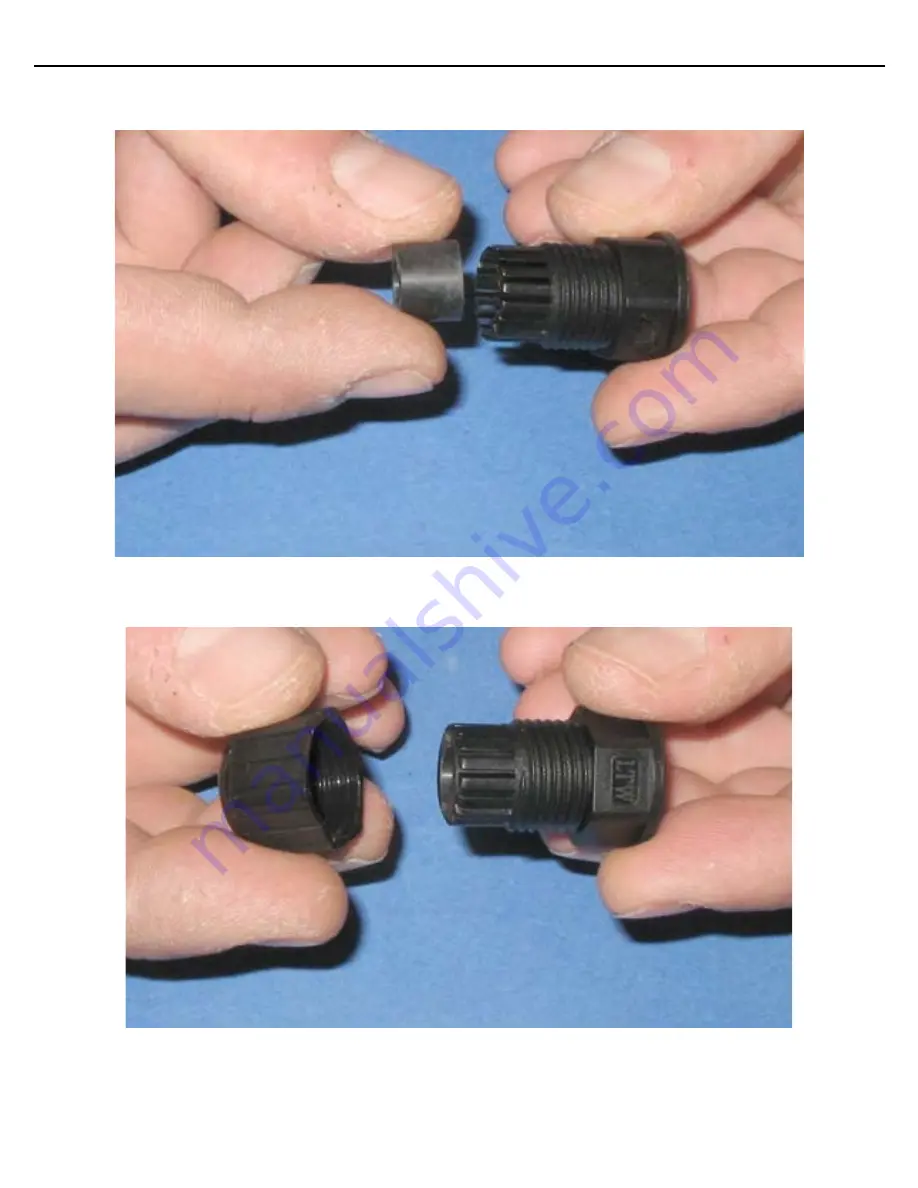
Install the silicone rubber gland into the gland housing.
2.
Loosely assemble the gland nut onto the gland housing. Do not tighten until the connector is fully
assembled and installed into the desired AP-5181 connection port. This creates the gland assembly.
3.
Install the ring seal onto the end of the flange barrel. A small amount of grease on the surfaces will hold
the ring in place for the remainder of the assembly.
Summary of Contents for AP-5181 - Wireless Access Point
Page 1: ...AP 5181 Access Point DEPLOYMENT GUIDE ...
Page 36: ...36 AP5181 Access Point ...
Page 37: ...Deployment Guide 37 ...
Page 38: ...38 AP5181 Access Point ...
Page 39: ...Deployment Guide 39 ...


