Level 1 and 2 Service Manual
A780
Digital Wireless Telephone
850, 900, 1800, and 1900MHz
Page 1: ...Level 1 and 2 Service Manual A780 Digital Wireless Telephone 850 900 1800 and 1900MHz ...
Page 2: ......
Page 3: ... the Rear Housing 18 Removing and Replacing the Transceiver Board Assembly 20 Removing and Replacing the LCD 22 Removing and Replacing the Flip Assembly 23 Removing and Replacing the Flip Lens 25 Removing and Replacing the Flip Inner Cover 27 Removing and Replacing the Keypad PCB Assembly 28 Removing and Replacing the Stand_Joystick Assembly 29 Removing and Replacing the Stand_TransFlash Assembly ...
Page 4: ...2 August 25 2004 6809488A90 Contents A780 ...
Page 5: ...ment parts Product Names Product names are listed on the front cover Product names are subject to change without notice Some product names as well as some frequency bands are available only in certain markets Product Changes When electrical mechanical or production changes are incorporated into Motorola products a revision letter is assigned to the chassis or kit affected for example A B or C and ...
Page 6: ... use the Motorola product and the Motorola computer programs with the Motorola product About This Service Manual Use of this manual assures proper installation operation and maintenance of Motorola products and equipment It contains all service information required for the equipment described and is current as of the printing date Refer questions about this manual to the nearest Customer Service M...
Page 7: ...semblies and level 3 limited PCB component Motorola High Tech Centers will perform level 4 full component repairs Customer Support Customer support is available through dedicated Call Centers and in country help desks Product Service training is available through the local Motorola Support Center Parts Replacement When ordering replacement parts or equipment include the Motorola part number and de...
Page 8: ...ct Motorola Inc on your TTY call 800 793 7834 Accessories and Aftermarket Division AAD Order replacement parts test equipment and manuals from AAD For EMEA spare parts call 49 461 803 1638 For Asia spare parts call 65 648 62995 U S A Outside U S A Phone 800 422 4210 Phone 847 538 8023 FAX 800 622 6210 FAX 847 576 3023 ...
Page 9: ...1 inches x 1 10 inches Size Volume 97 cc 5 91 in3 Weight 148 3 gm 5 01 oz with battery Temperature Range 10 C to 55 C 15 F to 130 F Battery Life with standard 1000 mAhr Li Ion Battery Talk time 6 3 Hrs Standby time 210 Hrs All talk and standby times are approximate and depend on network configuration signal strength and features selected Standby times are quoted as a range from DRX 2 to DRX 9 Talk...
Page 10: ... battery antenna subscriber identity module SIM holder and status light A stylus also located in the front housing is provided to aid manipulating the touch screen UI The standard 1000 mAh Lithium Ion Li Ion battery fits behind a removable back cover The phone accepts both 1 875V and 3V mini subscriber identity module SIM cards which fit into the SIM holder underneath the battery The antenna is a ...
Page 11: ...ard HTML subsequently filtered to WML or directly in WML if available The information is then passed to the mobile subscriber via the mobile network The A780 s microbrowser can be configured for baud idle timeout line type phone number and connection type SIM Application ToolkitTM Class 2 SIM Application Toolkit is a value added service delivery mechanism that allows GSM operators to customize the...
Page 12: ...ly method available for example phone numbers Caller Line Identification Upon receipt of a call the calling party s phone number is compared to the phone book If the number matches a phone book entry that name will be displayed If there is no phone book entry the incoming phone number will be displayed In the event that no caller identification information is available the Incoming Call message is...
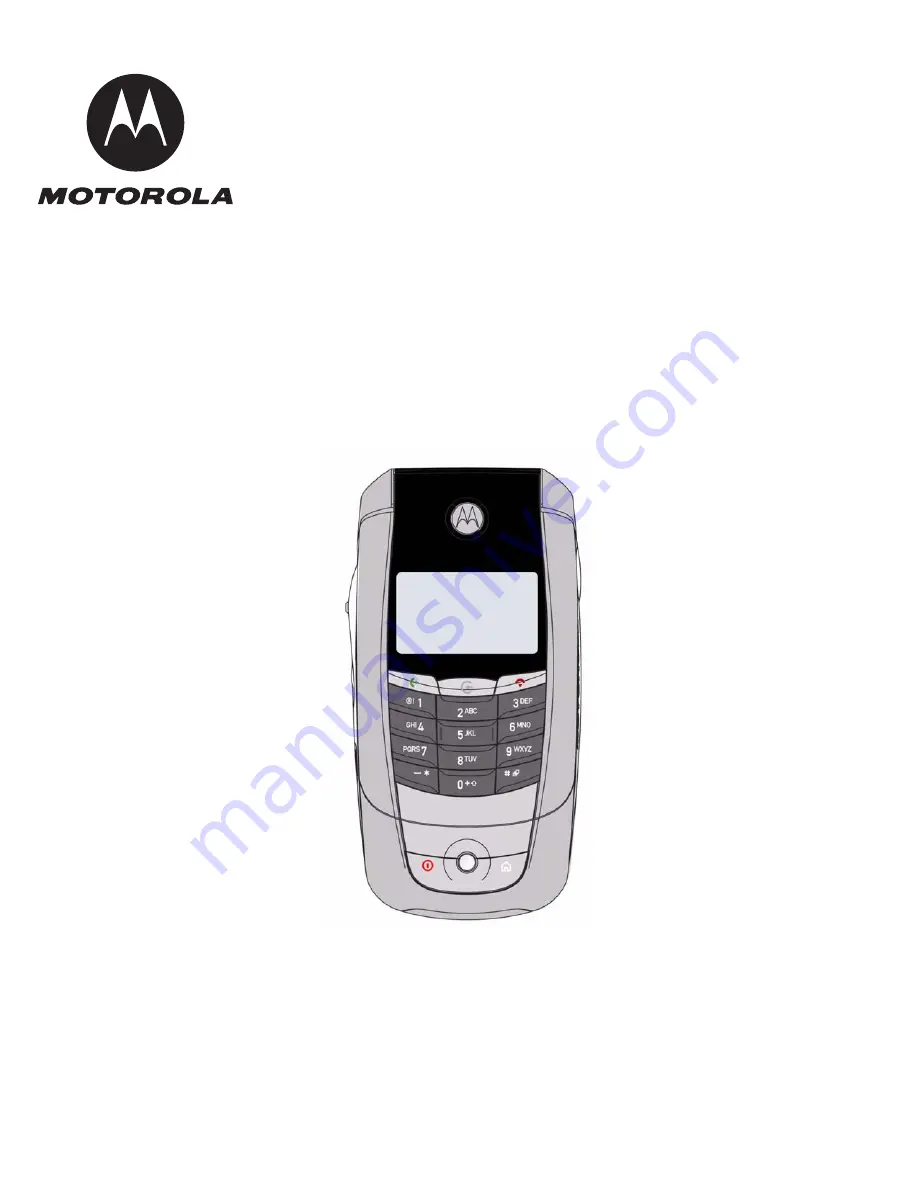
Page 13: ...n the LCD see Figure 2 A780 phones have an audible alert transducer on the top and I O connectors consisting of a headset jack and an accessory port located on the top and bottom of the phone See Figure 1 Figure 1 Controls indicators and I O Earpiece Rocker Switch Battery Door Latch 5 Way Navigation Key Power On Off LCD Display Home Key Car kit Cover Audio Jack USB Port Send Key Power End Key Menu...
Page 14: ...the battery The following indicators can display in the status bar Figure 2 shows some common icons displayed on the LCD 1 Signal Strength Indicator Vertical bars show the strength of the network connection You cannot make or receive calls when the no signal indicator or no transmit indicator is displayed 2 Bluetooth Indicator Shows that your phone has established a Bluetooth wireless connection w...
Page 15: ...Battery Battery Removal Removing the battery causes the device to immediately shut down and any pending work for example partially entered phone book entries or outgoing messages is lost Operation For detailed operating instructions refer to the appropriate User s Guide listed in the Related Publications section toward the end of this manual Pressing either volume key will mute the alert To ensure...
Page 16: ... device 0180386A82 Antistatic Mat Kit includes 66 80387A95 antistatic mat 66 80334B36 ground cord and 42 80385A59 wrist band Provides protection from damage to device caused by electrostatic discharge ESD 6680388B67 Disassembly tool plastic with flat and pointed ends manual opening tool Used during assembly disassembly of device 6680388B01 Tweezers plastic Used during assembly disassembly Digital ...
Page 17: ... to damage from electrostatic discharge ESD Ensure adequate static protection is in place when handling shipping and servicing the internal components of this equipment G Avoid stressing the plastic in any way to avoid damage to either the plastic or internal components E All batteries can cause property damage and or bodily injury such as burns if a conductive material such as jewelry keys or bea...
Page 18: ...inted arrow first into the battery compartment and push down 7 Insert the battery housing into the base of the phone then slide the cover toward the top of the phone until it snaps into place Figure 2 Removing the battery E There is a danger of explosion if the Lithium Ion battery is replaced incorrectly Replace only with the same type of battery or equivalent as recommended by the battery manufac...
Page 19: ... door and battery as described in the procedures 2 Carefully slide the SIM toward the bottom of the phone and lift it out 3 To replace insert the SIM into the holder ensuring the keyed corner of the SIM aligns with the notch molded into the holder 4 Replace the battery and battery door as described in the procedures Figure 3 Removing the SIM SIM Card ...
Page 20: ... a Torx driver with a T 6 bit remove the 4 screws at each corner of the unit and remove the back housing Retain the screws for reassembly See Figure 4 4 Release the two housing latches by inserting the flat end of the plastic disassembly tool into side of the rear housing to disengage the latch G This product contains static sensitive devices Use anti static handling procedures to prevent electros...
Page 21: ...assembly down until the 2 housing catches engage with the corresponding openings on the rear chassis assembly Press the housings together until the catches snap into place 7 Replace the 4 screws and tighten to a final torque setting of 1 5 inch pounds or Do not over tighten 8 Replace the rubber screw cover at the top right of the unit 9 Replace the SIM card battery stylus and battery cover as desc...
Page 22: ... end of the disassembly tool under the flex connector and remove the connector from the transceiver board See Figure 6 G This product contains static sensitive devices Use anti static handling procedures to prevent electrostatic discharge ESD and component damage G The flexible printed cable FPC flex is easily damaged Exercise extreme care when handling Figure 6 Disconnecting the Flex from the Tra...
Page 23: ...nnector squarely into its mating connector on the transceiver board and press firmly until it snaps into place 6 Replace the rear housing SIM card stylus battery and battery cover as described in the procedures Figure 7 Removing the transceiver PC board assembly Be sure the side buttons are correctly positioned in relation to the corresponding switches on the transceiver board Verify operation of ...
Page 24: ...squarely into its mating connector on the transceiver board and press firmly until it snaps into place Fold the LCD over onto the transceiver board 4 Replace the transceiver board rear housing SIM card stylus battery and battery cover as described in the procedures G This product contains static sensitive devices Use anti static handling procedures to prevent electrostatic discharge ESD and compon...
Page 25: ...nuckle away from the flip assembly hinge to separate the flip assembly from the front housing 4 Carefully lift the flip assembly away from the front housing assembly 5 Carefully thread the flip assembly flex cable through the slot in the front housing assembly 6 To replace carefully thread the display flex cable through the slot in the front housing 7 Insert the side of the hinge of the flip assem...
Page 26: ...88A90 Disassembly A780 8 Gently slide the other end of the flip hinge into position into the knuckle 9 Replace the transceiver board assembly rear housing stylus SIM card battery and battery cover as described in the procedures ...
Page 27: ...n the screw covers for reassembly 3 Using a Torx driver with a T 6 bit remove the 2 screws at each corner of the unit Retain the screws for reassembly See Figure 10a 4 Using the disassembly tool gently pry the lens up from the flip assembly at the 2 insert ports See Figure 10b 5 To replace the protective adhesive paper from the lens 6 Insert the bottom of the lens in first and press it on to the f...
Page 28: ...he 2 screws and tighten to a final torque setting of 1 5 inch pounds Do not over tighten 8 Replace 2 rubber screw covers 9 Replace the flip assembly transceiver board assembly rear housing stylus SIM card battery and battery cover as described in the procedures ...
Page 29: ...e unit Retain the screws for reassembly 4 Using the disassembly tool gently pry the flip cover from the flip assembly disengaging the flip inner cover latches See Figure 11 5 To replace position the flip inner cover on to the flip assembly and press until all of the flip cover latches snap into place 6 Replace the 2 screws and tighten to a final torque setting of 1 5 inch pounds or Do not over tig...
Page 30: ...isconnect the flex connector See Figure 12b 4 To replace insert the flex connector squarely into its mating connector on the back of the keypad PCB assembly and press firmly until it snaps into place 5 Replace the 2 screws securing the keypad PCB assembly and tighten to a final torque setting of 1 5 inch pounds Do not over tighten 6 Reassemble and replace the flip assembly transceiver board assemb...
Page 31: ...Note It is not necessary to remove the LCD display it has been removed in Figure 13 for clarity 4 To replace insert the flex connector squarely into its mating connector on the transceiver board and press firmly until it snaps into place Position the stand_joystick assembly over the bottom end of the transceiver board and snap the 2 metal clips onto the sides of the transceiver board 5 Replace the...
Page 32: ... connector from its mating connector on the transceiver board see Figure 14 4 To replace insert the flex connector squarely into its mating connector on the transceiver board and press firmly until it snaps into place 5 Position the stand_TransFlash assembly over the top end of the transceiver board and snap the metal clip onto the top of the transceiver board 6 Replace the transceiver board rear ...
Page 33: ...bly tool to carefully pry the camera flex connector from its mating connector on the transceiver board see Figure 15 3 To replace insert the camera flex connector squarely into its mating connector on the transceiver board and press firmly until it snaps into place 4 Replace the transceiver board rear housing stylus SIM card battery and battery cover as described in the procedures Figure 15 Removi...
Page 34: ...nu and stored memory such as phone books or even just program a unit with basic user information such as language selection A780 telephones use TrueSync synchronization software to effect a personality transfer Identification Each Motorola GSM device is labeled with a variety of identifying numbers The following information describes the current identifying labels Mechanical Serial Number MSN The ...
Page 35: ...n types or individual units The full IMEI structure is listed in Table 2 Where TAC Type Allocation Code formerly known as Type Approval Code NN Reporting body identifier XXXX Type Identifier YY YY is set to 00 from 01 01 2003 until 31 03 2004 ZZZZZZ Individual unit serial number A Phase 1 0 Phase 2 check digit defined as a function of all other IMEI digits Other label number configurations present...
Page 36: ... enter the manual test command mode a GSM DCS test SIM must be used 1 Press to turn the phone OFF 2 Remove the battery as described in the procedures 3 Remove the customer s SIM card from the phone as described in the procedures 4 Insert the test SIM into the SIM slot 5 Replace the battery as described in the procedures 6 Press to turn the phone ON Manual Test Mode Commands To display the Test men...
Page 37: ...3 6 Vdc supply to the battery connectors Press and hold the PWR button If unit turns on and stays on disconnect the dc power source and reassemble with the new keyboard assembly 2 Telephone exhibits poor reception or erratic operation such as calls frequently dropping or weak or distorted audio a Antenna assembly defective Check to make sure that the antenna pin is properly connected to the transc...
Page 38: ... antenna is installed correctly substitute a known good antenna assembly If this does not clear the fault reinstall the original antenna assembly and proceed to c c Transceiver board assembly defective Replace the transceiver board assembly refer to 1c Verify that the fault has been cleared and reassemble with the new transceiver board assembly 7 Telephone will not recognize or accept SIM a SIM de...
Page 39: ... that the fault has been cleared and reassemble the unit with the new transceiver board assembly 11 Real Time Clock resetting when standard battery is removed Lithium button cell in the display board may be depleted Refer service to a Level 3 service center for replacement 12 No or weak audio when using headset a Headset not fully pushed home Ensure the headset plug is fully seated in the connecto...
Page 40: ...0 2004 6809488A90 Part Numbers A780 Part Numbers The following information is provided as a reference for the parts associated with A780 telephones Related Publications Motorola A780 User s Guide English 6809489A49 O ...
Page 41: ...6809488A90 September 20 2004 39 Level 1 and 2 Service Manual Part Numbers Exploded View Diagram 031826o Figure 17 Exploded View Diagram ...
Page 42: ...5K02 Receiver 6 3888189Z01 Camera Button 22 1588182Z02 Flip Inner 7 CHYN4611AA Core Set 23 1588160Z02 Front Housing 8 0164027T02 Main Shift Assembly 24 3888191Z02 Home Keypad 9 0188181Z01 Stylus 25 7290238N01 LCD Module 10 1588185Z01 Front Head 26 0164099E03 Stand_Joystick Assembly 11 7588199Z01 LCD Cushion 27 3888191Z01 Car kit Cover 12 5588238Z01 Hinge 28 3888192Z01 Side Button 13 5988236Z01 Mag...
Page 43: ...vice Manual Part Numbers Accessories Table 5 Accessories Part Description Part Number Headset FM stereo radio xxxxxx Headset with send end button xxxxxx Headset retractable xxxxxx Neckloop hands free compatible with T coil hearing aids xxxxxx Holster ...
Page 44: ...42 September 20 2004 6809488A90 Part Numbers A780 ...
Page 45: ...s Protocol WAP 9 features product 8 G GPRS indicator 12 I identification 32 international mobile station equipment identity 33 mechanical serial number 32 product 3 IMEI 33 indicators battery level 12 Bluetooth 12 GPRS 12 signal strength 12 Introduction 3 L Low Battery message 12 M manual test mode 34 MSN 32 N names product 3 O operation controls indicators and I O 11 operation general 11 overview...
Page 46: ...e 4 service policy 5 customer support 5 out of box failure 5 product support 5 service procedure ordering replacement parts 5 shut down upon battery removal 13 signal strength indicator 12 SIM Application Toolkit 9 SIM card 32 personality transfer 32 replacing 17 SIM removing and replacing 17 specifications 7 support customer 5 product 5 T text entry 10 tools and test equipment 14 transceiver boar...
Page 47: ......
Page 48: ... Motorola Inc Reg U S Pat Tm Off All other product or service names are the property of their respective owners 2004 Motorola Inc All rights reserved Personal Communications Sector Sawgrass International Concourse 789 International Parkway Mailstop S2C Sunrise FL 33325 6222 6809488A90 6809488A90 O ...