DENALI Professional Series Snow Plow Blade Installation
866.527.7637 (toll free)
3
[email protected]
Plow Blade Assembly
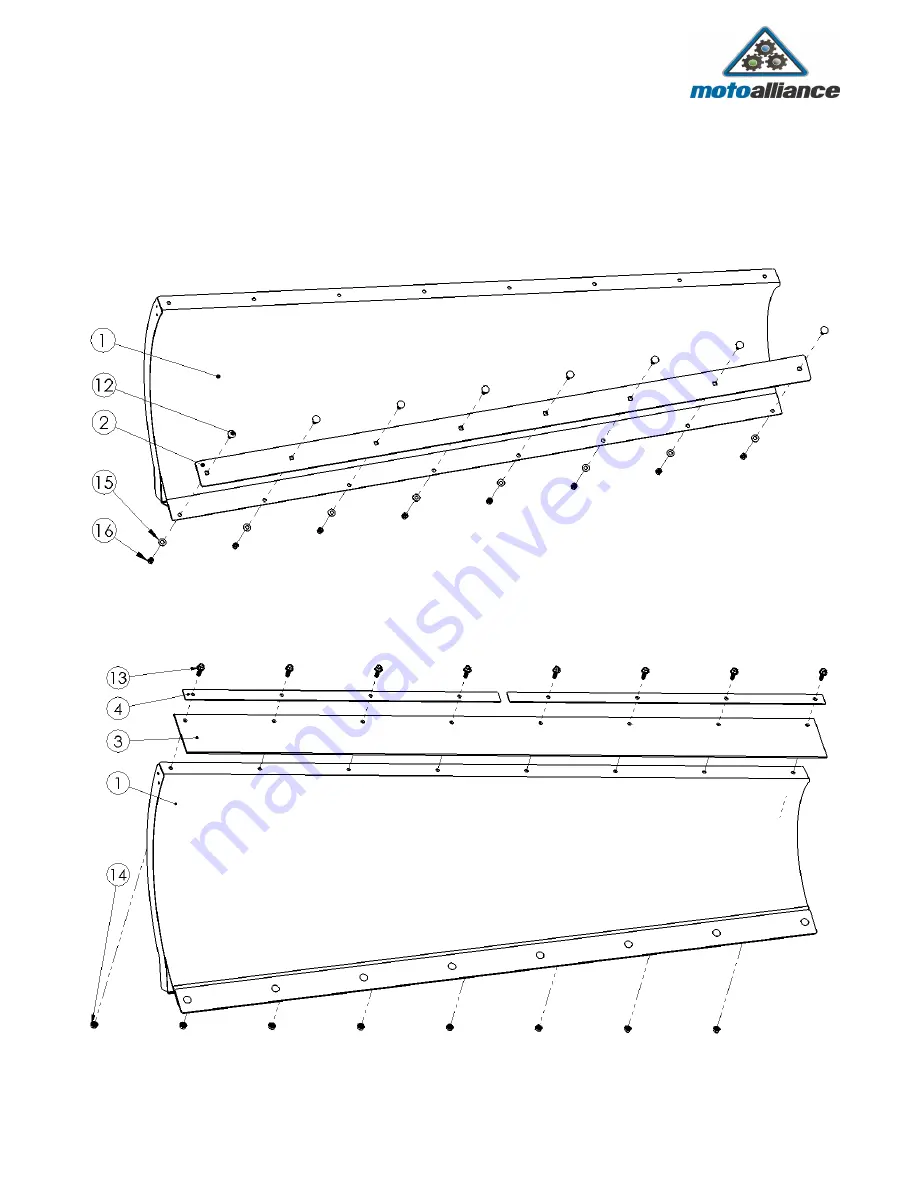
1)
Install the 72’’ Wear Bar to the 72’’ Plow Blade as shown in
Figure 1
.
Figure 1
2)
Install the 72’’ Rubber Flap and 2pc Rubber Flap Hold Down Bars as shown in
Figure 2
.
Figure 2


