


Now put the Calibration slide on the stage of the microscope and focus the dot in the center of the screen. For
4x Objective, use the 1.5mm dot. For 10x Objective, use the 0.6mm dot. For the 40x Objective, use the 0.15mm
dot. For the 100x Objective, use the 0.07mm dot.
After your dot is in focus, select “Create Calibration” then “Calibration” to add a new set of calibration
parameters into the calibration table. You should have a bright green circle (shown below). If you don’t have a
bright green circle, the calibration failed. Make sure the slide is clean and the image has sufficient lighting.
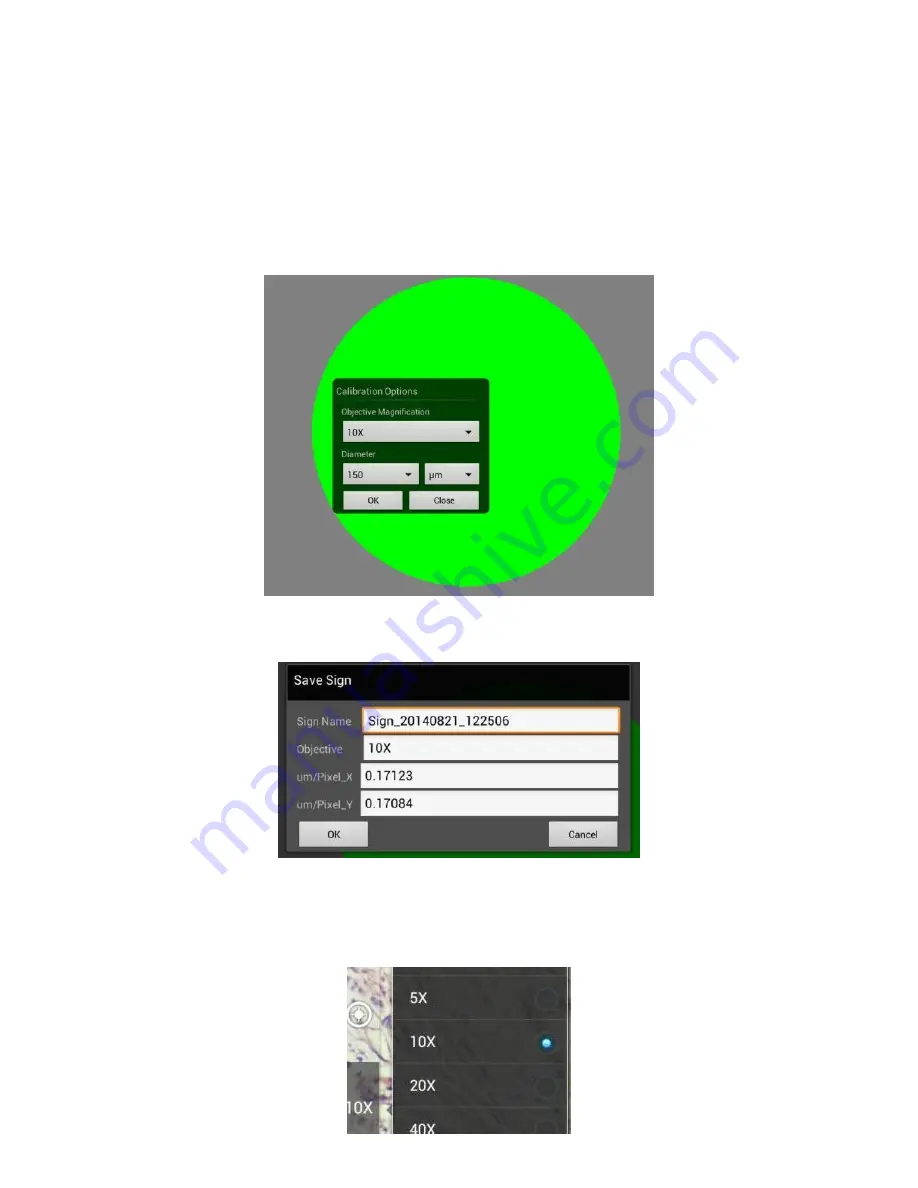
If the calibration is successful, choose what objective you’re using on the microscope under “Objective
Magnification” then select the length of the diameter of the dot, then tap OK. A calibration is needed for each
objective that will be used in measuring, so repeat the process if necessary.
Software will provide the um/Pixel X and um/Pixel Y based on the previous users provided information.
Users can save those parameters with user assigned own Sign Name. This new Sign Name will be saved in the
calibration table for the future use.
Objective Magnification: If users change the objective magnification number, please ensure same magnification
number is selected on the software. There is no need to re-calibrate the system.