15
English
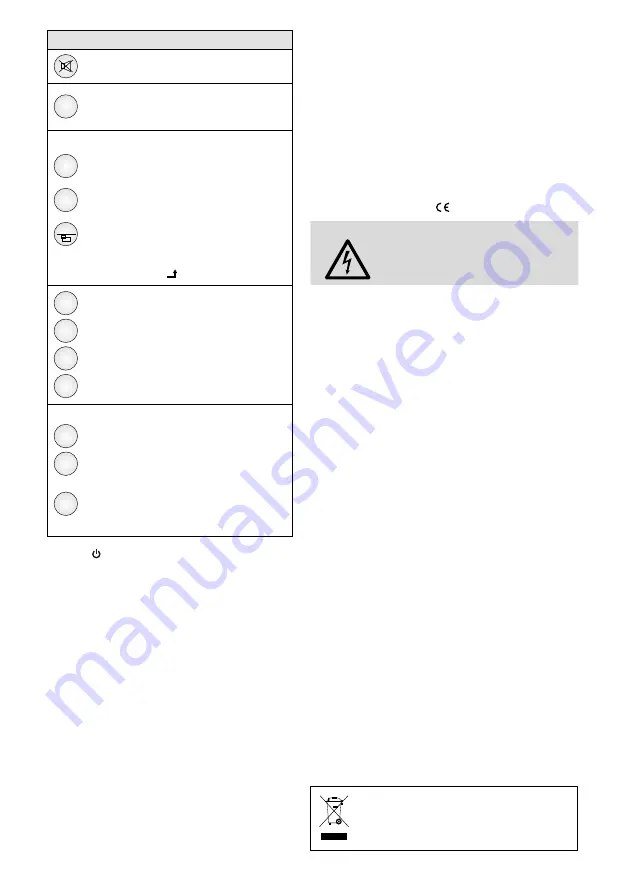
Functions of the buttons
Sound on / off
Zoom
Selecting the picture format:
Full
Zoom1
Zoom2
4 : 3
Panorama
14 : 9
not possible for the source PC
Multi-picture display:
Position
Switching between 4 positions for the
secondary picture in PIP mode
Swap
Swapping the picture assignment of the
two sources
PIP
Switching between various display modes
To select the secondary source, press the
button “Source / ” .
USB
Right
Left
Catalog
Control of the OSD menu for the
USB connection
☞
chapter 6 .10
ID
…
9
0
To operate only the monitor desired via
remote control when multiple monitors
are used:
Press the button “ID” to lock the moni-
tors for the remote control .
To unlock a monitor for the remote con-
trol, press the button “ID”, then use the
numeric buttons to enter the ID number
of the monitor .
2
Buttons ,
/
, ITEM, MENU and SOURCE
refer to the corresponding button on the re-
mote control
3
Power LED
LED off:
monitor on standby
LED green: monitor switched on
LED red:
no video signal
4
Infrared sensor for the remote control signals
1.2 Connections
5
Power supply jack to connect the power supply
unit provided
6
USB port (type A) to reproduce JPEG files or
MP3 files from a USB flash drive or from a USB
hard disk with separate power supply
7
HDMI
TM
inputs 1 and 2 (type A)
8
VGA input (Sub-D jack)
9
VIDEO input (BNC jack) for a composite video
signal
10
Feed-through output (BNC jack) for the VIDEO
input next to it
11
Stereo audio input for the audio connection
of the source at the VIDEO input or VGA input
2 Safety Notes
The units (monitor and power supply unit) corre-
spond to all relevant directives of the EU and are
therefore marked with .
WARNING
The power supply unit uses danger-
ous mains voltage . Leave servicing
to skilled personnel only . Inexpert
handling may result in electric shock .
•
The units are suitable for indoor use only . Pro-
tect them against dripping water, splash water
and high air humidity . The admissible ambient
temperature range is 0 – 40 °C .
•
Do not place any vessel filled with liquid on the
units, e . g . a drinking glass .
•
Place the monitor so that sufficient air circulation
is ensured . Never cover the air vents .
•
Immediately disconnect the mains plug of the
power supply unit from the socket
1 . if one of the units or the mains cable is visibly
damaged,
2 . if a defect might have occurred after a unit
was dropped or suffered a similar accident,
3 . if malfunctions occur .
In any case the units must be repaired by skilled
personnel .
•
Never pull the mains cable to disconnect the
mains plug from the socket, always seize the plug .
•
For cleaning the power supply unit, only use a
dry, soft cloth . For cleaning the monitor, use a
soft cloth which may be slightly wet, if required .
Never use chemicals or aggressive detergents . Al-
ways disconnect the mains plug before cleaning .
•
No guarantee claims for the units and no liability
for any resulting personal damage or material
damage will be accepted if the units are used for
other purposes than originally intended, if they
are not correctly connected or operated, or if
they are not repaired in an expert way .
If the units are to be put out of operation
definitively, take them to a local recycling
plant for a disposal which is not harmful to
the environment .


