


Step 7
x5
x1
Back Panel 2
5
x1
Back Panel 1
4
x1
Bottom Panel
3
x1
Right Side Panel
2
x1
Cam Lock Ø15
Front Support
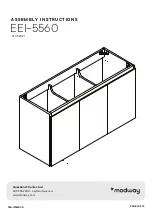
H A R DWA R E
CO M P O N E N T S
6
C
x5
x1
Back Panel 2
5
x1
Back Panel 1
4
x1
Bottom Panel
3
x1
Left Side Panel
1
x1
Cam Lock Ø15
Front Support
H A R DWA R E
CO M P O N E N T S
6
C
PAGE 5 OF 12
Step 6
780−172MD5−0
3
1
5
4
6
C
C
C
C
2
3
5
4
6
C
C
C
C
C
C


