5
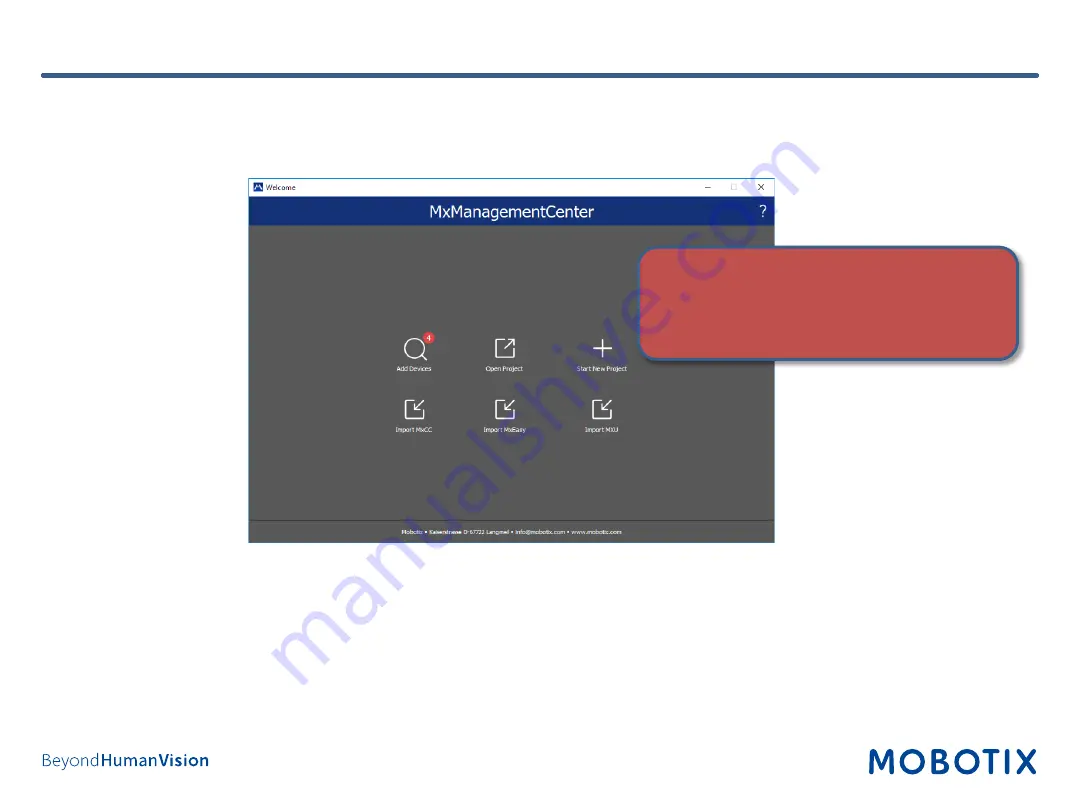
Step 1 – Add ONVIF S Cameras to MxManagementCenter
1. Start
MxManagementCenter
.
2. Start the
Welcome Wizard
by clicking on
File > Welcome
in the menu bar.
3. Click on
Add Devices
. Then select the desired ONVIF S-compliant cameras you’d like to add to MxMC.
Note:
It can take up to ten minutes to find an ONVIF camera. As an alternative, you can manually add the
cameras to the list by clicking the “
+
” icon in the control bar.
4. Enter the access privileges. You need access privileges of a user with ONVIF administration level access. For
MOBOTIX MOVE cameras, the admin user in the camera’s web interface is also the ONVIF admin. For other
camera brands (e.g., Axis), the roles for web interface admin and ONVIF admin are separate.
IMPORTANT: MOBOTIX MOVE cameras require
the following firmware version (or newer) :
- SD1A
à
MB20181025RS
- BC1A/VD1A
à
MB20181025RP
Summary of Contents for 251-G
Page 14: ...14 Step 8 Login to NAS Web Interface Log in to the web interface of the NAS 1 ...
Page 15: ...15 Step 9 optionally update firmware 1 Open the Control Panel ...
Page 16: ...16 Step 9 optionally update firmware 2 Click on Firmware Update ...
Page 18: ...18 Step 10 Install Apps on NAS 1 Recording software Open the App Center ...
Page 20: ...20 Step 11 Initial setup of QVR Pro 1 Open the QVR Pro ...
Page 22: ...22 Step 11 Initial setup of QVR Pro 3 If date and time settings are correct click Apply ...


