
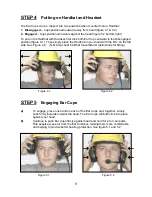
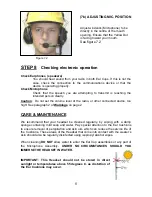

STEP 6
Adjusting Ear Cups for comfort
a)
Figure 6.1 below illustrates how the black Adjusting Slides can be moved up or
down on the Headband. This allows you to adjust the position of the Ear Cup to
provide better comfort and a more efficient seal on the head to keep out noise.
b)
Utilising the up / down adjusting slides, with one hand on the Hardhat (as shown
in Figure 6.2), move the Ear Cups up or down so that they completely cover your
ears and fit comfortably. Try to make similar adjustments for each Ear Cup so that
they sit evenly on both sides. Repeat procedure in Part b) of Step 5 previous page,
of pushing and holding Ear Cups to improve comfort and hearing protection.
Figure 6.1
Figure 6.2
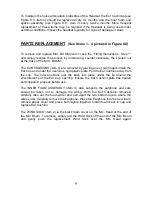
STEP 7
Adjusting the Mic. For maximum clarity
7
(7a) ADJUSTING MIC. DISTANCE
Microphone must be positioned
as close to the lips as is comfortable.
This provides better voice clarity
See Figure 7.1.
Maximum Distance
From lips = 5 mm
Figure 7.1


